 Save
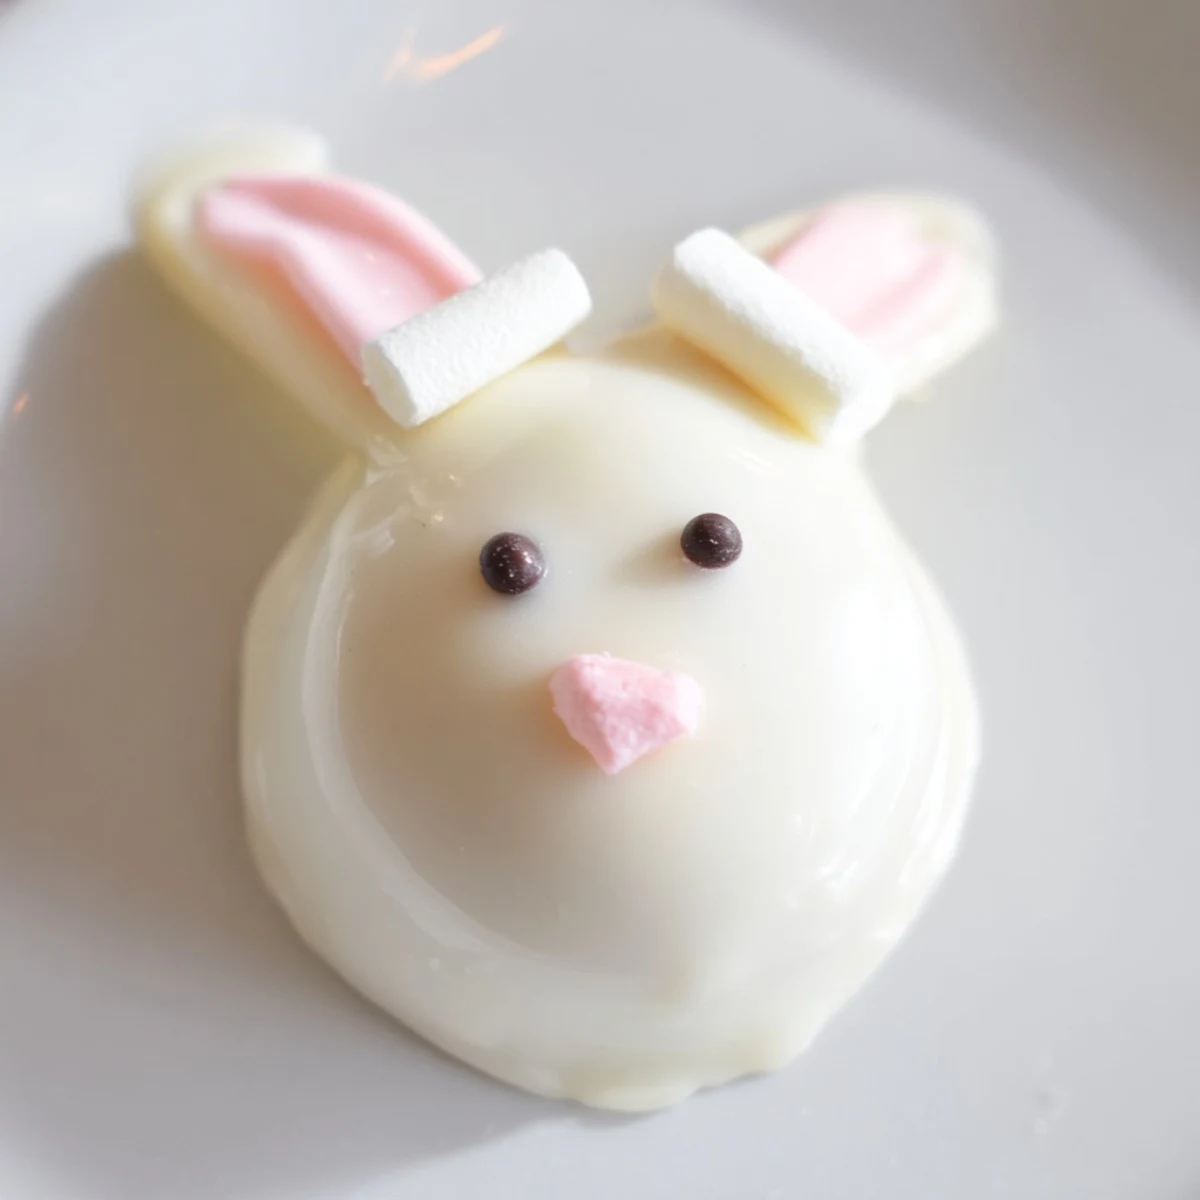
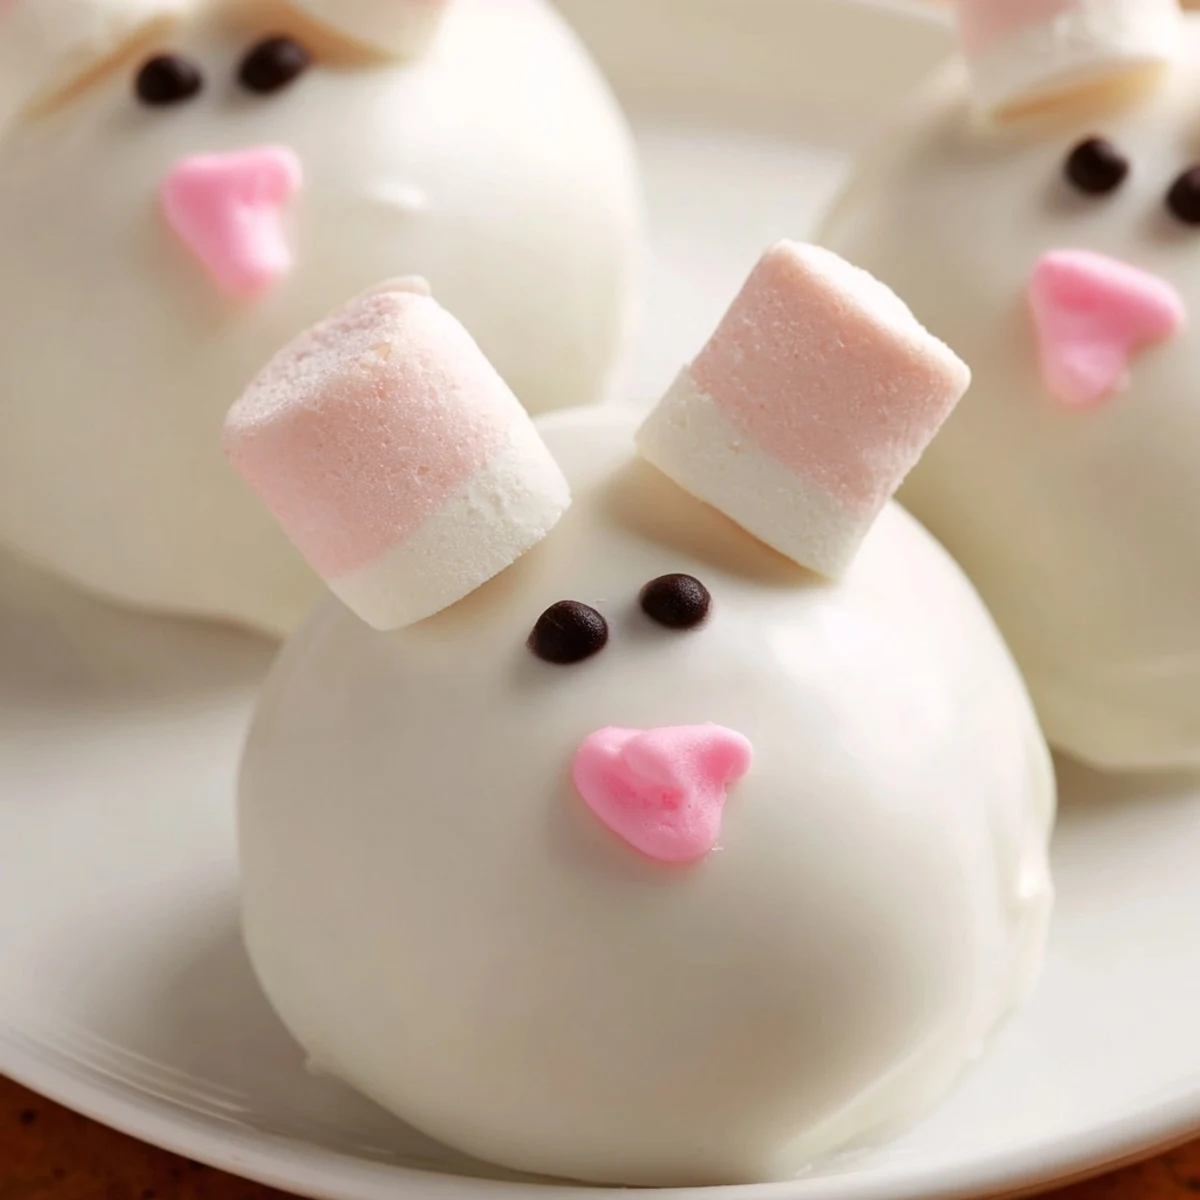
Save These charming bunny-shaped treats combine crushed Oreo cookies with cream cheese for a rich, creamy filling. Dipped in smooth white chocolate and decorated with mini marshmallow ears and tails, they make delightful centerpieces for spring gatherings and Easter celebrations.
The kitchen counter looked like a confetti explosion after an hour of shaping tiny bunny heads. My daughter kept popping the marshmallow tails into her mouth while I tried to work, and I ended up hiding the bag behind the flour canister just to finish the batch.
I first made these for a spring potluck when I completely forgot about my dessert assignment until the morning of. They were such a hit that three different people asked for the recipe before we even cut into the main course.
Ingredients
- 36 Oreo cookies: Regular not Double Stuf because you need that cookie crumb texture to balance the cream cheese
- 225 g (8 oz) cream cheese softened: Let it sit on the counter for a full hour so it blends smoothly without lumps
- 400 g (14 oz) white chocolate or white candy melts: Candy melts set up faster and stay white longer than real white chocolate which can seize
- Pink candy melts or pink food coloring: For those adorable noses and ear details that make the bunnies come alive
- Mini marshmallows: Cut in different ways for tails ears and even little paws if you are feeling ambitious
- Edible black food marker or decorating gel: Wait until the chocolate is completely set before drawing eyes or they will bleed
Instructions
- Crush and blend:
- Pulse the Oreos in a food processor until you have fine sand-like crumbs then add the softened cream cheese and blend until it forms a smooth dough that holds together when squeezed.
- Shape and chill:
- Scoop tablespoon portions and roll into balls then gently elongate them into oval bunny head shapes before freezing for 30 minutes so they hold their shape during dipping.
- Prep marshmallow parts:
- Cut mini marshmallows in half horizontally for fluffy tails and slice a few into thin vertical slivers for ears keeping them separated on a plate so they do not stick together.
- Dip and decorate:
- Melt the white chocolate in 30-second intervals stirring between each then dip each chilled bunny head letting excess chocolate drip off before attaching two ear slivers and a tail half while wet.
- Final touches:
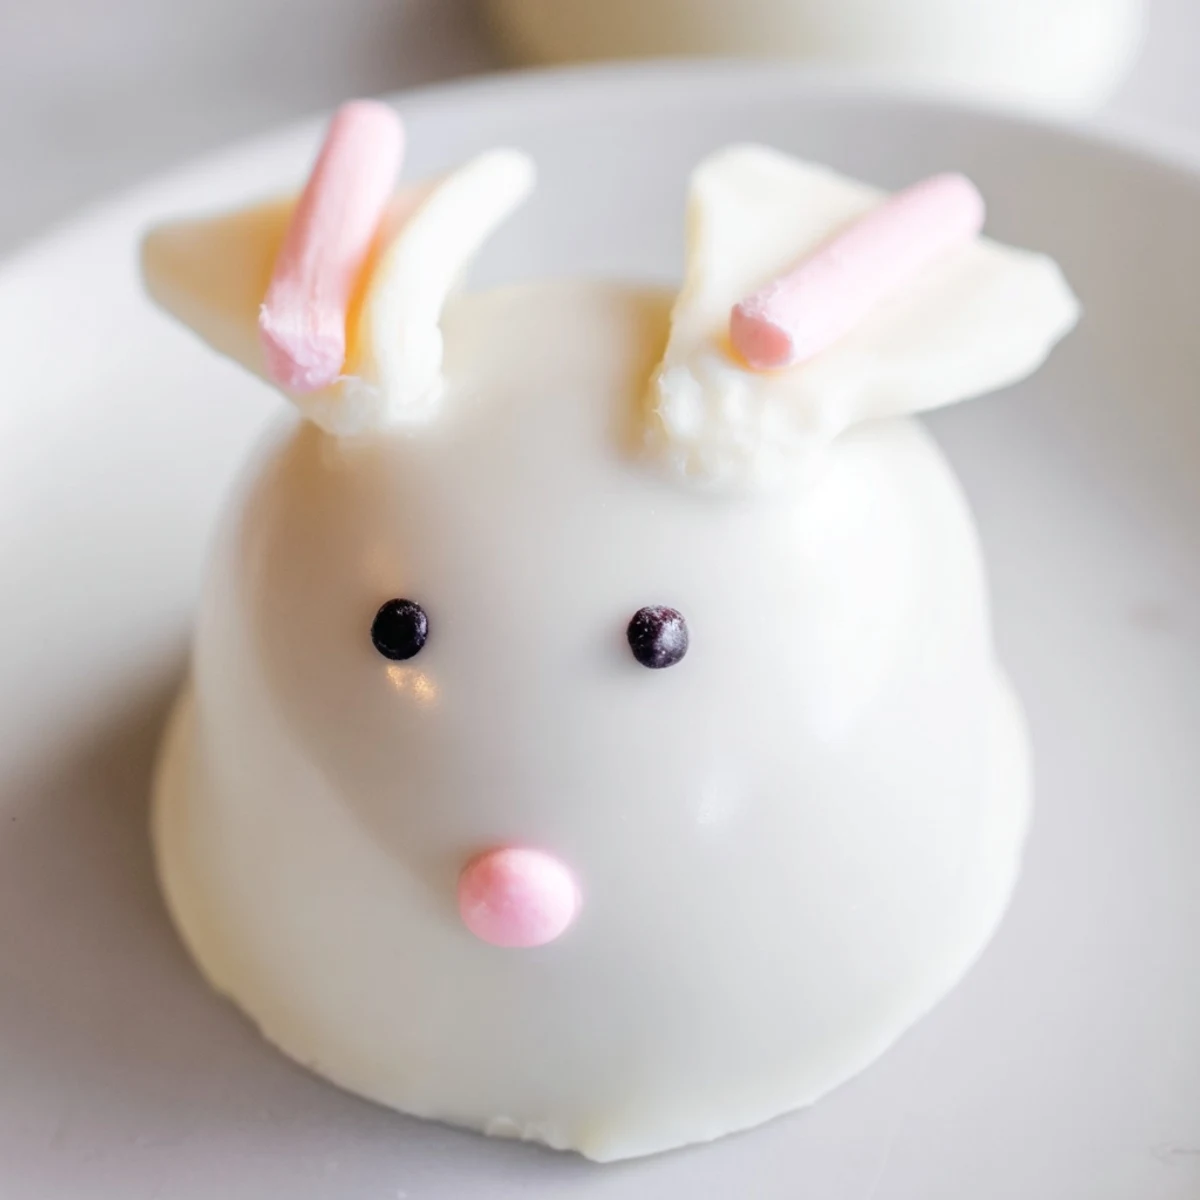
- Once the chocolate has set for about 10 minutes use a toothpick dipped in pink candy melts to add noses and inner ear details then draw simple dot eyes with black food marker and chill for at least 30 minutes before serving.
 Save
Save Last Easter my niece was so excited about the bunny tray she carried it around showing everyone before we could even get them on plates. Three years later she still asks if I am bringing the bunnies.
Making Them Your Own
Dark chocolate coating with gold sprinkles feels sophisticated while milk chocolate with pastel nonpareils stays playful. I have even used crushed vanilla wafers instead of Oreos when I wanted something lighter.
Working With Candy Melts
Candy melts are forgiving for beginners but white chocolate has superior flavor if you are comfortable tempering. The key difference is candy melts set matte while chocolate stays glossy.
Prep Like A Pro
Have everything organized before you start dipping because once that chocolate is melted you are on the clock. Set up your bunny heads marshmallow pieces and a clean parchment sheet in an assembly line so you can work quickly.
- Clear off an entire section of counter space
- Keep a damp paper towel nearby for sticky fingers
- Work in batches of six bunnies at a time
 Save
Save There is something genuinely joyful about biting into these little chocolate-coated bunnies and finding that creamy Oreo center inside.
Recipe FAQs
- → How long do bunny Oreo balls stay fresh?
-
Store in an airtight container in the refrigerator for up to 5 days. The chocolate coating helps maintain freshness while keeping the creamy center intact.
- → Can I make these ahead of time?
-
Yes, prepare them 1-2 days in advance and keep refrigerated. The marshmallow decorations stay fresh, and flavors actually improve after chilling overnight.
- → What if I don't have a food processor?
-
Crush Oreos in a sealed zip-top bag using a rolling pin or heavy cup. Combine with cream cheese by hand, though mixing takes slightly longer.
- → Can I use different chocolate types?
-
Absolutely! Milk or dark chocolate works beautifully for coating. The contrast creates an elegant look while maintaining the classic Oreo flavor profile.
- → How do I prevent the chocolate from seizing?
-
Melt in 30-second intervals, stirring between each. Avoid getting water in the chocolate as even a few drops can cause seizing. Work quickly once melted.
- → What's the best way to attach marshmallow details?
-
Attach ears and tails while the chocolate coating is still wet. The melted chocolate acts as glue. If coating sets too quickly, use a tiny dab of fresh melted chocolate.