 Save
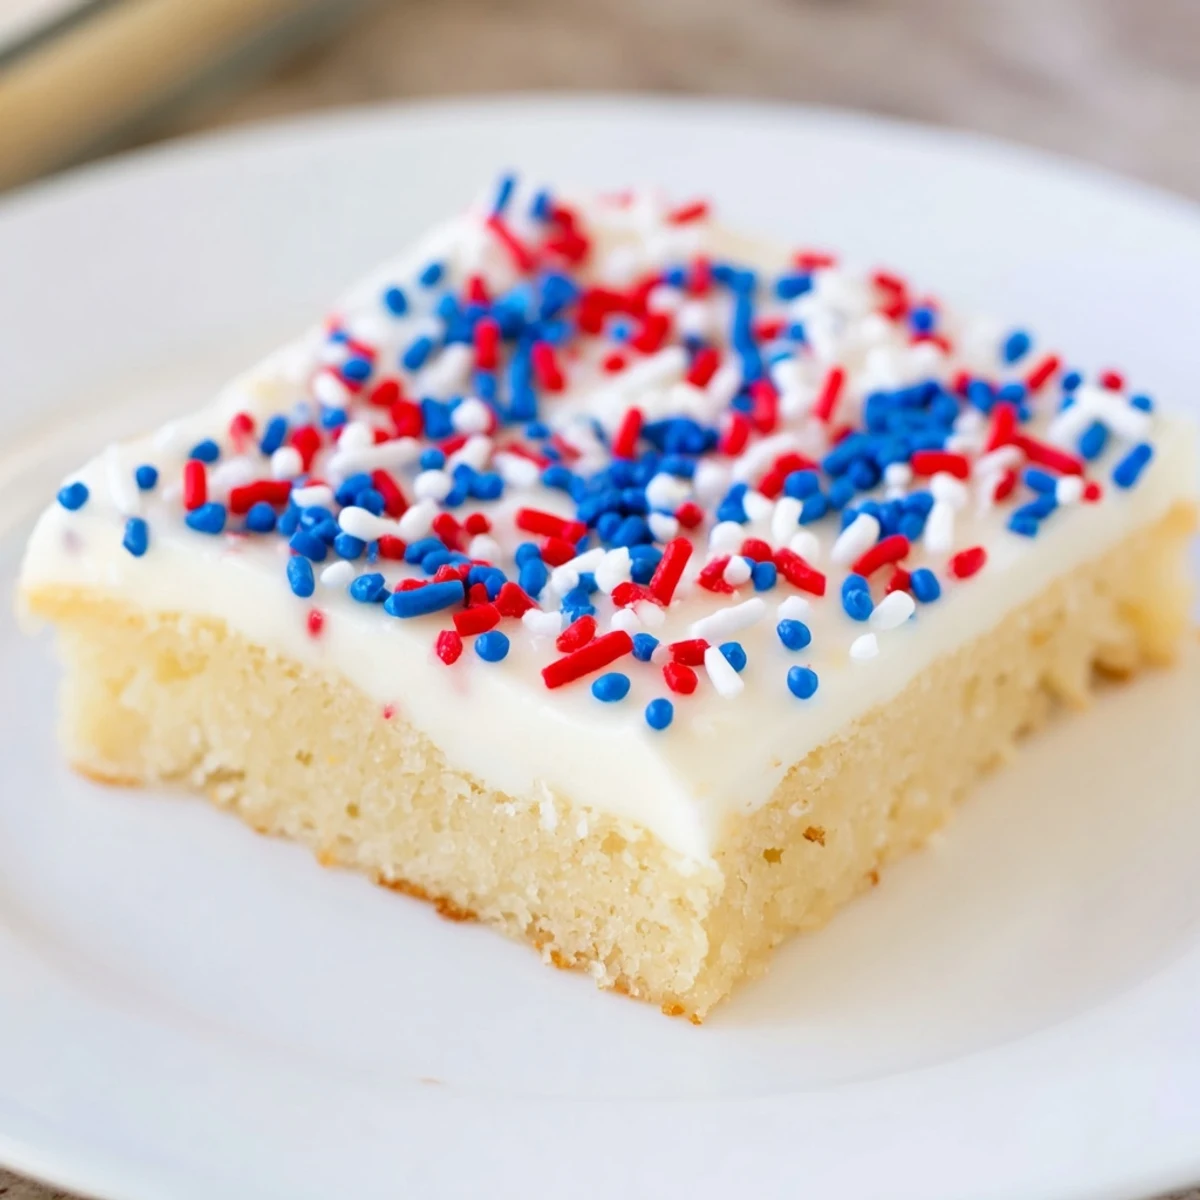
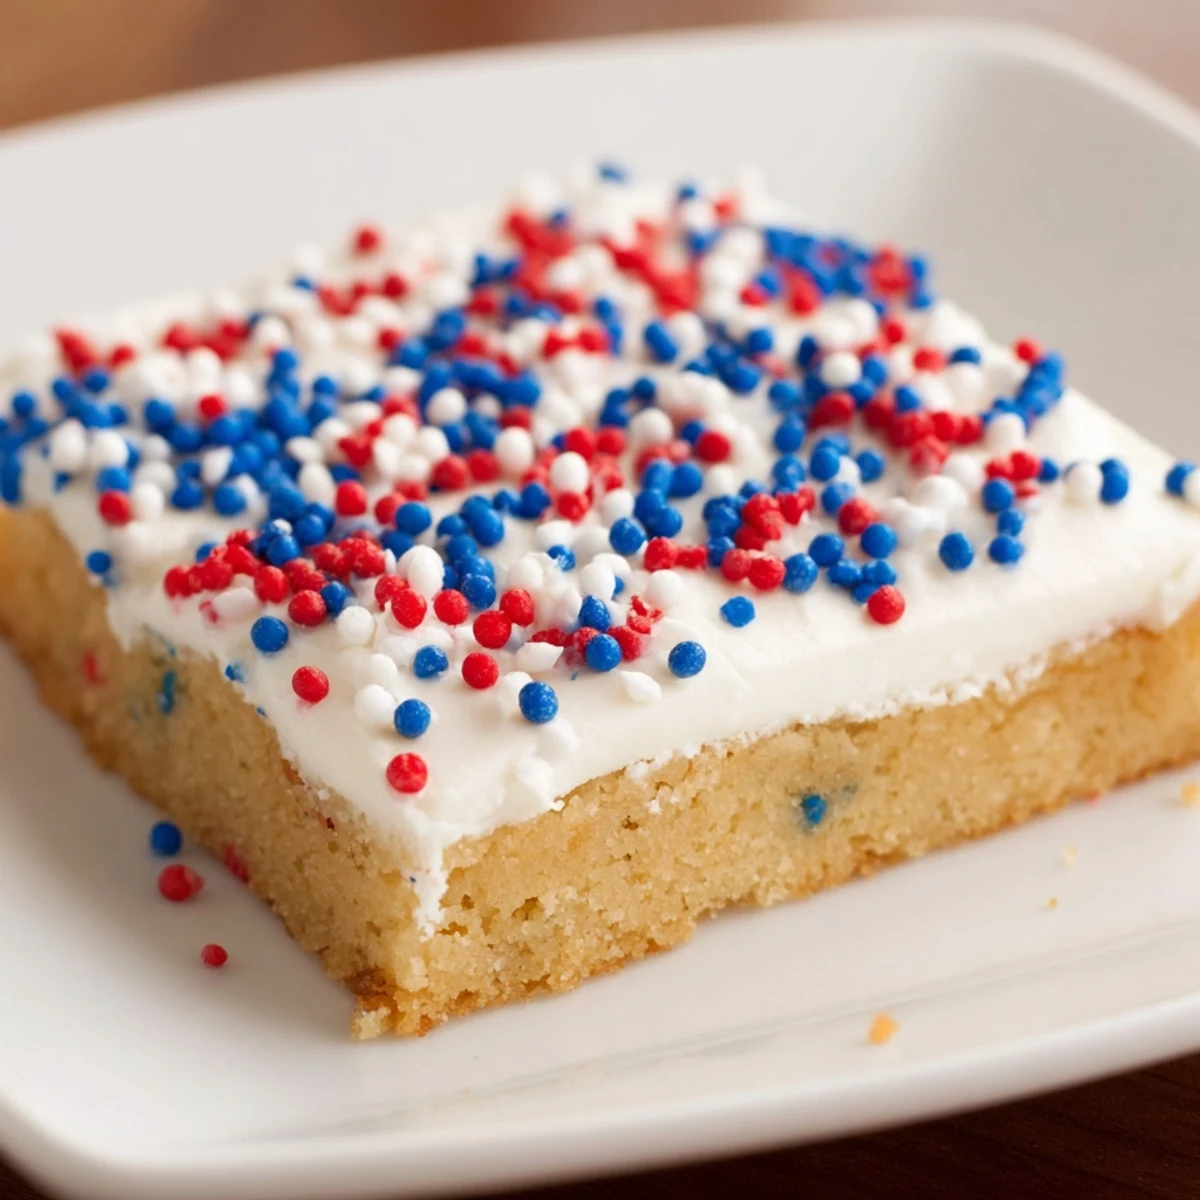
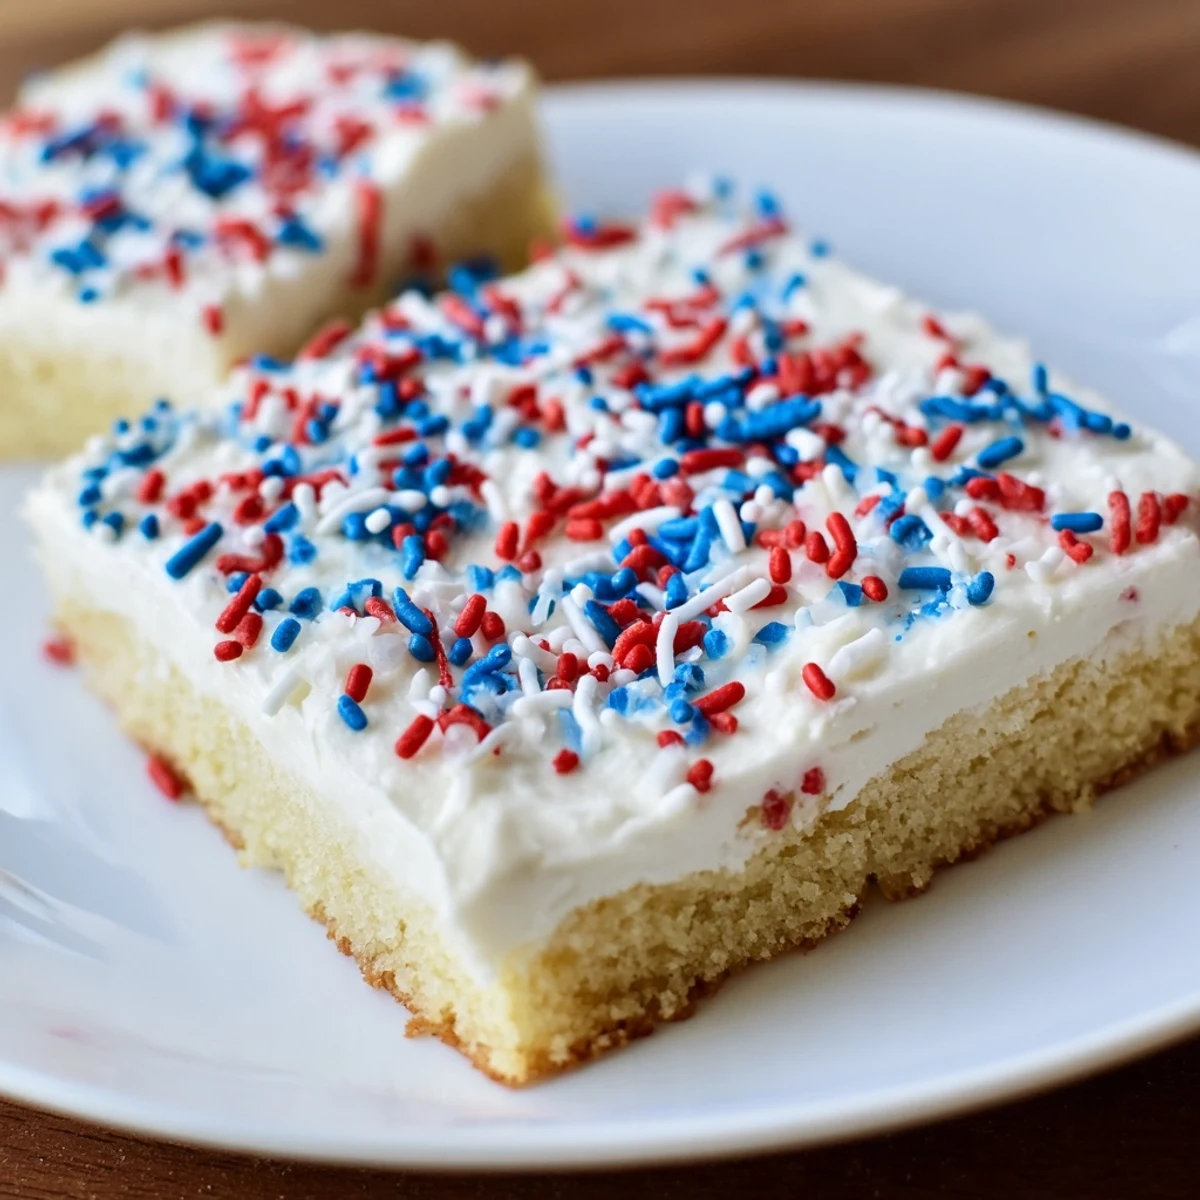
Save These soft and chewy sugar cookie bars are the perfect patriotic treat for your Independence Day celebration. The bars feature a tender vanilla-sugar cookie base that's baked until lightly golden, then topped with a luscious creamy vanilla frosting and finished with festive red, white, and blue sprinkles.
Preparation comes together in just 20 minutes of active time, making them ideal for summer parties and gatherings. The bars stay fresh for up to three days when stored in an airtight container, so you can make them ahead of your celebration.
The kitchen was already heating up by 9 AM on July 4th, and I knew these sugar cookie bars were about to become the star of our backyard potluck. I'd spent the morning wrestling with a batch of failed flag-themed cupcakes, but something about this recipe—thick bars swirled with creamy frosting—felt like the kind of dessert that actually travels well.
Last summer, my sister accidentally dumped half a container of sprinkles on them before I could stop her. We both just laughed and called it confetti cake. The kids went absolutely wild for it, and honestly, the extra crunch made them even better.
Ingredients
- All-purpose flour: This creates the foundation—weighing it instead of scooping prevents dense bars
- Unsalted butter: Room temperature butter incorporates sugar into tiny air pockets for lift
- Granulated sugar: Cream this thoroughly with butter for that signature sugar cookie taste
- Egg plus egg yolk: The extra yolk adds richness without making the bars cakey
- Pure vanilla extract: Don't skimp here—it's the backbone of the flavor
- Almond extract: Just a quarter teaspoon deepens the vanilla in ways people can't quite place
- Powdered sugar: Sifting first prevents lumpy frosting that feels grainy
- Milk: Start with two tablespoons and add more only if needed for spreadability
Instructions
- Preheat and prep the pan:
- Line your 9×13-inch pan with parchment paper, letting the edges hang over like handles. This trick saved me when I forgot to grease the pan once—the bars still lifted out perfectly.
- Mix the dry ingredients:
- Whisk flour, baking powder, and salt in a medium bowl. Do this ahead of time and you won't end up with white streaks of baking powder in your finished bars.
- Cream the butter and sugar:
- Beat softened butter and sugar for 2–3 minutes until it looks pale and fluffy. I've learned that rushing this step is why some cookies turn out flat and sad.
- Add the eggs and extracts:
- Mix in the egg, extra yolk, vanilla, and almond extract until everything's combined. Scrape the bowl sides—otherwise you'll find pockets of flour later.
- Combine the dough:
- Pour in the flour mixture gradually, mixing just until you don't see dry streaks. Overmixing at this stage makes tough bars, and nobody wants that.
- Spread and bake:
- Press the dough evenly into your prepared pan—it'll feel sticky, so slightly damp hands help. Bake 18–20 minutes until edges turn golden but the center still looks soft.
- Cool completely:
- Let the bars rest in the pan on a wire rack. Frosting warm bars is a rookie mistake I made once—trust me, the frosting melts into a sad, soupy mess.
- Make the frosting:
- Beat butter until creamy, then gradually add powdered sugar, milk, vanilla, and salt. Keep mixing until it feels light enough to spread but thick enough to hold its shape.
- Frost and decorate:
- Spread the frosting evenly over cooled bars, then immediately shower with sprinkles—they stick better while the frosting's fresh. Lift everything out using those parchment handles and cut into 16 squares.
 Save
Save My neighbor's daughter asked if she could have the recipe for her own birthday party after trying these at our block party. That's when I knew this wasn't just another holiday dessert—it had entered regular rotation.
Baking Pan Wisdom
Using light-colored metal pans instead of dark ones prevents the bottoms from overbaking before the centers set. Glass pans work too, but reduce the oven temperature by 25 degrees since glass conducts heat more aggressively than metal.
Frosting Like a Pro
Chill the frosted bars for 15 minutes before cutting. This simple step makes each square look bakery-perfect with clean edges instead of ragged frosting smears.
Sprinkle Strategy
Pour sprinkles into a small bowl first instead of shaking directly from the container. This gives you better control and prevents accidentally dumping half the jar on one bar.
- Press sprinkles gently into the frosting so they actually stay put during transport
- Mix patriotic sprinkles with white pearl sprinkles for extra texture and dimension
- Store leftovers with wax paper between layers so the frosting doesn't stick to the next bar
 Save
Save There's something about a bar cookie that feels more approachable than a fancy layer cake, especially when fireworks are going off outside and everyone's just happy to be together.
Recipe FAQs
- → How far in advance can I make these patriotic cookie bars?
-
You can bake the cookie base up to 2 days ahead and store them unfrosted in an airtight container. Frost and decorate with sprinkles the day of serving for the freshest appearance and texture. Once frosted, they're best enjoyed within 2-3 days.
- → Can I freeze these sugar cookie bars?
-
Yes! Freeze the unfrosted baked bars for up to 3 months, wrapped tightly in plastic wrap and placed in a freezer-safe container. Thaw overnight at room temperature before frosting and decorating. Avoid freezing frosted bars as the texture may become compromised.
- → What size pan should I use?
-
A standard 9×13-inch baking pan works perfectly for this batch. The parchment paper overhang makes lifting the entire batch out simple for cutting clean, even squares. If you use a different pan size, adjust the baking time accordingly—thicker bars will need more time, thinner bars less.
- → Can I make these bars gluten-free?
-
Absolutely! Substitute the all-purpose flour with a high-quality 1:1 gluten-free flour blend that contains xanthan gum. The texture should remain very similar to the original version. Always check that your sprinkles are certified gluten-free as well.
- → Why do I need both an egg and an egg yolk?
-
The extra egg yolk adds richness and creates a tender, chewy texture in the cookie base. The white from the whole egg provides structure, while the additional yolk contributes to the soft, melt-in-your-mouth quality that makes these bars so appealing.
- → How do I know when the bars are done baking?
-
The bars are ready when the edges are lightly golden but the center still appears slightly soft. This residual heat continues cooking the center as they cool, resulting in perfectly tender bars. Overbaking will make them dry and crisp.