 Save
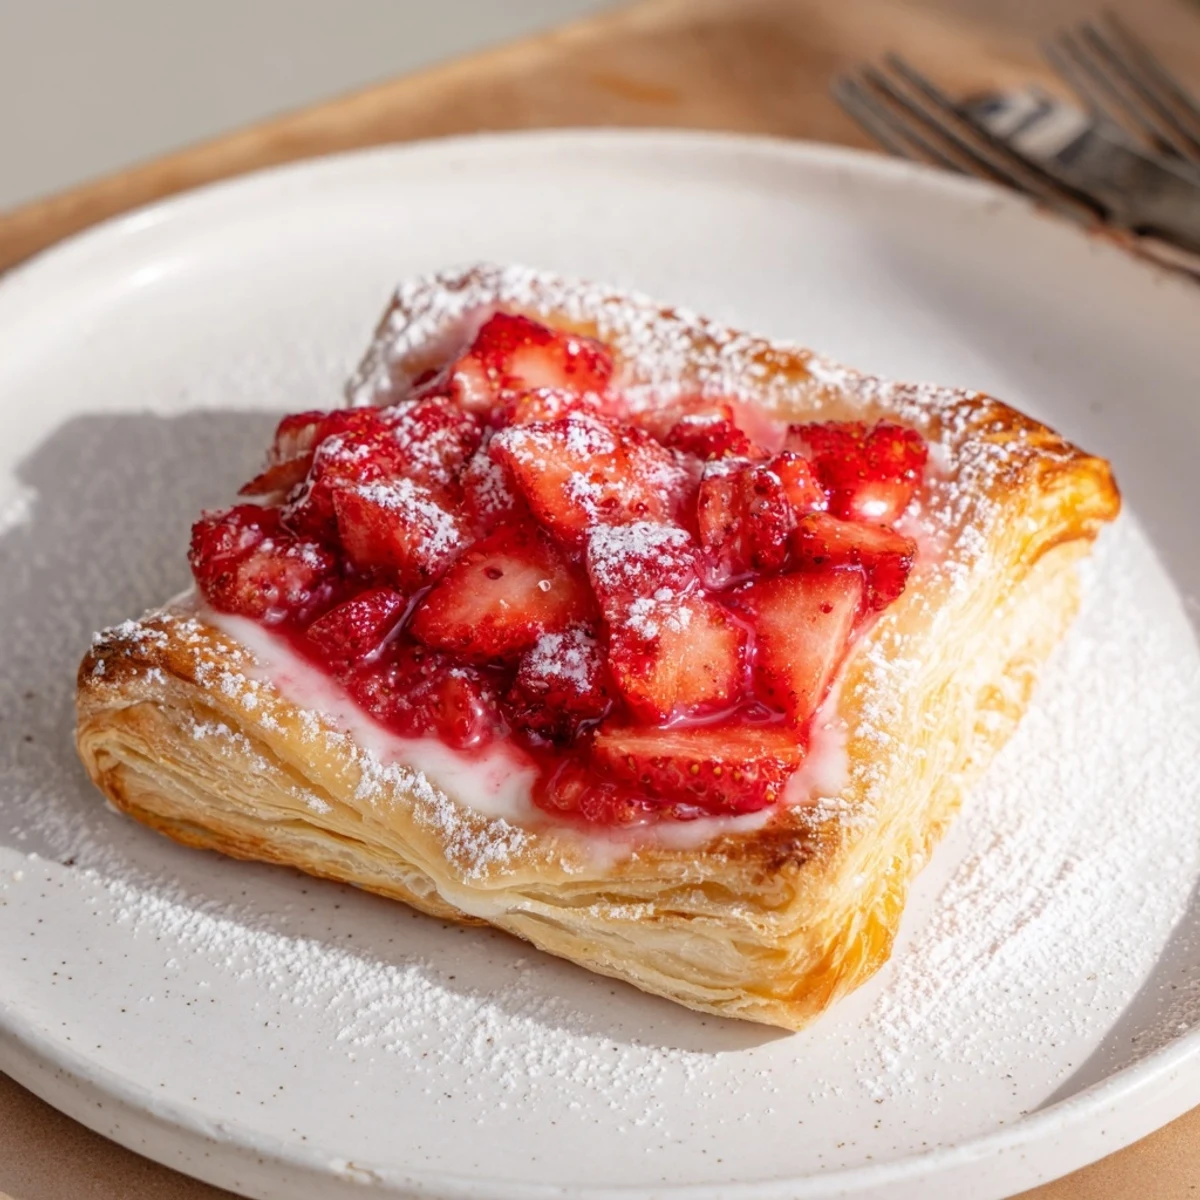
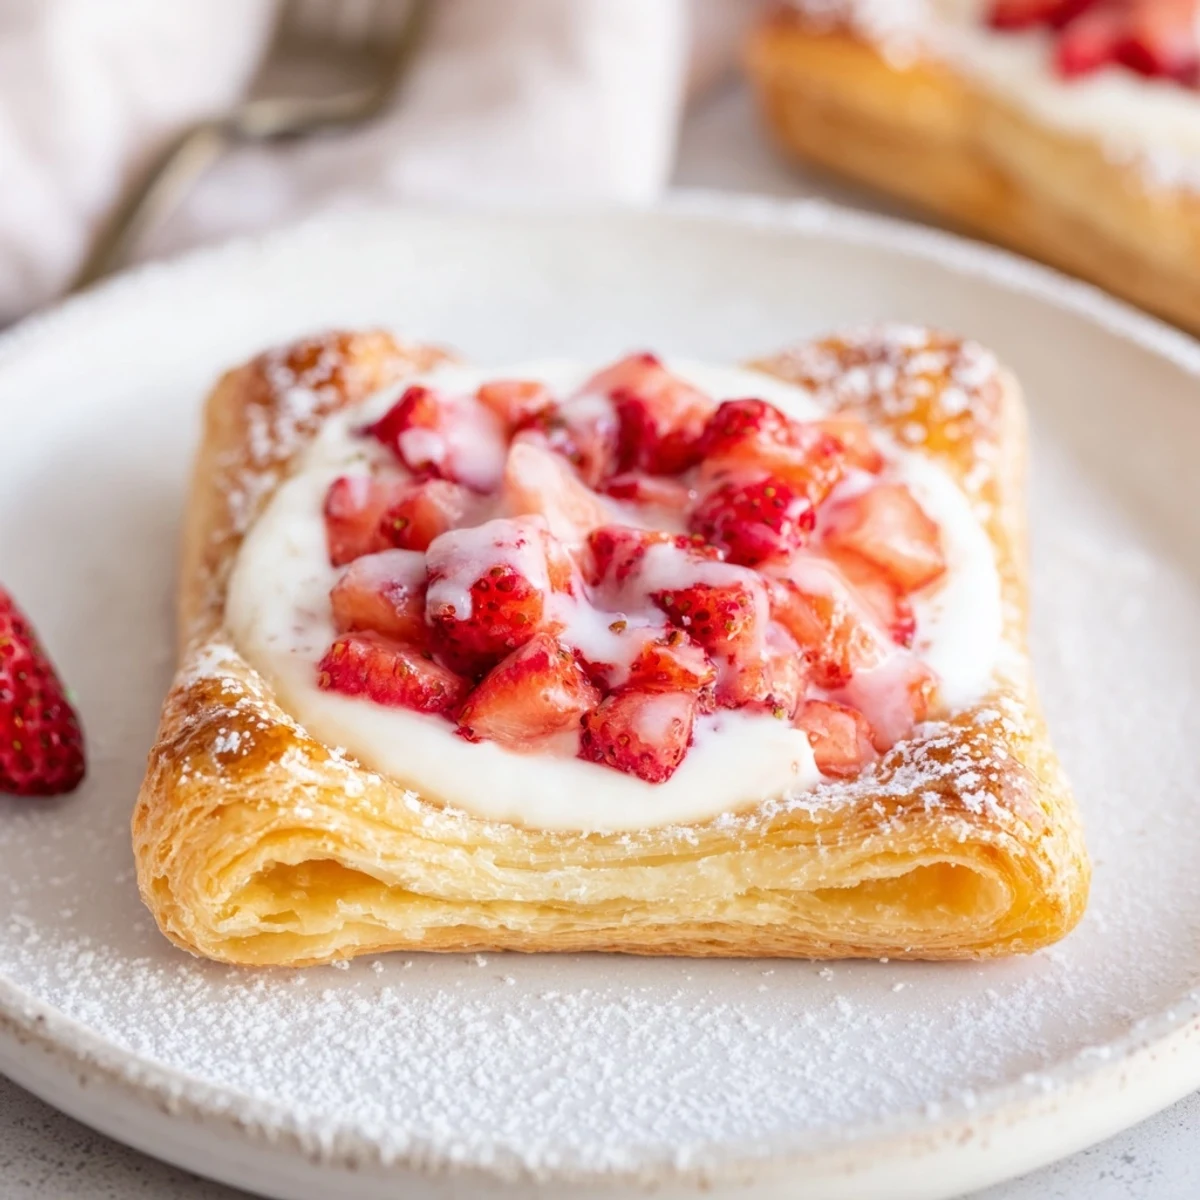
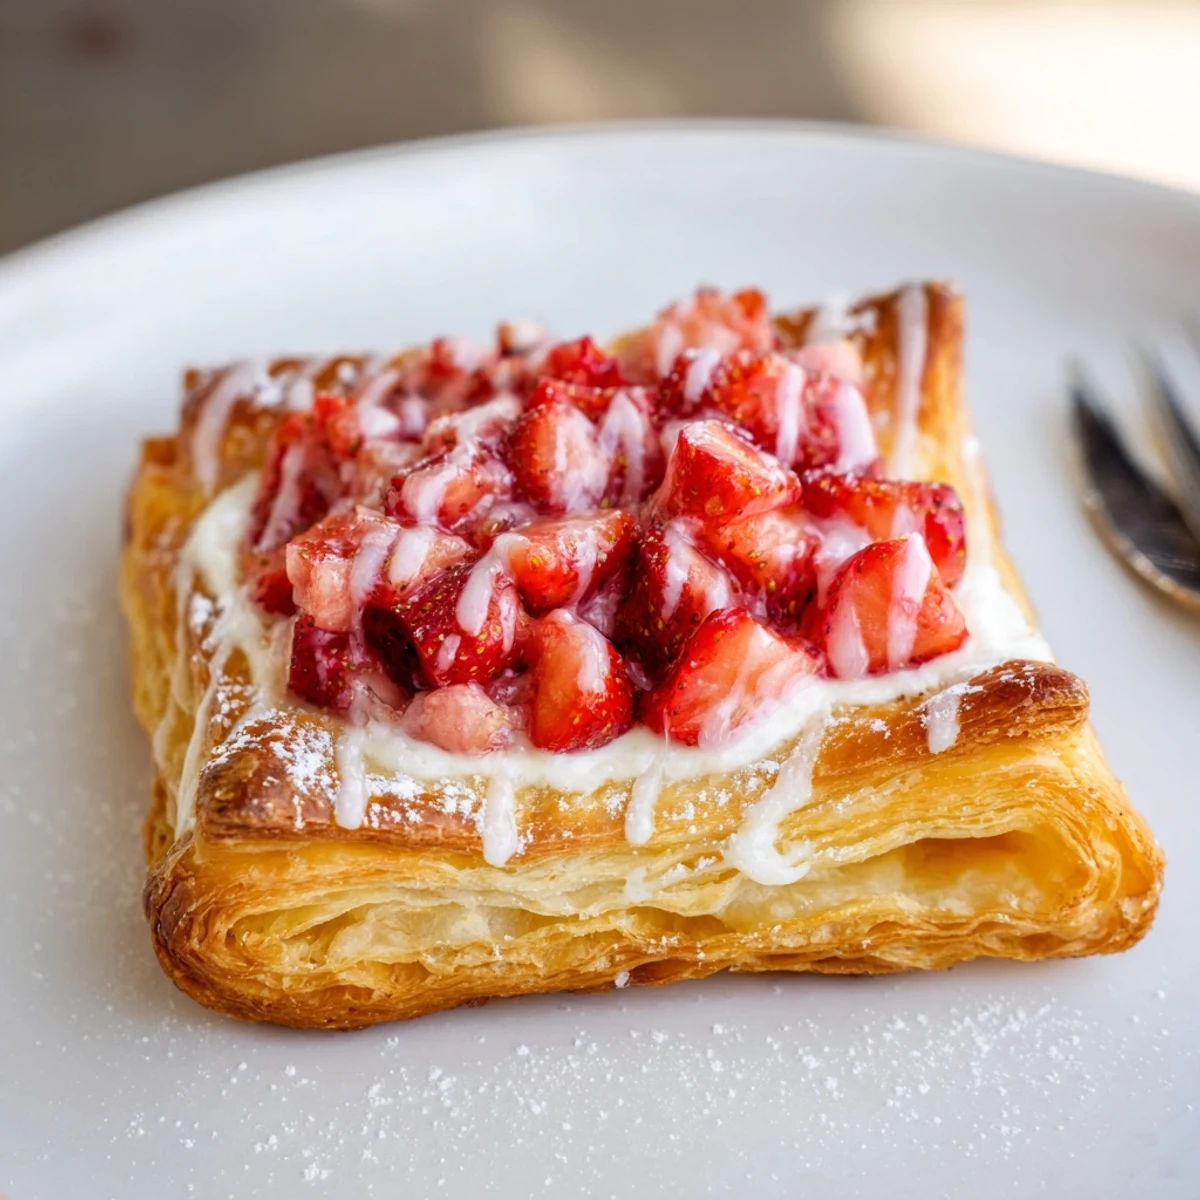
Save Turn one sheet of thawed puff pastry into 8 golden strawberry danishes: cut into squares, score a 1 cm border, spread a smooth cream cheese mixture (cream cheese, sugar, vanilla, lemon zest), top with macerated strawberries tossed with sugar and cornstarch. Brush borders with egg wash and bake at 200°C (400°F) for 18–22 minutes. Cool before glazing. Store airtight up to 2 days; reheat briefly to revive flakiness.
The kitchen filled with the unmistakable scent of pastry and strawberries long before the timer chimed, and I couldn't help smiling at how quickly anticipation builds when making these Strawberry Danishes. There was a certain hush over the morning, just broken by the crackle of the pastry and the soft murmur of cream cheese whipped to silk. I’ve come to love the flour-dusted thrill of slicing pastry squares and watching vibrant fruit glisten atop mottled cheese. Sometimes these moments in the kitchen feel less like making breakfast and more like setting the stage for something small but special.
I still remember assembling these Danishes for a group brunch, and my cousin boldly sneaked one before the rest even made it to the platter. We laughed as the glaze dripped down his fingers—honestly, it’s hard not to steal just one before sharing. These little pastries have a way of creating their own playful moments around the table.
Ingredients
- Puff pastry sheet (about 250 g): Store-bought puff pastry is my crispy shortcut; thaw in the fridge so it rolls without sticking or tearing.
- Cream cheese (120 g): Softening it makes whisking a breeze, ensuring a smooth and pillowy filling every time.
- Granulated sugar (2 tbsp for filling): A little goes a long way to sweeten the cheese without masking its tang.
- Vanilla extract (1 tsp): Trust me, real vanilla makes the filling taste unmistakably homemade.
- Lemon zest (1 tsp): Don’t skip this! It balances richness and gives the Danishes a lively brightness.
- Fresh strawberries (200 g): The star of the show—choose ripe berries for juiciness, and dice them small so they nestle into the pastry.
- Granulated sugar (2 tbsp for strawberries): Encourages the berries to release their syrup, making the filling jammy in the oven.
- Lemon juice (1 tsp): Just enough to amplify the strawberry flavor.
- Cornstarch (1 tsp): This keeps the filling from getting runny and soaks up those delicious berry juices.
- Egg (1): Mixed with milk for a shiny, golden crust on each Danish.
- Milk (1 tbsp for egg wash): Helps the pastry bronze and puff perfectly.
- Powdered sugar (100 g): Essential for that beautiful, sweet drizzle (and hiding any imperfections).
- Milk (2-3 tsp for glaze): Loosens the sugar for an easy glaze—it’s better to add a bit at a time.
- Vanilla extract (1/2 tsp for glaze): A trick I learned to take the glaze from basic to irresistible.
Instructions
- Get the oven hot:
- Preheat to 200°C (400°F) and line your tray with parchment—it spares you from sticky cleanup later.
- Mix the cream cheese filling:
- With a whisk or even a fork, blend cream cheese with sugar, vanilla, and lemon zest until it’s smooth as a cloud.
- Toss the strawberries:
- Combine diced strawberries with sugar, lemon juice, and cornstarch; after a gentle mix leave them for a couple of minutes, and you’ll see a glossy syrup start forming.
- Shape the pastries:
- Roll the puff pastry and cut into 8 even squares—scoring a border makes them puff up with crisp, bakery edges.
- Layer the fillings:
- Add a spoonful of cream cheese mix to each square and gently nudge it into the center, keeping it inside the border.
- Pile on the strawberries:
- Straight from the bowl, mound them atop the cheese, resisting the urge to overfill or the edges may leak.
- Brush and bake:
- Whisk egg with milk, brush the pastry borders, and slide the tray in for 18–22 minutes, watching for bubbling fruit and golden edges.
- Cool, then glaze:
- Let the pastries rest on a wire rack so the bottoms stay crisp. Whisk together powdered sugar, milk, and vanilla, then drizzle over Danishes when they’re just barely warm.
 Save
Save When I watched my niece, cheeks dusted in sugar, reach for a second Danish, I realized these pastries are the kind of treat that leave lasting echoes in family stories, not just crumbs on the plate.
Easy Swaps for Any Kitchen
If strawberries aren’t in season, raspberries or blueberries work beautifully and bring their own twists to the filling. Don’t be afraid to experiment—the base recipe is forgiving, and you’ll discover new favorites by simply using what’s at hand.
Making Flaky Pastries Without Fuss
Cold pastry makes the biggest difference, so keep it chilled until you’re ready to roll and fill. When your kitchen gets warm, I sometimes pop the assembled pastries into the fridge for a few minutes before baking to maximize puff.
Finishing Touches & Sweet Glaze Tricks
The glaze is your moment to play: go thick for dramatic ribbons or thin it out for a delicate sheen. It also hides little imperfections, so never stress about a cracked edge.
- If you drizzle the glaze while the Danishes are still slightly warm it absorbs just enough to shine.
- Let the glaze set before stacking—otherwise they might stick together.
- A dusting of extra lemon zest on top adds a zippy finish.
 Save
Save Making a batch of these feels like a small victory every time, no matter how many times I’ve made them. They’re as perfect for a quiet morning as for a festive gathering—there’s always a reason to make another round.
Recipe FAQs
- → How do I keep the pastry crisp and flaky?
-
Work with well-chilled puff pastry and avoid overhandling. Brush the scored border with egg wash to seal edges and bake on a preheated tray so steam escapes quickly, yielding a crisper finish.
- → Can I use frozen strawberries?
-
Yes. Thaw and drain excess liquid, then toss with sugar and a touch of cornstarch to absorb remaining juice before assembling to prevent soggy centers.
- → How can I prevent a soggy fruit topping?
-
Toss diced berries with sugar and cornstarch to macerate and bind juices. Use a slotted spoon to place fruit on the cheese layer so excess syrup stays behind.
- → Can these be prepared ahead of time?
-
Assemble the filled squares on a lined tray, freeze on the tray until firm, then transfer to a bag. Bake from frozen adding a few extra minutes. Alternatively, bake fully and store cooled in an airtight container for up to 2 days.
- → What indicates they are done baking?
-
The centers should be puffed and the borders a deep golden brown. Total bake time is about 18–22 minutes at 200°C (400°F), but ovens vary—watch for color and lift.
- → Any good substitutions for the cream cheese filling?
-
Use mascarpone for a richer filling or thick ricotta sweetened with a little sugar and lemon zest for a lighter alternative. Adjust sweetness to taste.