 Save
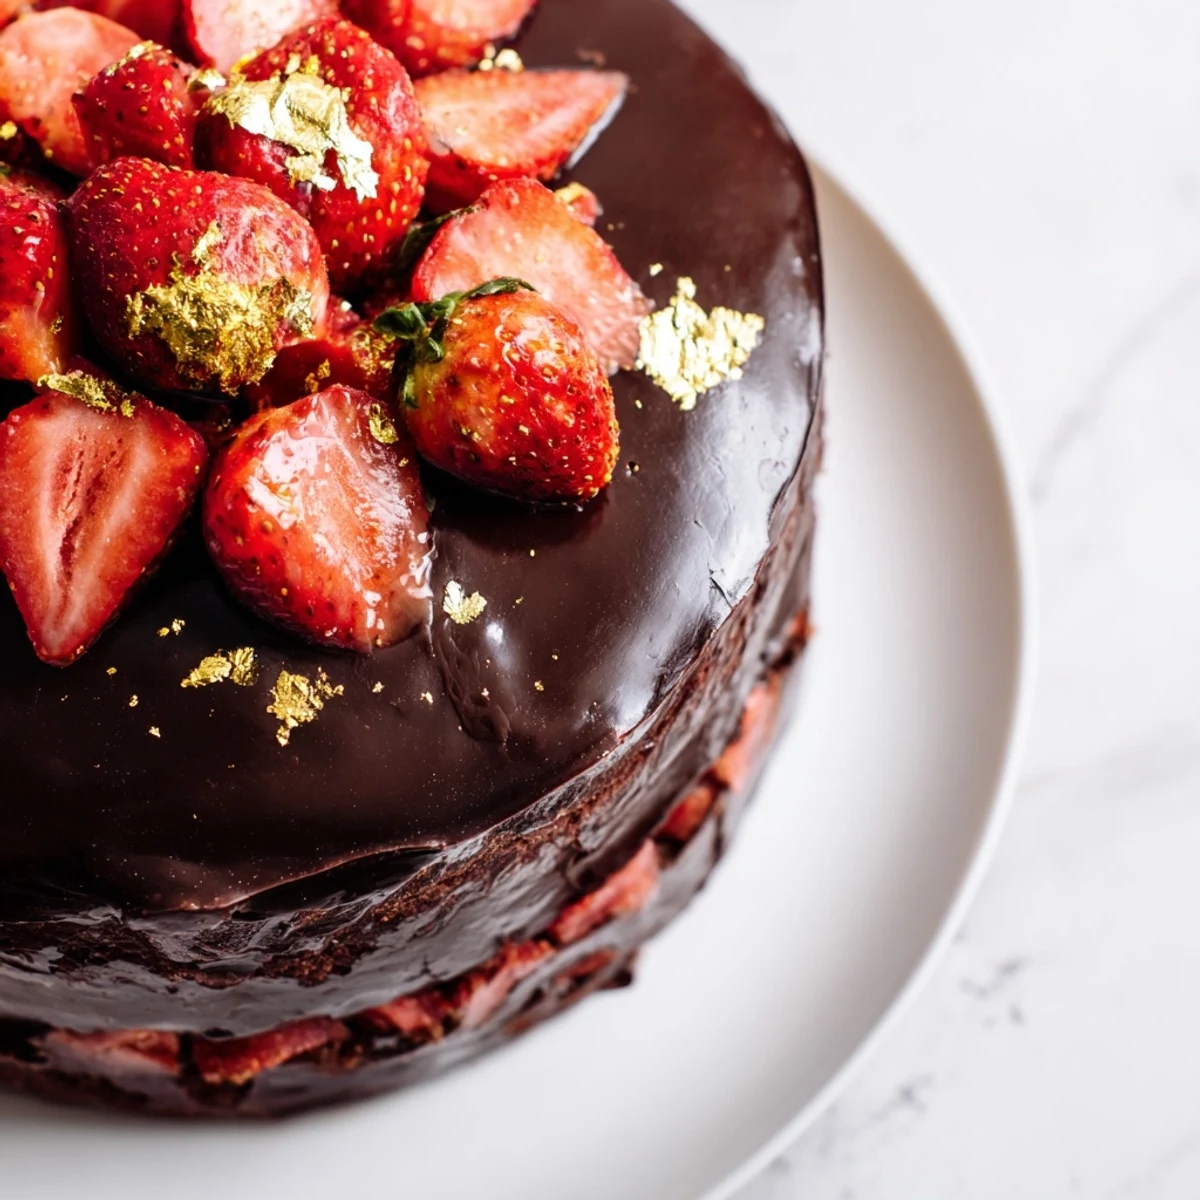
Save This impressive dessert features three essential components that come together beautifully. Start with light, fluffy vanilla sponge cakes baked until golden. Meanwhile, prepare a sweet-tart strawberry jam filling and whip fresh cream with vanilla and sugar. Once the cakes have cooled completely, layer them with the strawberry mixture and cream, then freeze until firm—the key step that helps the chocolate shell set perfectly.
The magic happens when you pour the tempered dark chocolate and coconut oil mixture over the chilled cake. It cascades down the sides, forming an irresistibly glossy, crackling shell that breaks with each forkful. The contrast between the smooth chocolate, creamy filling, and tender sponge creates an unforgettable tasting experience.
Best served chilled, this stunning centerpiece feeds a crowd and keeps well in the refrigerator for up to three days. For optimal results, freeze the assembled cake for at least one hour before applying the chocolate coating.
The first time I made a chocolate shell cake, my hands shook as I poured the glossy dark chocolate over the frozen whipped cream layer. I held my breath, watching it cascade down the sides and transform into something that looked like it belonged in a bakery window. My kitchen fell completely silent except for the chocolate hitting the plate and that magical crackling sound as it began to set. Now it is the cake my friends actually request by name.
Last summer my sister asked me to make her birthday cake, and I decided to attempt this chocolate shell technique for the first time. We had the windows open and a breeze was coming through while I assembled the layers, both of us sneaking spoonfuls of the strawberry filling straight from the stove. When I poured that final chocolate layer and it set into the most gorgeous mirror finish, she actually gasped out loud. The photos from that night still make me smile.
Ingredients
- All-purpose flour: The foundation that gives structure to all those luscious layers
- Baking powder: Essential for that light, tender crumb we want in the sponge
- Salt: Just enough to enhance the flavors without making anything taste salty
- Large eggs: Must be room temperature to properly whip up into that fluffy batter
- Granulated sugar: Sweetens the cake while providing structure during baking
- Whole milk: Creates tenderness in the crumb and keeps everything moist
- Unsalted butter: Melted and cooled makes for the easiest incorporation ever
- Pure vanilla extract: The aromatic backbone that complements both chocolate and strawberries
- Fresh strawberries: Diced small so they cook down into that perfect jammy consistency
- Lemon juice: Brightens the strawberry filling and helps it thicken beautifully
- Cornstarch: The secret to getting that thick, spreadable strawberry layer
- Heavy cream: Must be ice cold to whip into those stable stiff peaks we need
- Powdered sugar: Sweetens the cream while adding a bit more stability
- Dark chocolate: 60 to 70% cocoa gives us that perfect bittersweet balance
- Coconut oil: Makes the chocolate shell glossy and gives it that signature snap
Instructions
- Prep your pans and oven:
- Preheat to 350°F and get those cake pans ready with parchment paper so nothing sticks later
- Mix the dry ingredients:
- Whisk flour, baking powder, and salt in a bowl so everything is evenly distributed
- Whip the eggs and sugar:
- Beat on high for about 5 minutes until the mixture is pale and has lots of air bubbles incorporated
- Fold everything together:
- Gently add the flour mixture followed by milk, butter, and vanilla until just combined
- Bake the layers:
- Divide between your prepared pans and bake 25 to 30 minutes until a toothpick comes out clean
- Make the strawberry filling:
- Cook strawberries with sugar, lemon juice, and cornstarch until thickened like jam, then cool completely
- Whip the cream:
- Beat cold heavy cream with powdered sugar and vanilla until you have stiff peaks that hold their shape
- Assemble the cake:
- Layer cake with strawberry filling and whipped cream, then frost the entire thing and freeze until firm
- Prepare the chocolate shell:
- Melt chocolate and coconut oil together until smooth, then cool to room temperature while staying pourable
- Pour the magic:
- Pour that chocolate over your frozen cake and watch it cascade down the sides into a gorgeous shell
- Add final touches:
- Decorate with fresh strawberries and any fancy toppings before chilling for 30 minutes
 Save
Save My roommate walked in right as I was pouring the chocolate shell over this cake and stopped dead in her tracks. She stood there watching the chocolate drip down the sides and actually said it looked like something from a magazine. That moment when we finally cut into it and heard that perfect crack sound made all the steps worth it.
Making It Ahead
You can bake the sponge layers a day ahead and wrap them tightly at room temperature. The strawberry filling also keeps beautifully in the refrigerator for two days, so feel free to prep that in advance.
Getting That Perfect Shell
The trick is working quickly once the chocolate is at the right temperature. I like to have my cake on a cooling rack set over a baking sheet to catch the excess chocolate as it drips off.
Serving Suggestions
This cake tastes best when it has been out of the refrigerator for about 15 minutes before serving. Let the chocolate soften slightly and the flavors wake up a bit.
- Use a hot knife to get clean slices through that chocolate shell
- Wipe the knife between cuts for the most beautiful presentation
- Store any leftovers in the refrigerator for up to three days
 Save
Save There is something so satisfying about serving a cake that looks this impressive and watching everyone is face light up. Enjoy every bite of this showstopper.
Recipe FAQs
- → Why must the cake be frozen before applying the chocolate shell?
-
Freezing the assembled cake for at least one hour ensures the layers are firm and stable. The cold temperature helps the warm chocolate shell set rapidly into a smooth, glossy coating that won't slide off or make the filling melt.
- → Can I make the sponge layers ahead of time?
-
Absolutely. Bake the sponge layers up to two days in advance, wrap them tightly in plastic wrap, and store at room temperature. You can also freeze them for up to three months before thawing and assembling.
- → What type of chocolate works best for the shell?
-
Dark chocolate with 60–70% cocoa content creates the ideal balance of bitterness and sweetness while providing excellent structural integrity. Higher quality chocolate produces a smoother, more professional-looking shell.
- → How do I prevent air bubbles in the chocolate coating?
-
Let the melted chocolate cool slightly until it's warm but not hot—around 90°F (32°C). Pour slowly from the center and use an offset spatula to guide the chocolate over the sides. Tap the plate gently to release trapped air bubbles.
- → Can I substitute other fruits for strawberries?
-
Yes, raspberries, blackberries, or a mixed berry blend work beautifully. Just note that some fruits may require adjusting the sugar or cornstarch slightly depending on their natural sweetness and juice content.
- → How long does the completed cake keep?
-
Store the finished cake in the refrigerator for up to three days, well-covered. The chocolate shell may develop slight condensation when removed from cold—let it sit at room temperature for 15 minutes before serving for the best texture and appearance.