 Save
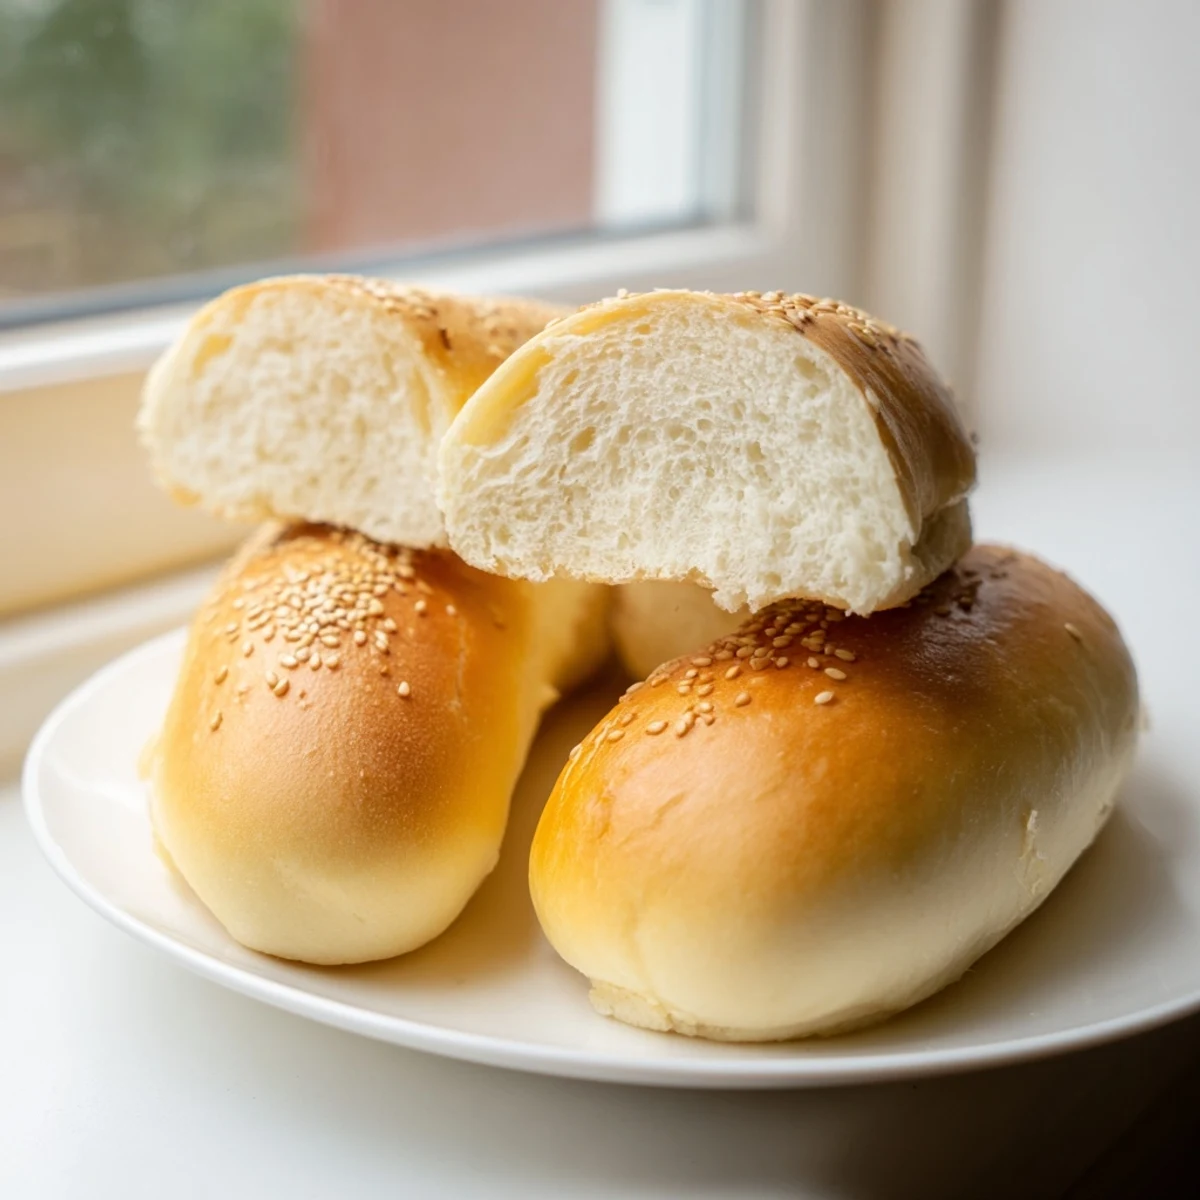
Save Elevate your hot dog game with these soft, pillowy buns featuring the subtle tang of sourdough discard. The unfed starter adds depth and complexity while keeping the texture light and tender. Perfect for summer cookouts, backyard barbecues, or weeknight dinners, these buns bake up golden brown with a slightly chewy crust.
The dough comes together quickly with pantry staples, then rises until doubled before shaping into classic logs. A final brush with melted butter after baking ensures a soft, bakery-style finish. Customize with sesame seeds, poppy seeds, or everything seasoning for extra crunch and flavor.
Dairy-free and easily adaptable, these buns freeze beautifully and reheat like fresh from the oven. Make a batch on Sunday and enjoy homemade buns all week long.
My kitchen smelled like an unexpected bakery last Sunday when I decided to finally use that accumulating jar of sourdough discard. The weather was gloomy, the kind that begs for warm bread and comfort food, and I was already planning hot dogs for dinner anyway. Why not make the buns from scratch and give them that subtle tangy depth only sourdough can provide?
My teenage son wandered into the kitchen halfway through the first rise, drawn by the unmistakable scent of yeast and butter. He actually asked if we were having company for dinner, which is how I knew these buns were going to be special. We ended up eating them plain, warm from the oven, tearing them apart and slathering them with butter before I even had the hot dogs ready.
Ingredients
- Sourdough discard: Use unfed starter at 100% hydration, straight from your fridge, for that signature tangy flavor and tenderness
- Warm milk: Should feel like bath temperature to activate the yeast without killing it
- Unsalted butter: Melted and slightly cooled so it does not scramble the egg when added
- Sugar: Feeds the yeast and helps the buns achieve that beautiful golden brown color in the oven
- Large egg: Adds richness and helps create that pillowy soft texture store bought buns never achieve
- Salt: Do not reduce this as it balances the slight sourness from the discard
- All purpose flour: Start with less and add only until the dough feels tacky but not sticky
- Instant yeast: No need to proof separately, just mix it in with the warm milk and sugar
Instructions
- Wake up the yeast:
- Combine warm milk, sugar, and instant yeast in your largest mixing bowl and wait for bubbles to form across the surface
- Build the base:
- Stir in your sourdough discard, melted butter, egg, and salt until everything is well incorporated
- Form the dough:
- Add flour gradually, mixing with a wooden spoon or dough hook until the dough pulls away from the sides of the bowl but still feels slightly tacky
- Work the gluten:
- Knead by hand on a floured surface for 7 to 8 minutes until the dough feels smooth, elastic, and bounces back when you press it
- First rise:
- Place dough in a greased bowl, cover with plastic wrap, and let it double in size somewhere warm
- Shape the buns:
- Punch down gently, divide into 8 equal pieces, and roll each into a 6 inch log, tucking the ends underneath
- Second rise:
- Arrange on parchment lined baking sheets with room to spread, cover, and let puff up for 30 to 45 minutes
- Get ready to bake:
- Heat your oven to 375°F while the buns finish their final rise
- Add the finish:
- Brush with milk and sprinkle seeds if you want that classic bakery look
- Bake to golden:
- Bake for 18 to 20 minutes until the tops are deeply golden and they sound hollow when tapped
- The secret step:
- Brush immediately with melted butter while still hot for the softest crust imaginable
 Save
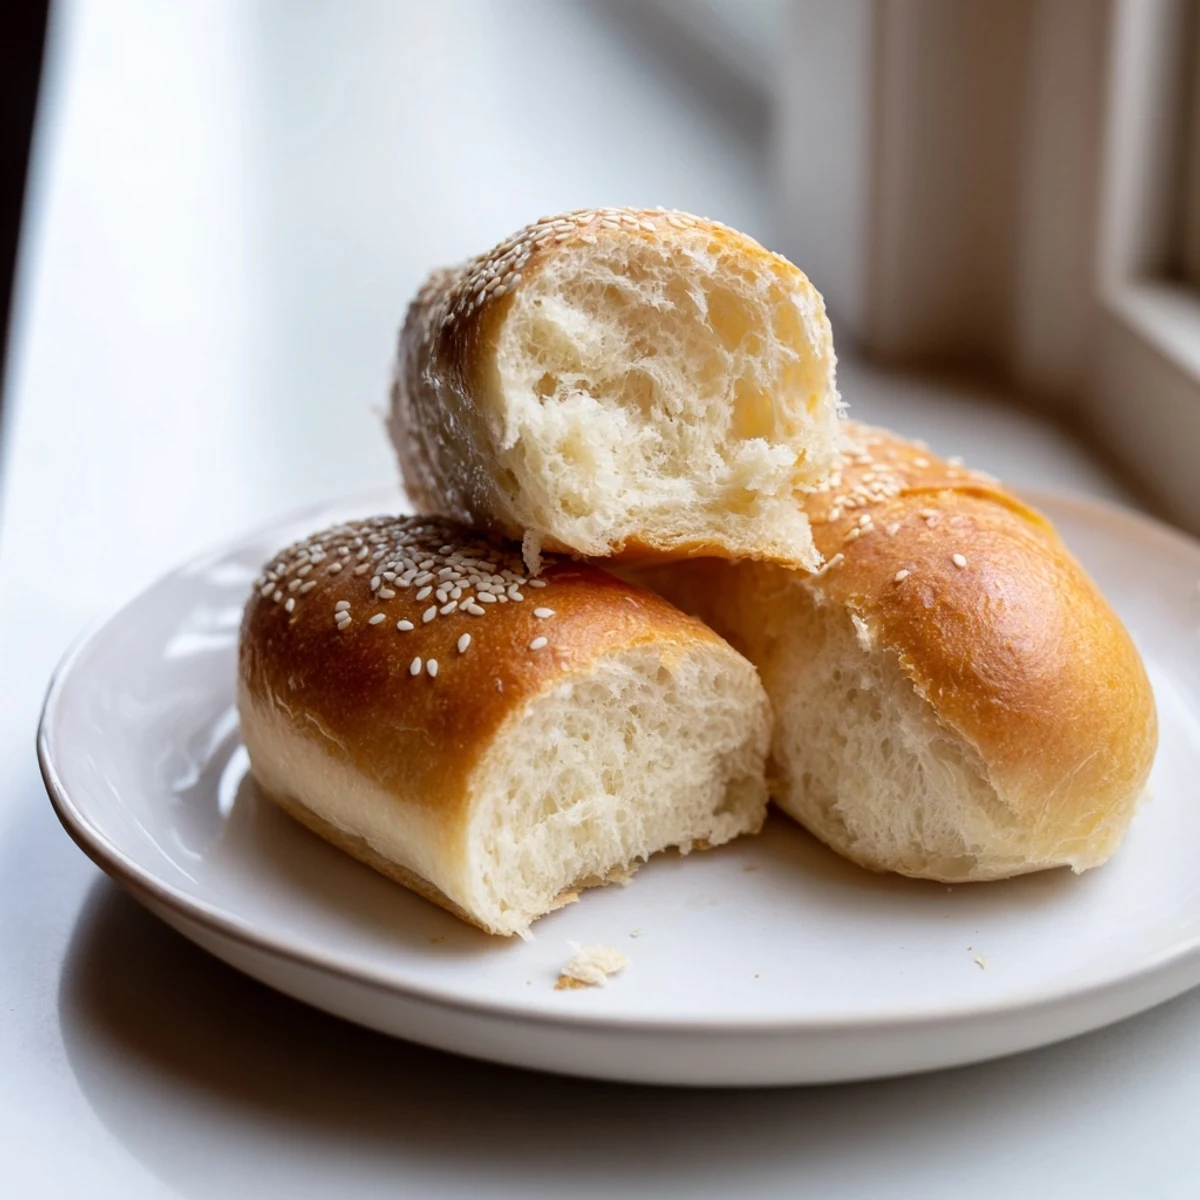
Save These have officially replaced store bought buns in our house, and my husband actually requested them for his work lunches this week. There is something incredibly satisfying about turning what would have been waste into something that brings everyone to the table.
Getting The Shape Right
The first time I made these, my logs were uneven and some looked more like footballs than hot dog buns. I learned to use the palm of my hand to roll each piece gently back and forth, applying even pressure from the center outward. Tucking the ends underneath creates that smooth, professional appearance.
Making Them Ahead
You can shape the buns after the first rise and refrigerate them overnight on the baking sheet, covered tightly with plastic. Let them come to room temperature and finish rising while the oven preheats the next day. This is actually how I make them for summer cookouts.
Freezing Extra Buns
Wrap cooled buns individually in plastic wrap, then place them all in a freezer bag. They will keep for up to three months. Thaw on the counter for an hour, then refresh in a 350°F oven for 5 minutes to restore that freshly baked texture.
- Double wrap if freezing for more than a month
- Slice before freezing so you can toast them straight from frozen
- Label the bag with the date so you use the oldest batch first
 Save
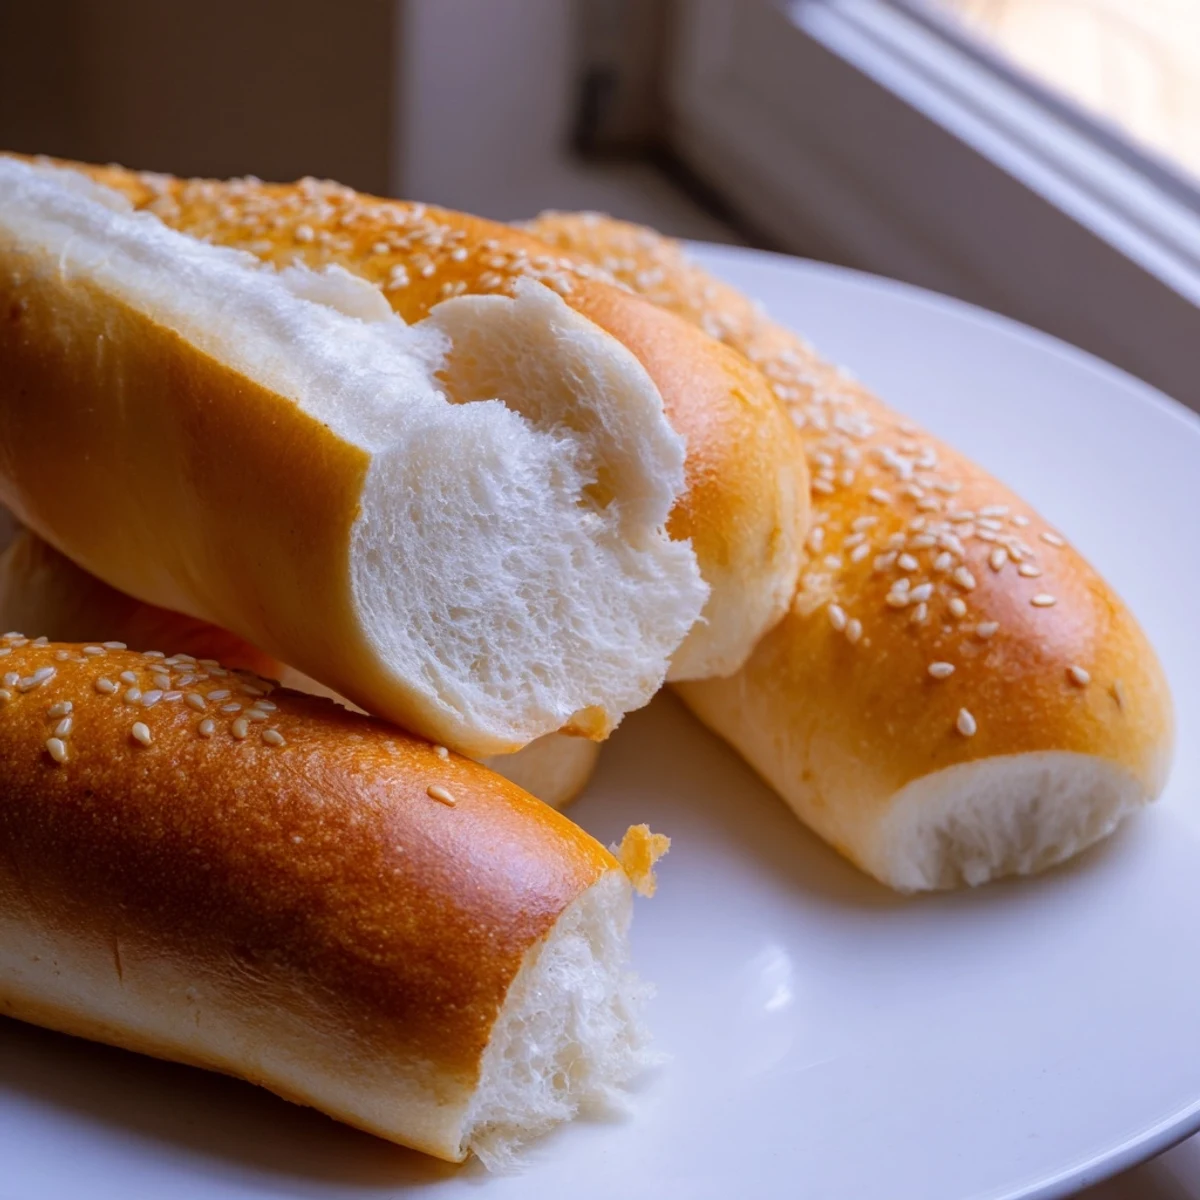
Save There is nothing quite like biting into a warm, homemade bun with that subtle sourdough tang and knowing you made it yourself.
Recipe FAQs
- → Can I make these buns without a stand mixer?
-
Absolutely! Knead by hand on a lightly floured surface for 7–8 minutes until smooth and elastic. The dough is soft and manageable, making hand-kneading quite straightforward.
- → How should I store these buns?
-
Keep in an airtight bag at room temperature for 2–3 days. For longer storage, freeze individually wrapped and thaw at room temperature or warm in the oven.
- → Can I use active sourdough starter instead of discard?
-
Yes, though the texture may be slightly tangier. Reduce the flour by about 2 tablespoons since active starter is more hydrated than typical discard.
- → What if my dough is too sticky?
-
Add flour gradually, 1 tablespoon at a time, until the dough is tacky but manageable. The dough should still feel slightly sticky—too much flour will make dense buns.
- → Can I make these into hamburger buns?
-
Certainly! Divide dough into 6 pieces instead of 8, flatten into rounds 4 inches wide, and follow the same rising and baking instructions.