 Save
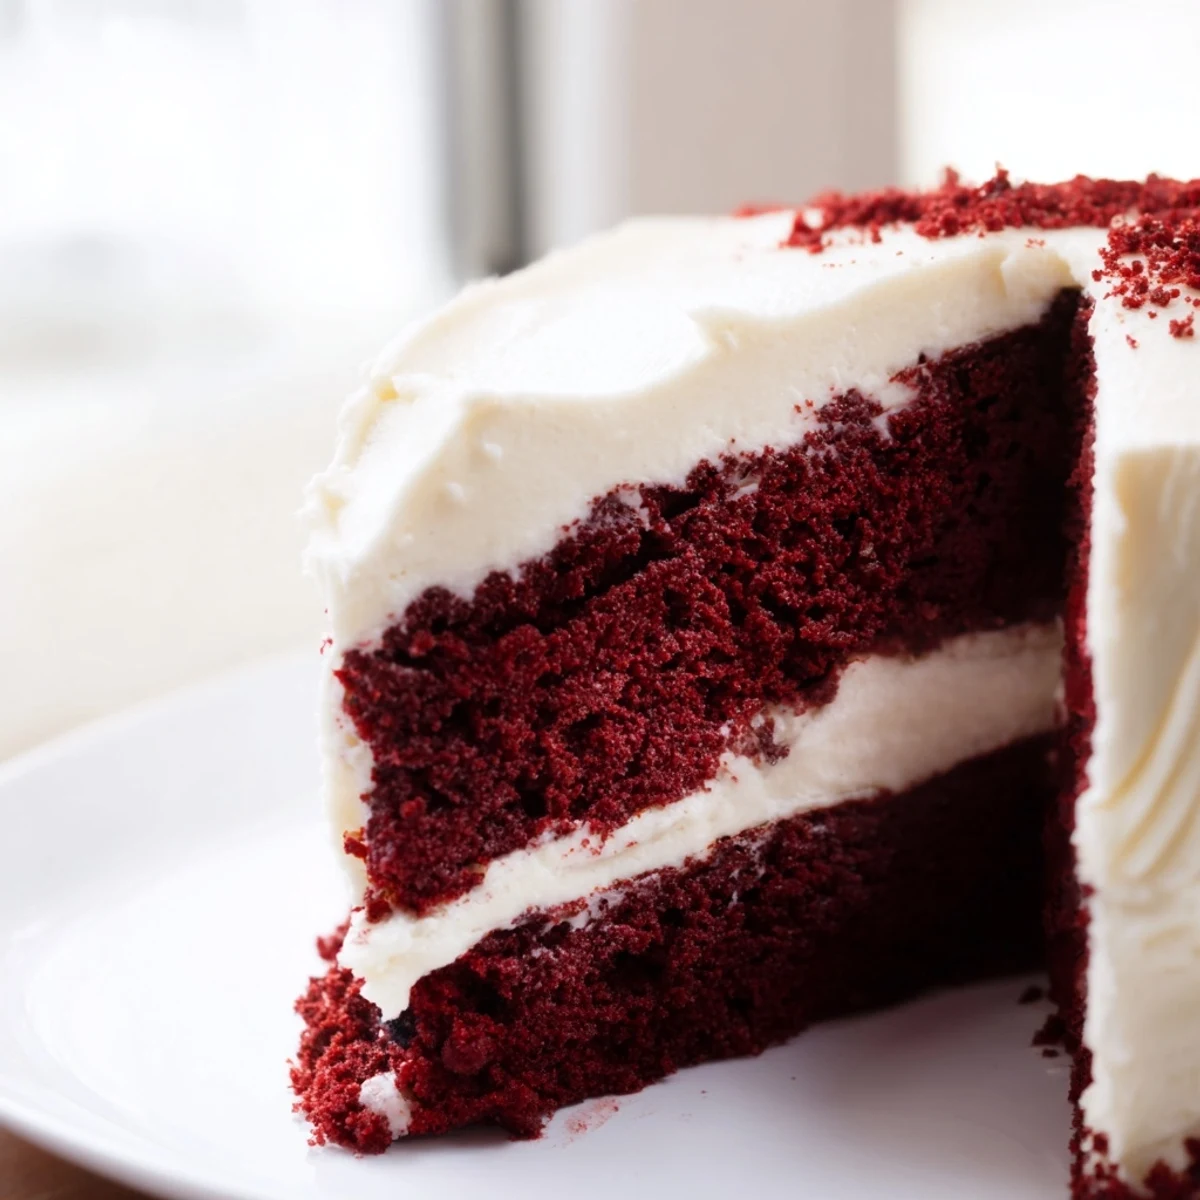
Save This moist red velvet cake features tender layers infused with a hint of cocoa and vibrant coloring. Each layer is generously coated with a smooth, creamy cream cheese frosting that balances sweetness with a subtle tang. The cake requires simple mixing, baking for about 30 minutes, and chilling before serving. Perfect for festive occasions, it pairs beautifully with berries, chocolate shavings, or a cup of black coffee.
The first time I attempted red velvet cake, I stared at the batter in fascination. That shocking crimson color felt like kitchen magic, something between science and wonder. My kitchen was covered in flour dust, but when those layers emerged from the oven, perfectly domed and tender, I understood why this cake has captured hearts for generations. Now it is my go to for moments that call for something extraordinary.
I made this cake for my sister's bridal shower, watching her face light up when she saw those crimson layers. The kitchen smelled like warm vanilla and happiness. Every guest asked for the recipe, and honestly, that moment of seeing people genuinely delighted by something you baked from scratch, that is the real magic here.
Ingredients
- All-purpose flour: The foundation of your cake structure, measured accurately for the perfect crumb
- Granulated sugar: Sweetness and tender texture, creamed into the batter for even distribution
- Baking soda: The leavening agent that helps your cake rise beautifully
- Fine salt: Enhances all the flavors and balances the sweetness
- Cocoa powder: Just enough to give depth without overpowering the delicate velvet flavor
- Vegetable oil: Keeps the cake incredibly moist, more so than butter would alone
- Buttermilk: The secret to tender crumb and subtle tang, at room temperature for proper emulsification
- Large eggs: Room temperature eggs blend better and create proper structure
- Red food coloring: Creates that iconic crimson hue, gel coloring gives the most vibrant results
- Vanilla extract: Pure vanilla adds warmth and rounds out the flavor profile
- White vinegar: Reacts with baking soda for extra lift and enhances the red color
- Cream cheese: Use full fat, brick style cream cheese for the best frosting consistency
- Unsalted butter: Softened to room temperature so it blends smoothly without lumps
- Powdered sugar: Sifted to prevent lumps and create silky smooth frosting
Instructions
- Prep your pans and oven:
- Preheat oven to 350°F and grease two 9-inch round pans, lining bottoms with parchment paper for easy release
- Whisk the dry ingredients:
- In a large bowl, combine flour, sugar, baking soda, salt, and cocoa powder until well blended
- Combine the wet ingredients:
- In a separate bowl, whisk together oil, buttermilk, eggs, food coloring, vanilla, and vinegar until smooth
- Mix the batter:
- Gradually pour wet ingredients into dry ingredients, mixing gently until just combined, being careful not to overmix
- Bake the layers:
- Divide batter evenly between prepared pans and bake for 28 to 32 minutes, until a toothpick comes out clean
- Cool completely:
- Let cakes rest in pans for 10 minutes, then turn onto wire racks to cool entirely before frosting
- Make the frosting:
- Beat softened cream cheese and butter until smooth, then gradually add sifted powdered sugar, vanilla, and pinch of salt until fluffy
- Assemble the cake:
- Place one cooled layer on your serving plate, spread with frosting, top with second layer, then frost top and sides
- Chill before serving:
- Refrigerate the finished cake for at least 30 minutes, this makes slicing cleaner and flavors meld beautifully
 Save
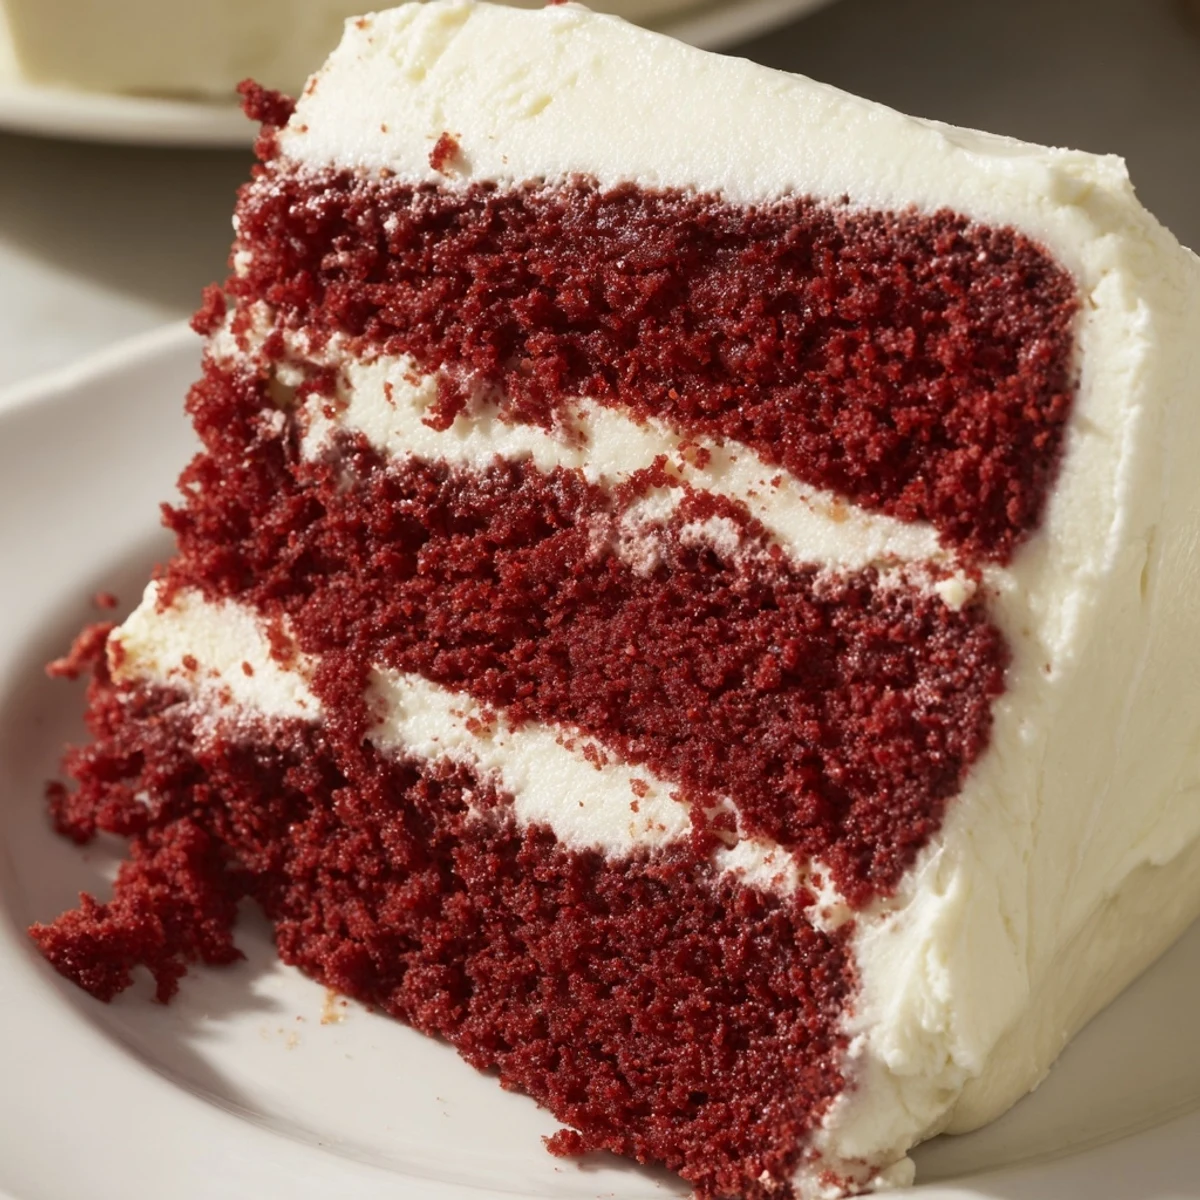
Save That first slice revealing the dramatic red against white frosting still makes me smile every single time. This is the cake that turns ordinary afternoons into celebrations and makes everyone feel special.
Mastering the Perfect Crumb
The secret to red velvet is in the gentle mixing. I used to overwork my batter, thinking thorough mixing meant better results. Wrong. Now I fold everything together by hand at the end, and the difference in texture is remarkable. Those tender, fine crumbs are worth the extra care.
Frosting Like a Pro
Apply a thin crumb coat first, then chill for 15 minutes before the final layer. This trick changed everything for me, no more stray cake crumbs ruining the pristine white finish. Your patience will be rewarded with bakery worthy results.
Make It Your Own
While classic red velvet is perfect on its own, I have learned that small tweaks can make it uniquely yours. The beauty lies in the balance between tradition and personal touch.
- Add extra cocoa powder if you want a more pronounced chocolate depth
- Experiment with natural food coloring for a softer, vintage red hue
- Top with fresh berries or a dusting of cocoa for stunning presentation
 Save
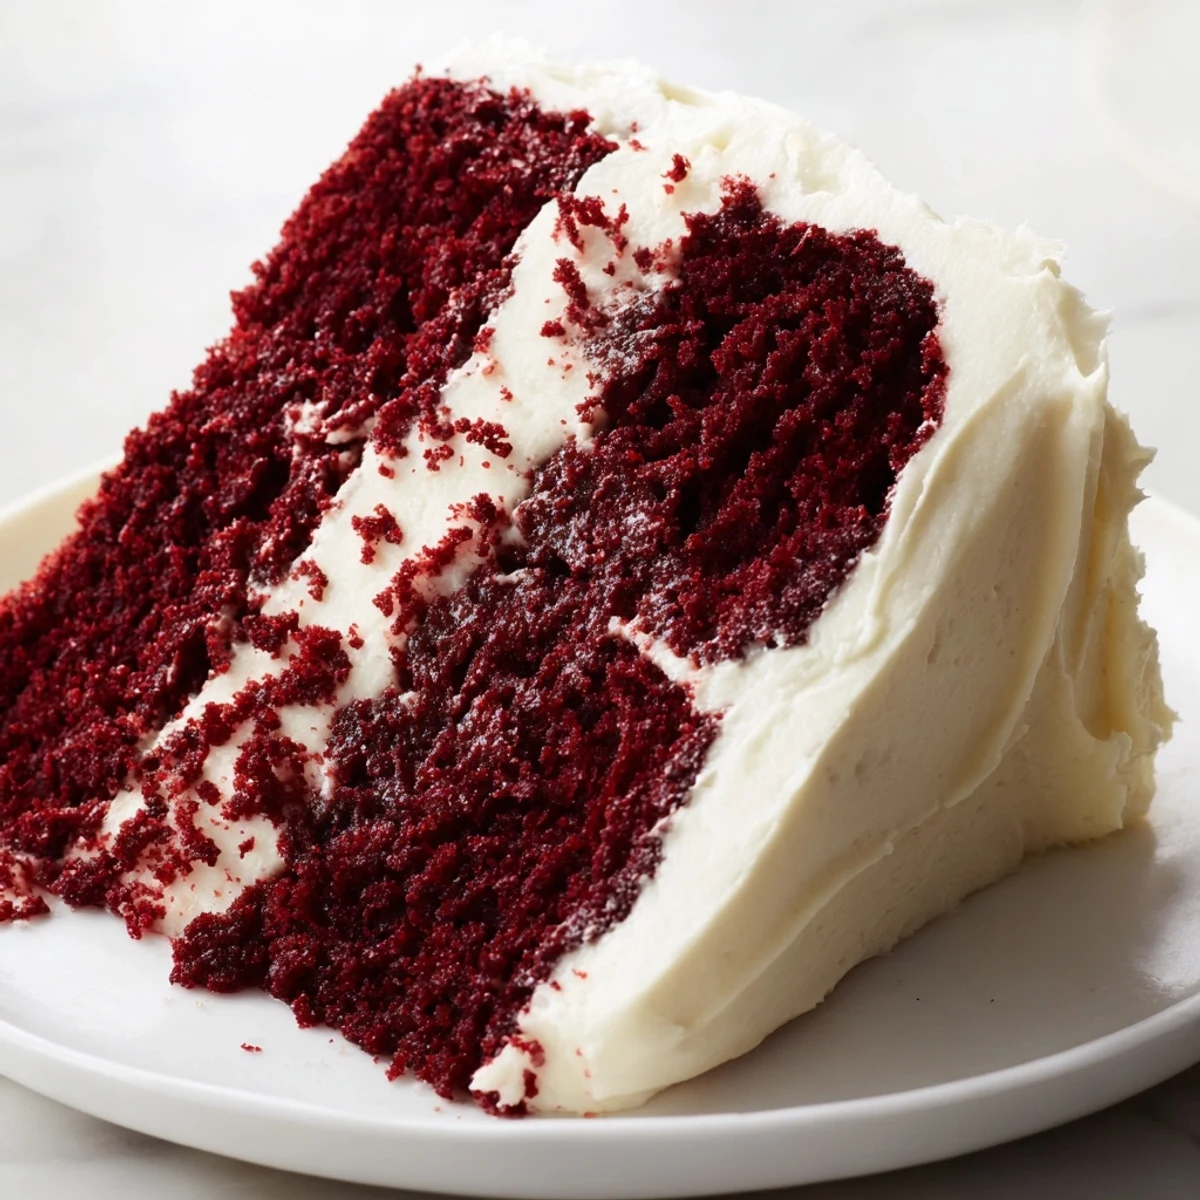
Save There is something joyful about cutting into that red velvet beauty, watching friends' eyes light up. Cake this good creates memories that linger long after the last crumb disappears.
Recipe FAQs
- → What gives this cake its distinctive red color?
-
Red food coloring is added to the batter, creating the signature vibrant red hue typical of this dessert.
- → Can I use a different frosting instead of cream cheese?
-
Yes, alternatives like buttercream or mascarpone frosting can be used, but cream cheese adds a balanced tangy richness that complements the cake well.
- → How do I ensure the cake layers are moist and tender?
-
Use buttermilk and vegetable oil as directed, and avoid overmixing the batter to keep the crumb soft and moist.
- → What is the ideal way to decorate the finished cake?
-
Consider garnishing with cake crumbs, fresh berries, or chocolate shavings to enhance both appearance and flavor.
- → How long should the cake chill before serving?
-
Chill the assembled cake for at least 30 minutes to set the frosting and improve slicing without crumbling.
- → Is this dessert suitable for vegetarians?
-
Yes, it contains no meat products; however, it does include dairy and eggs.