 Save
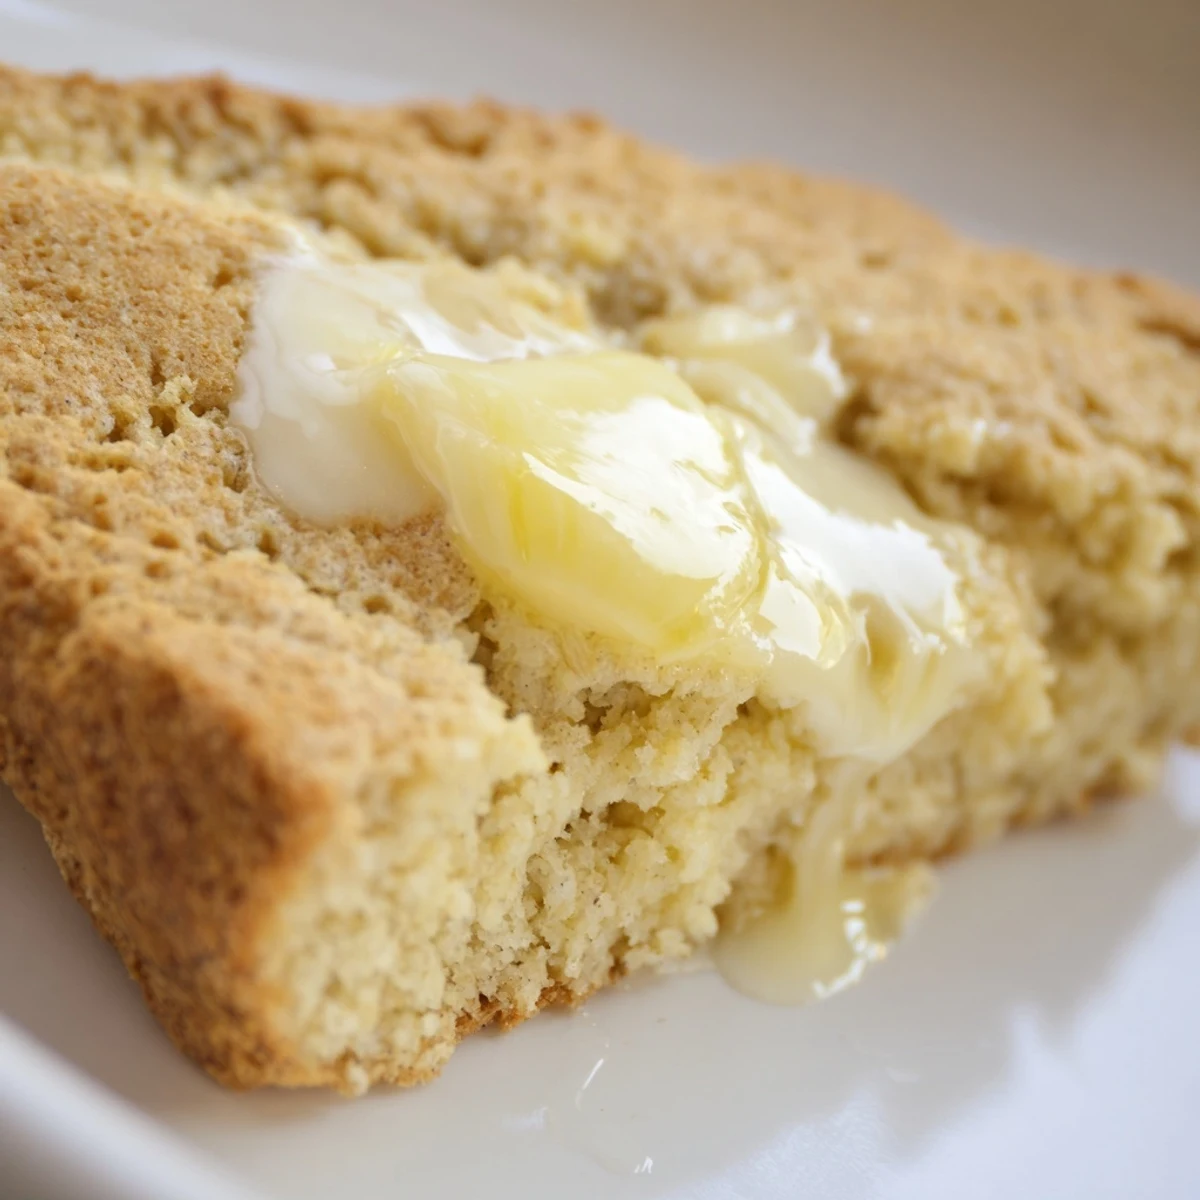
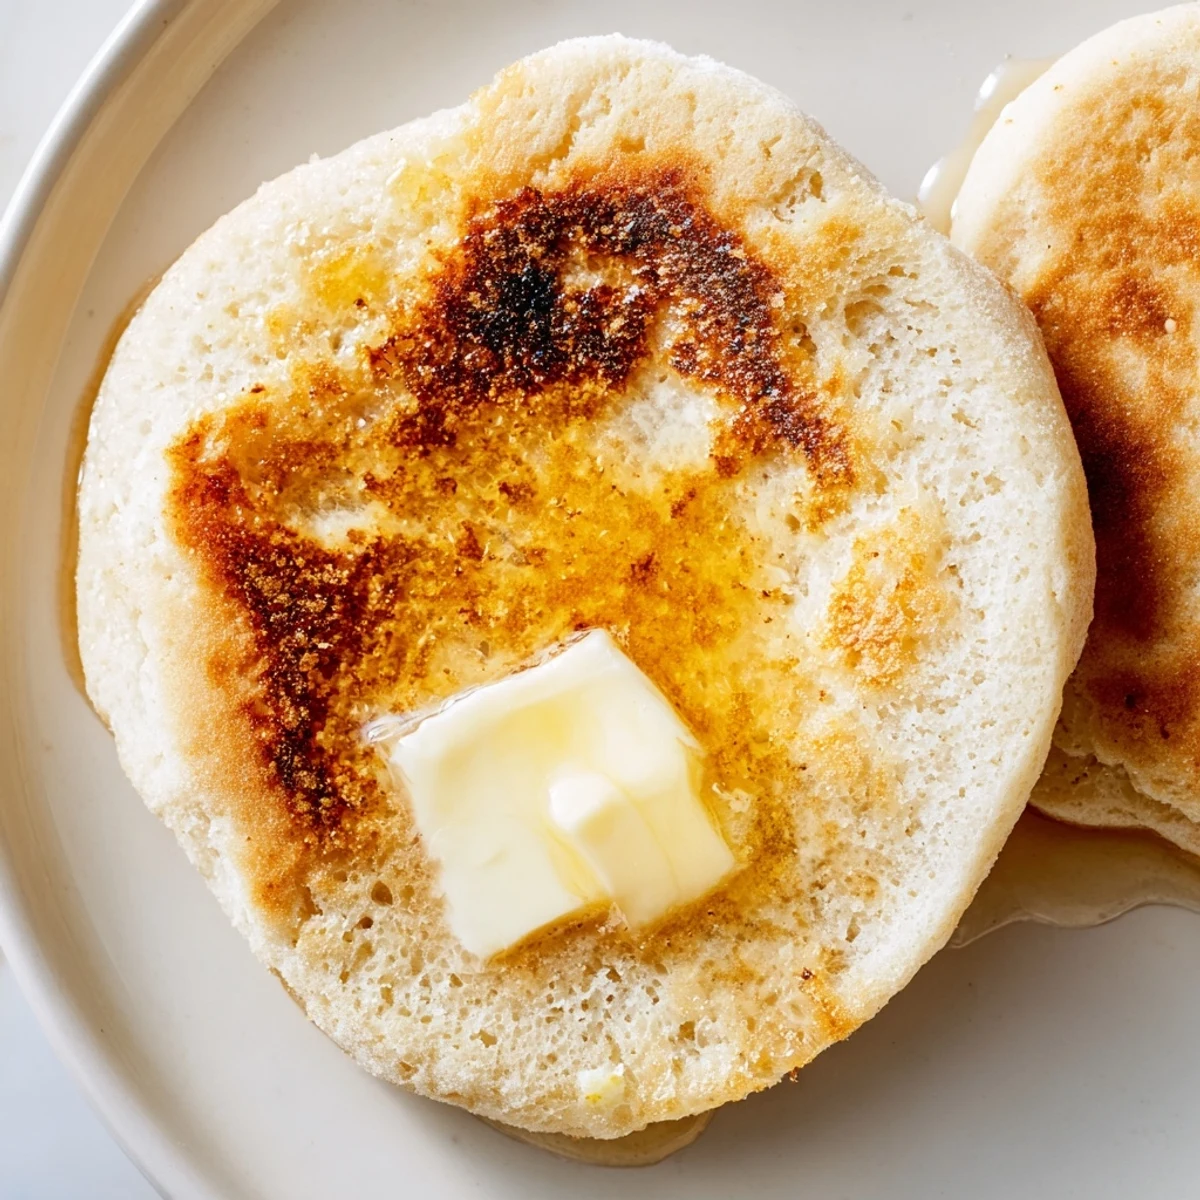
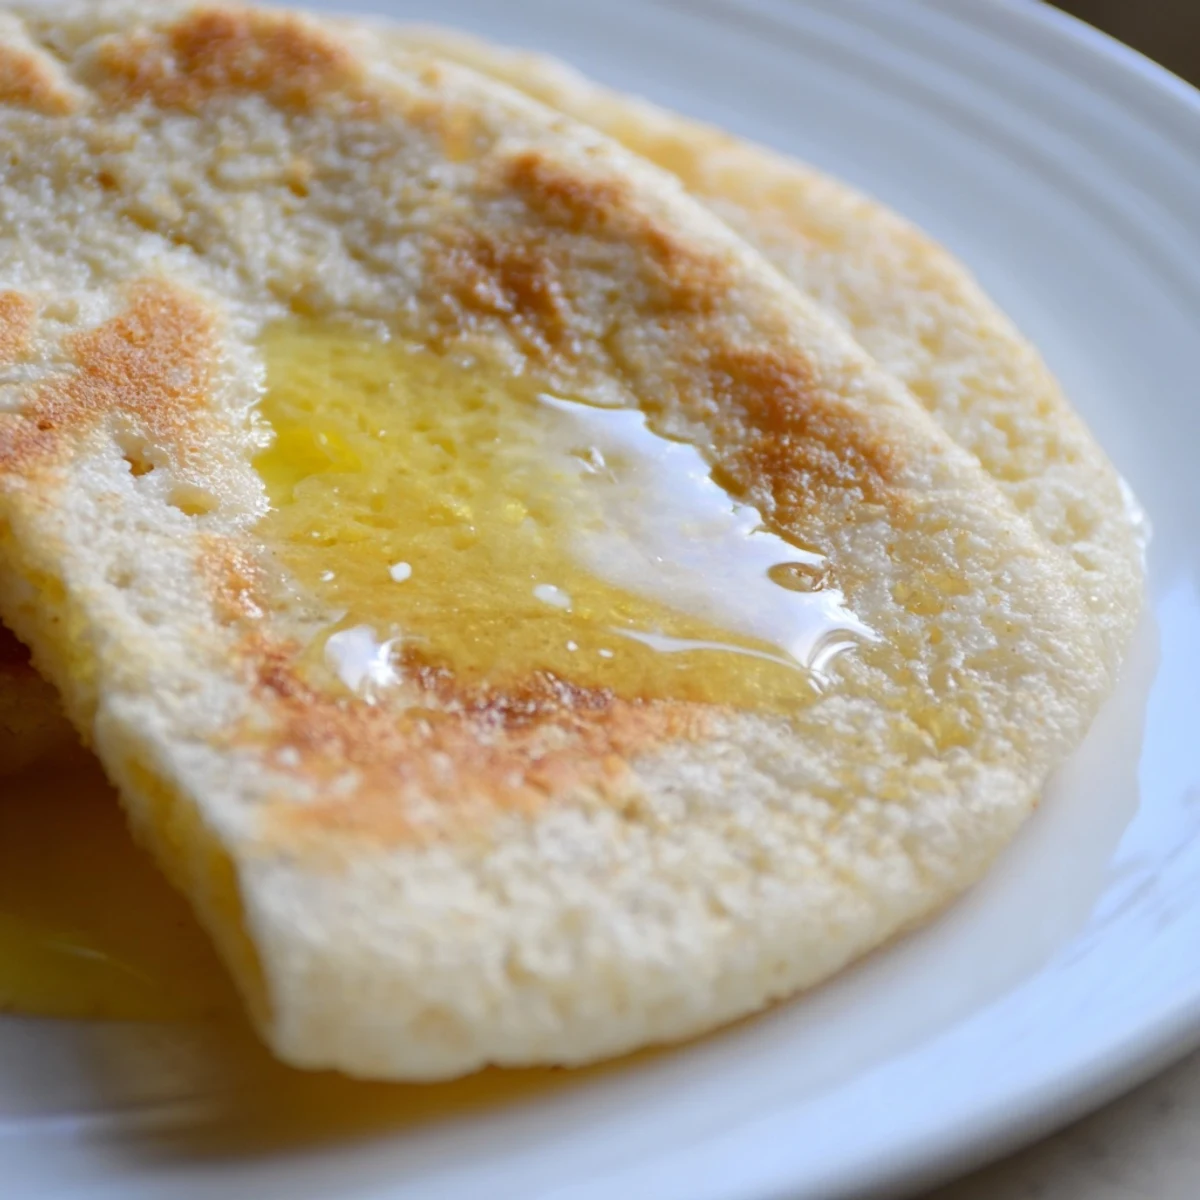
Save Irish soda farls are a traditional, quick griddle bread made from simple ingredients: flour, baking soda, salt, and buttermilk. This rustic bread comes together in under 25 minutes and requires minimal kneading, making it ideal for breakfast or afternoon tea. The dough is patted into a round, cut into quarters, and cooked on a hot griddle until golden and tender on both sides. Serve warm and generously spread with softened butter for the best experience. These farls are versatile—enjoy them plain, with jam or honey, or alongside a full Irish breakfast. For variations, add dried fruit to the dough or use plant-based alternatives for a vegan version.
The first time I made Irish Soda Farls, my kitchen filled with that unmistakable aroma that transported me straight to my grandmother's modest cottage in County Cork. The simplicity of flour, buttermilk, and baking soda coming together on a hot griddle seemed almost magical in its transformation. What began as a nostalgic attempt to recreate a taste of heritage has become my Sunday morning ritual, the gentle sizzle on the pan marking the official start to a day of leisure.
Last St. Patricks Day, I invited neighbors over for morning tea and served these warm farls with three different butters I had infused with herbs and honey. My elderly neighbor Patrick, who hadnt tasted proper Irish soda bread since leaving Belfast fifty years ago, went completely silent upon his first bite. When he looked up, his eyes were glistening, and he simply whispered thank you.
Ingredients
- All-purpose flour: The backbone of our farls, providing just enough structure without becoming tough, though I once substituted half with whole wheat flour for a nuttier variation that worked beautifully.
- Buttermilk: Real buttermilk creates that distinctive tangy flavor and reacts with the baking soda to give the perfect rise, though in desperate times Ive soured regular milk with lemon juice with acceptable results.
- Baking soda: The magic ingredient that gives soda bread its name and creates that beautiful rise without the need for yeast or lengthy proving.
- Salt: Just a teaspoon transforms these from flat to flavorful, enhancing the natural taste of the bread without overwhelming it.
Instructions
- Prepare your dry mix:
- Sift the flour, baking soda, and salt into a large bowl, watching the fine powder create small clouds above your workspace. The sifting isnt just for show it ensures your leavening agent distributes evenly.
- Form your dough:
- Create a well in the center and pour in the buttermilk, then mix quickly with your hands until just combined. The dough should feel alive beneath your fingers soft but not sticky, willing but not wet.
- Shape with care:
- Turn the dough onto a floured surface and knead it just enough to bring it together, no more than 30 seconds. Pat it gently into a round about three-quarters of an inch thick, treating it with the tenderness it deserves.
- Create your farls:
- With a floured knife, cut the dough into quarters these are your farls. The clean lines will puff slightly as they cook, creating their characteristic shape.
- Heat your griddle:
- Warm a heavy skillet over medium-low heat and dust it lightly with flour. Youll know its ready when the flour takes on a golden hue but doesnt burn.
- Cook with patience:
- Place your farls on the hot surface and let them sizzle gently for 7-8 minutes per side. Look for that beautiful golden crust to form as the centers rise slightly with the heat.
- Rest and wrap:
- Once cooked, wrap the farls in a clean tea towel for a few minutes. This simple step traps steam, ensuring your bread stays soft and tender inside its crusty exterior.
- Serve with generosity:
- Slice each farl open while still warm and watch as butter melts into every pore. There is something profoundly satisfying about the rivers of golden butter disappearing into the warm bread.
 Save
Save One snowy afternoon when the power went out, I pulled out my cast iron skillet and made these farls on our woodstove. The whole family huddled around as I cooked by firelight, and somehow that batch tasted more nourishing than any other. My daughter now requests storm farls whenever the weather turns, regardless of whether we lose electricity.
Variations Worth Trying
On particularly indulgent mornings, I fold a handful of raisins soaked in whiskey into the dough, creating little bursts of sweetness throughout the bread. The alcohol cooks off, but it leaves behind a complexity that pairs wonderfully with salted butter or a strong cup of breakfast tea.
Serving Suggestions
While traditionalists might insist these farls need nothing more than good butter, Ive discovered they make an exceptional base for smoked salmon and cream cheese, the mild bread providing the perfect canvas for those bold flavors. For afternoon tea, try them split, toasted, and topped with clotted cream and a whisper of good jam.
Storage and Reheating
These farls will keep for about two days, though theyre at their absolute peak within hours of baking. To revive day-old farls, I split them open, sprinkle with a few drops of water, and toast them until the edges crisp while the inside becomes tender again.
- Store cooled farls in an airtight container at room temperature for up to 48 hours.
- Freeze completely cooled farls in freezer bags for up to a month, with parchment paper between each to prevent sticking.
- When reheating frozen farls, thaw at room temperature then warm in a 300°F oven for about 5 minutes.
 Save
Save In a world of complicated recipes and exotic ingredients, theres something profoundly comforting about returning to these four simple wedges of bread. They remind us that sometimes the most memorable flavors come from the most humble beginnings.
Recipe FAQs
- → What makes soda farls different from regular soda bread?
-
Soda farls are individual portions cut from a round of dough and cooked on a griddle rather than baked in an oven. This quick cooking method keeps them tender and gives them a soft texture, while the griddle creates a lightly golden exterior. They're also thinner and cook faster than traditional soda bread loaves.
- → Can I make the dough ahead of time?
-
Soda farls are best made and cooked fresh, as the leavening action from the baking soda begins immediately when mixed with buttermilk. If you must prepare ahead, make the dough up to 30 minutes before cooking, but the texture may be slightly less fluffy. It's better to make them shortly before serving.
- → What if I don't have buttermilk?
-
You can create a buttermilk substitute by mixing regular milk with lemon juice or white vinegar (1 tablespoon acid per 1 cup milk). Let it sit for 5 minutes before using. For a vegan option, use plant-based milk with lemon juice. The acidic reaction with the baking soda is what matters for the rise.
- → How do I keep soda farls warm without drying them out?
-
Wrap the cooked farls in a clean tea towel or kitchen cloth immediately after removing them from the griddle. The steam trapped inside will keep them soft and warm. You can keep them wrapped for up to 30 minutes. Serve with warm butter for the best texture and flavor.
- → Can I freeze soda farls?
-
Yes, soda farls freeze well. Cool them completely, wrap individually in plastic wrap or parchment paper, and store in a freezer bag for up to 3 months. Thaw at room temperature or reheat gently on a griddle or in a toaster oven until warm. They won't be quite as tender as fresh, but still delicious.
- → What's the best way to reheat leftover farls?
-
Reheat on a griddle or skillet over low-medium heat for 2-3 minutes per side, or wrap loosely in foil and warm in a 300°F oven for about 10 minutes. Avoid microwaving as it can make them tough. Serve with fresh butter immediately while still warm.