 Save
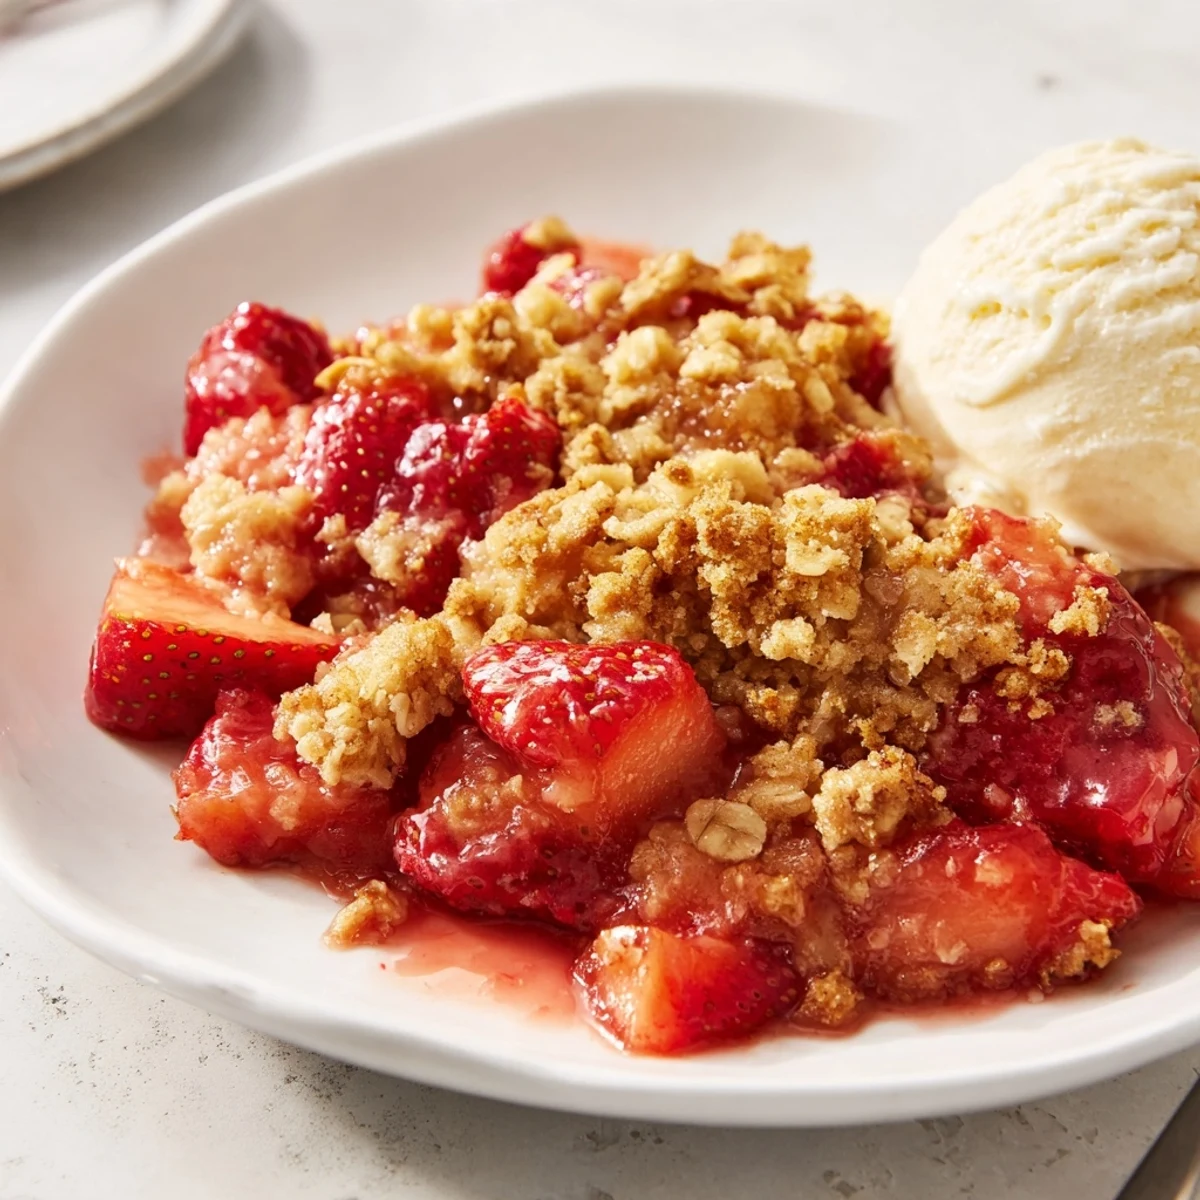
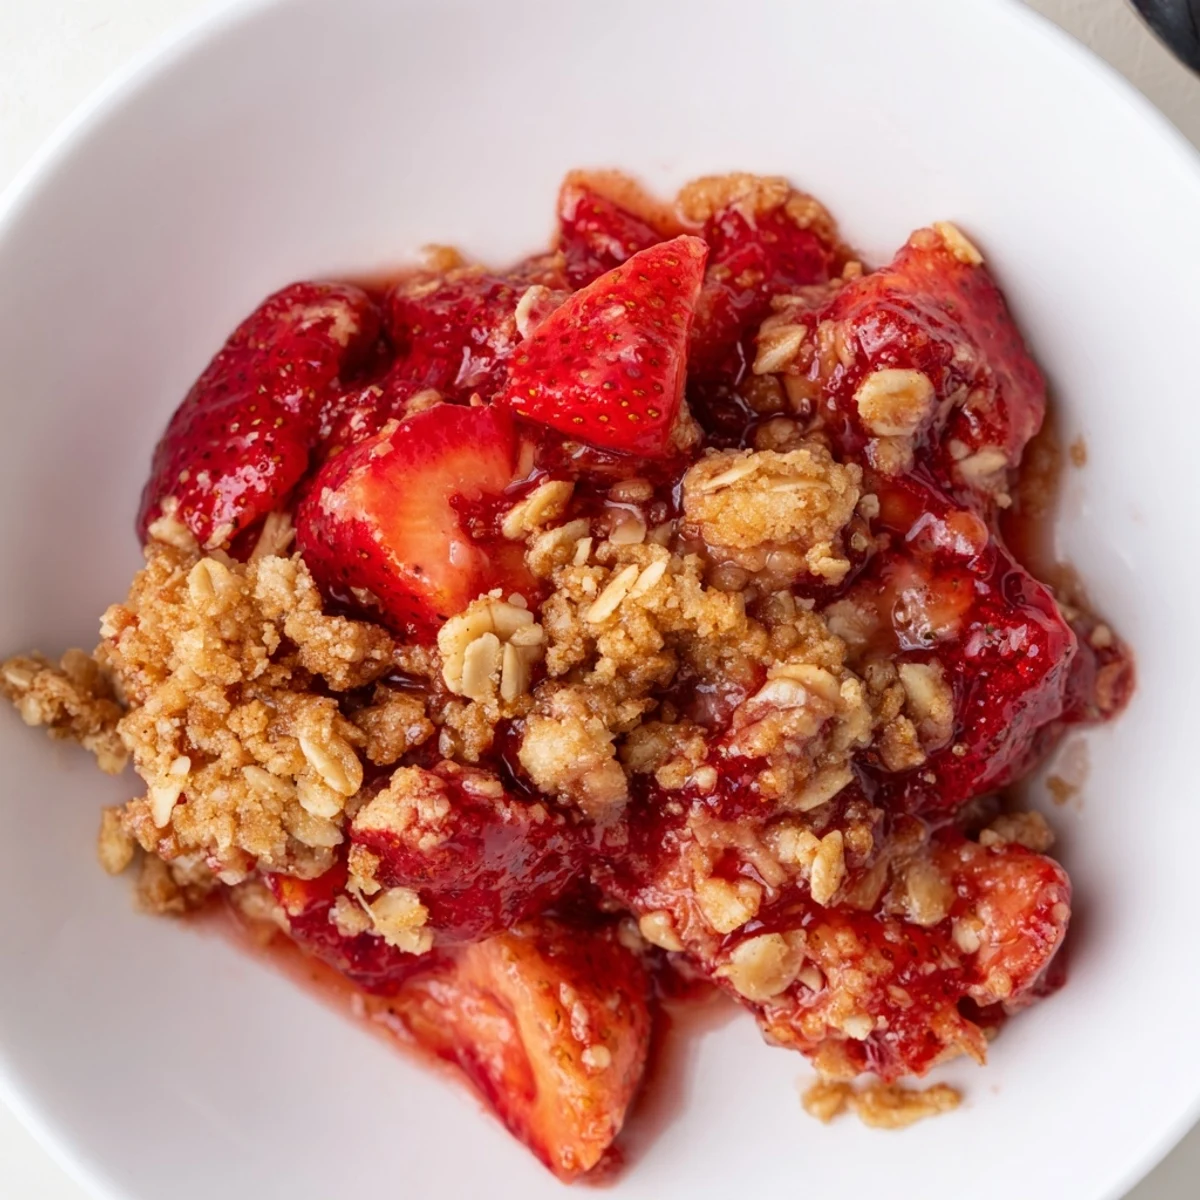
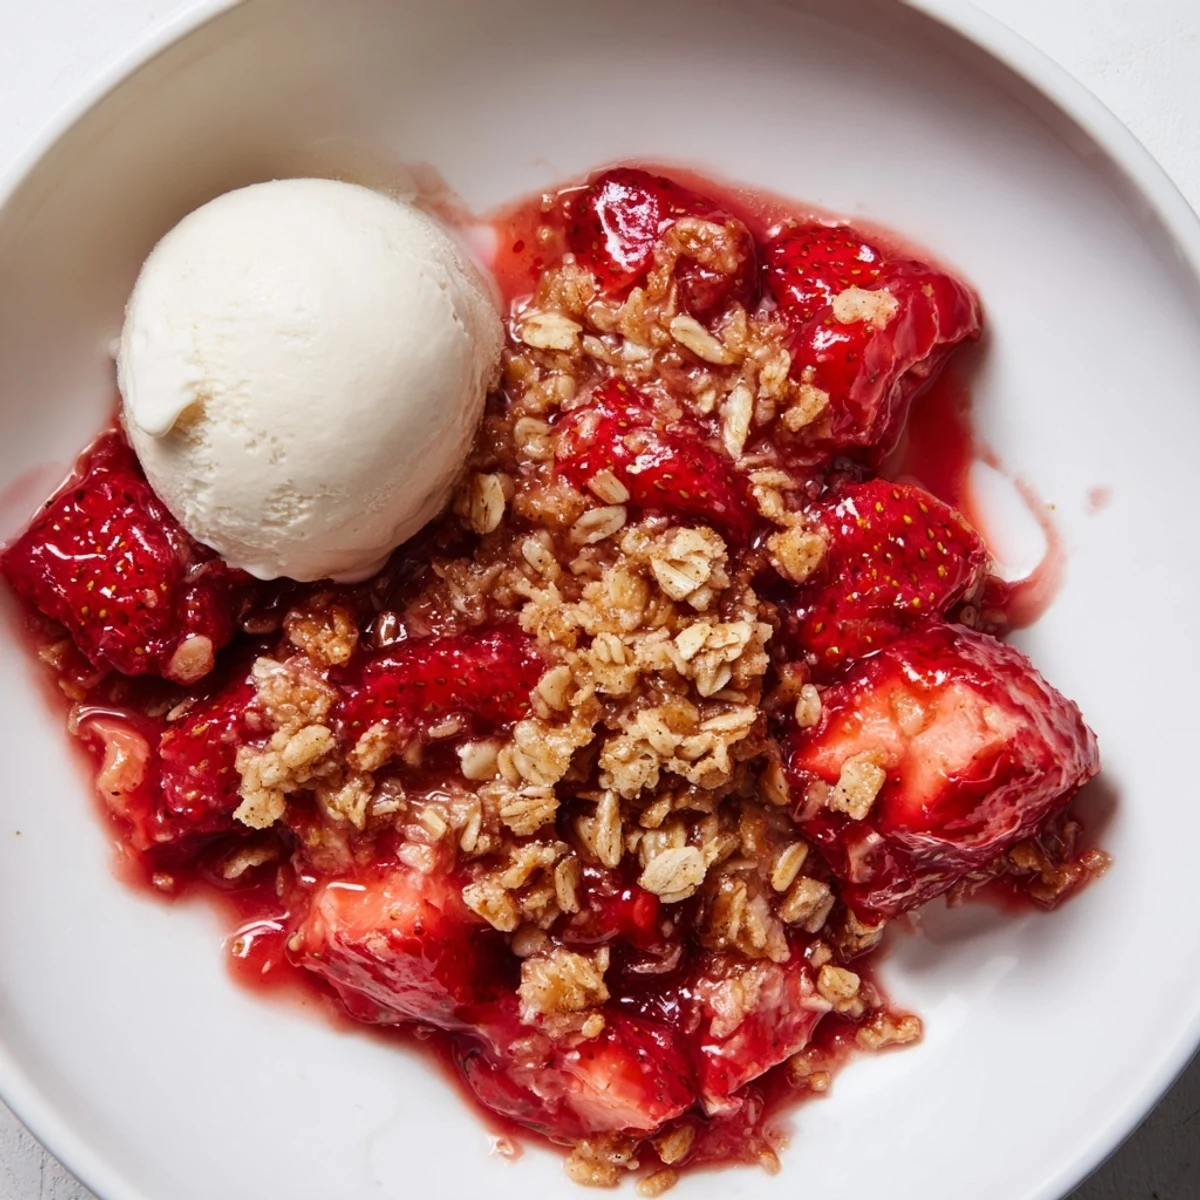
Save Preheat oven to 350°F. Toss hulled, quartered strawberries with sugar, cornstarch, lemon and vanilla, then spread in a greased 2‑quart baking dish. Combine oats, flour, brown sugar, salt and cinnamon with cold butter; cut to coarse crumbs and sprinkle evenly. Bake about 35 minutes until bubbling and golden. Cool 15 minutes and serve warm with vanilla ice cream. Serves 6; swaps and gluten-free oats work well.
The first time I made strawberry crisp, the kitchen filled instantly with that intoxicating aroma of bubbling fruit and melting butter—there’s truly nothing like it on a lazy Saturday in June. I never planned for it to become a seasonal staple, but one spontaneous grab of plump strawberries at the farmers market set the whole tradition in motion. It’s a joyfully unfussy dessert, and its colors alone seem to announce: summer’s here, let’s celebrate. There’s a kind of hopeful energy that comes from baking with fruit at its peak.
Last spring, my friends turned up unexpectedly for game night, and in a minor panic, I threw this together with the strawberries I’d intended for breakfast. As the crisp baked, the whole apartment warmed—one friend said it smelled like “whatever joy must be.” We ended up eating it straight from the pan with spoons, not a crumb left. Somehow, it made the night feel far more special than I’d planned.
Ingredients
- Fresh strawberries: The riper, the better—don’t be tempted to use underripe fruit, as their tartness can overshadow the sweet warmth you want.
- Granulated sugar: Just enough to coax out the natural juices from the berries without overpowering them.
- Cornstarch: A little sprinkle thickens the filling so it’s lush instead of runny—don’t skip it or your spoonfuls will be soupier than you’d hope.
- Lemon juice: A splash brightens everything; bottled just doesn’t have the same effect, so grab a fresh lemon if possible.
- Vanilla extract: It rounds out the flavors with mellow, fragrant notes that linger as you eat.
- Old-fashioned rolled oats: For that classic, chewy texture on top—quick oats don’t quite compare and can turn powdery.
- All-purpose flour: Helps bring the topping together and add just the right amount of crunch.
- Light brown sugar: Caramel-like richness from brown sugar makes this topping sing.
- Salt: A pinch sharpens all the flavors; don’t skip it.
- Ground cinnamon: Adds a gentle warmth that makes the whole dessert taste more complex than it is.
- Unsalted butter: Cold butter is key—work fast to keep little pieces for pockets of flavor and crumbly texture.
Instructions
- Warm up the oven:
- Set your oven to 350°F—feel the anticipation build as it preheats, then lightly grease a 2-quart baking dish (I always swipe with the butter wrapper).
- Prep the strawberries:
- In a big bowl, tumble in your strawberries and add the sugar, cornstarch, lemon, and vanilla. Mix gently—juices will start to glisten, and the scent is ridiculously inviting.
- Make the crisp topping:
- Combine oats, flour, brown sugar, salt, and cinnamon in another bowl. Take the cold butter and use a pastry cutter or your hands to blend until everything forms crumbly clusters—don’t overthink it, a rustic look is best.
- Layer and bake:
- Scatter the oat topping over the strawberries, making sure no berry gets left uncovered, then bake for about 35 minutes. You’ll know it’s ready when the topping is golden and the filling bubbles up the sides.
- Let it cool:
- Give it at least 15 minutes to set (I know, waiting is hard)—this helps the juices thicken before you scoop.
- Savor and serve:
- Spoon it warm into bowls with a scoop of vanilla ice cream or a dollop of whipped cream; it’s pure contentment in every bite.
 Save
Save There was a singular evening when we decided, on a whim, to eat dessert before dinner. Sharing this strawberry crisp at the table, laughter echoing off plates, it briefly turned an average Tuesday into something I still smile about.
Making It Gluten-Free Is Simple
Swapping in gluten-free oats and flour works seamlessly—the crisp stays just as crunchy and flavorful. It was a happy surprise the first time one of my gluten-free friends joined and honestly couldn’t tell the difference, which felt like a tiny victory.
Berry Medley, Anyone?
Mix things up with raspberries or blueberries—half-and-half works great for extra depth. When strawberries come on strong at the market and mingle with their berry cousins, the result is somehow even juicier and more colorful.
Serving and Storing Tips
If there happens to be any left, cover and refrigerate—it’s delicious even cold, or rewarm a scoop for breakfast if you’re feeling indulgent. The crisp texture will soften over time, but the flavors mellow in the best way.
- If you want straighter slices, wait until it’s fully cooled.
- A sprinkle of chopped nuts on top adds a different crunch.
- Don’t forget—the ice cream is only optional on paper.
 Save
Save Hope you find as much happiness in this strawberry crisp as I have, whether it’s a celebration or just because you found good berries. Here’s to keeping dessert simple and a little bit joyful.
Recipe FAQs
- → How do I keep the topping crisp?
-
Use cold butter and cut it into the dry ingredients until coarse crumbs form. Avoid overworking the mixture and bake until the top is golden; cooling slightly helps maintain crunch.
- → Can I use frozen strawberries?
-
Yes. Thaw and drain excess liquid or toss frozen berries with an extra tablespoon of cornstarch to help thicken the filling and reduce sogginess.
- → How can I make this gluten-free?
-
Substitute certified gluten-free rolled oats and use a gluten-free all-purpose flour blend in the topping; check labels to ensure all ingredients are certified gluten-free.
- → What variations work well with this dish?
-
Mix half strawberries with blueberries or raspberries for a berry medley, add a pinch of nutmeg or ground ginger to the topping, or fold citrus zest into the filling for brightness.
- → How should leftovers be stored and reheated?
-
Cover and refrigerate up to 3 days. Reheat in a 325°F oven until warmed through to revive the topping; microwave will warm faster but may soften the crumble.
- → Can I prepare this in advance?
-
Assemble the filling and topping separately, refrigerate up to a day, then combine and bake when ready. Alternatively, freeze unbaked assembled portions for longer storage.