 Save
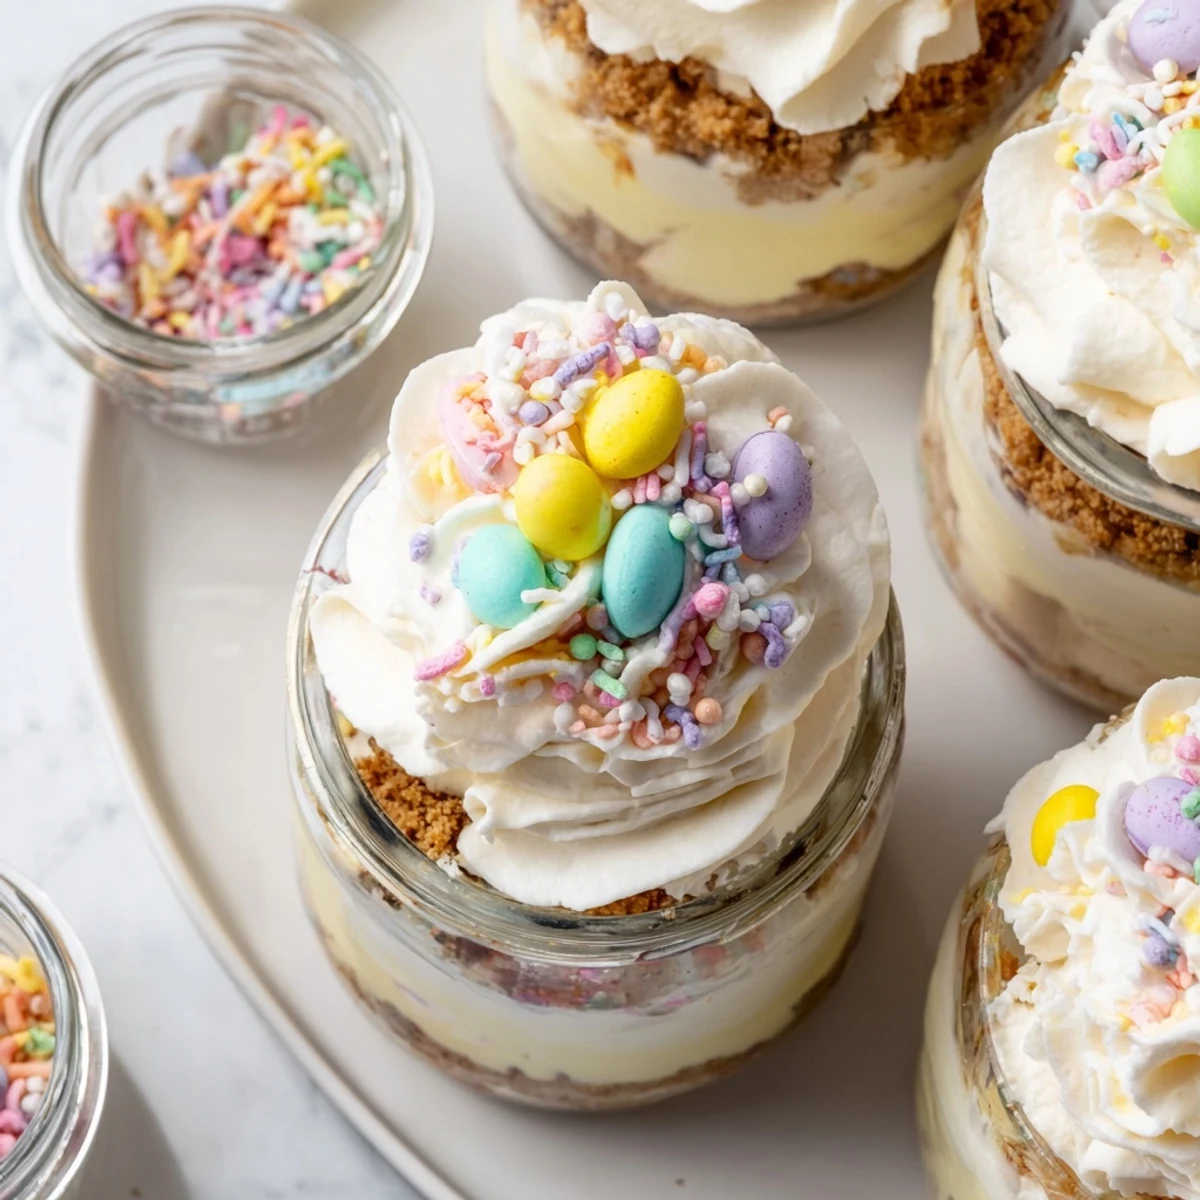
Save Create these charming individual Easter desserts by layering crushed cookie crusts with silky smooth cheesecake filling and hiding mini chocolate eggs throughout each jar. The no-bake method combines whipped cream with cream cheese for an incredibly light texture, while the glass presentation reveals colorful layers and hidden surprises. These portable desserts are perfect for Easter gatherings, allowing guests to discover chocolate eggs nestled within the creamy filling. Prepare ahead and chill overnight for stress-free entertaining, or top with whipped cream and sprinkles just before serving for an extra festive touch.
The kitchen counter was already covered in pastel sprinkles when my sister walked in and asked if we were having a toddler birthday party. I was layering these cheesecake jars for Easter brunch, and something about the rainbow sugar pearls scattered everywhere just made the whole morning feel lighter. We ended up sitting on the floor hiding chocolate eggs in the layers like it was a secret mission, laughing when some of them slipped too deep and we had to fish them back out.
Last year I made these for my book club, and you should have seen the grown women light up when they bit into that first hidden chocolate egg. It is such a small thing, but tucking candy into creamy cheesecake transforms dessert into something that feels like play. One friend actually admitted she spent five minutes excavating all three eggs from her jar before eating the rest.
Ingredients
- 1 cup digestive biscuits or graham crackers: The digestive biscuits give a slightly more buttery sophisticated flavor but graham crackers work perfectly too and crush into finer crumbs
- 3 tbsp unsalted butter: Melt this completely so every crumb gets coated and holds together when you press it down
- 8 oz cream cheese: Let this sit out for a full hour so it blends into silky smooth perfection without any stubborn lumps
- 1/3 cup granulated sugar: This amount keeps things balanced so the cream cheese tang can still shine through
- 1 tsp vanilla extract: Pure vanilla makes such a difference here since the flavor is so clean and simple
- 1 cup heavy cream: Keep this carton in the fridge until the very last second because cold cream whips up so much faster
- 18 mini chocolate Easter eggs: Solid eggs work best but the filled ones create such a lovely gooey surprise center
- 1/2 cup whipped cream: This topping is optional but that little cloud on top makes them feel so festive
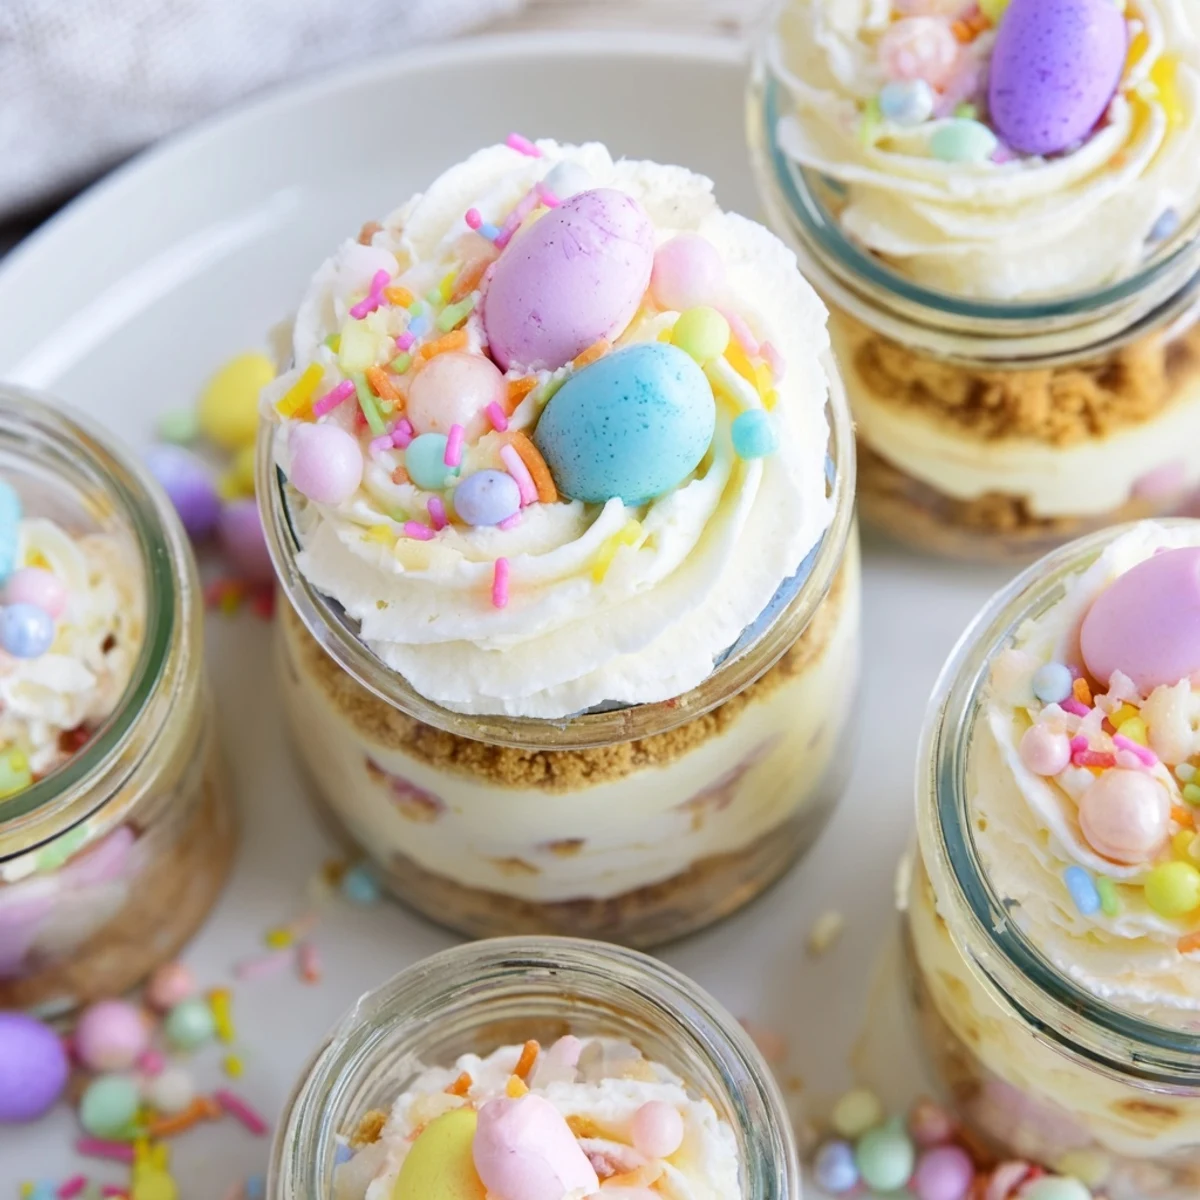
- 2 tbsp rainbow sprinkles or pastel sugar pearls: Sprinkle these right before serving so they stay bright and do not bleed into the cream
Instructions
- Build the buttery crust foundation:
- Mix those crushed biscuits with melted butter until every crumb looks glossy and coated then press two tablespoons into the bottom of each jar using the back of a spoon to pack it down tight.
- Whip up the creamy cheesecake filling:
- Beat the softened cream cheese with sugar and vanilla until completely smooth then in another bowl whip that cold heavy cream until you see stiff peaks standing up tall.
- Combine the mixtures gently:
- Fold the whipped cream into the cream cheese mixture slowly like you are folding a delicate letter into an envelope keeping all that air you just whipped in.
- Hide the chocolate treasure:
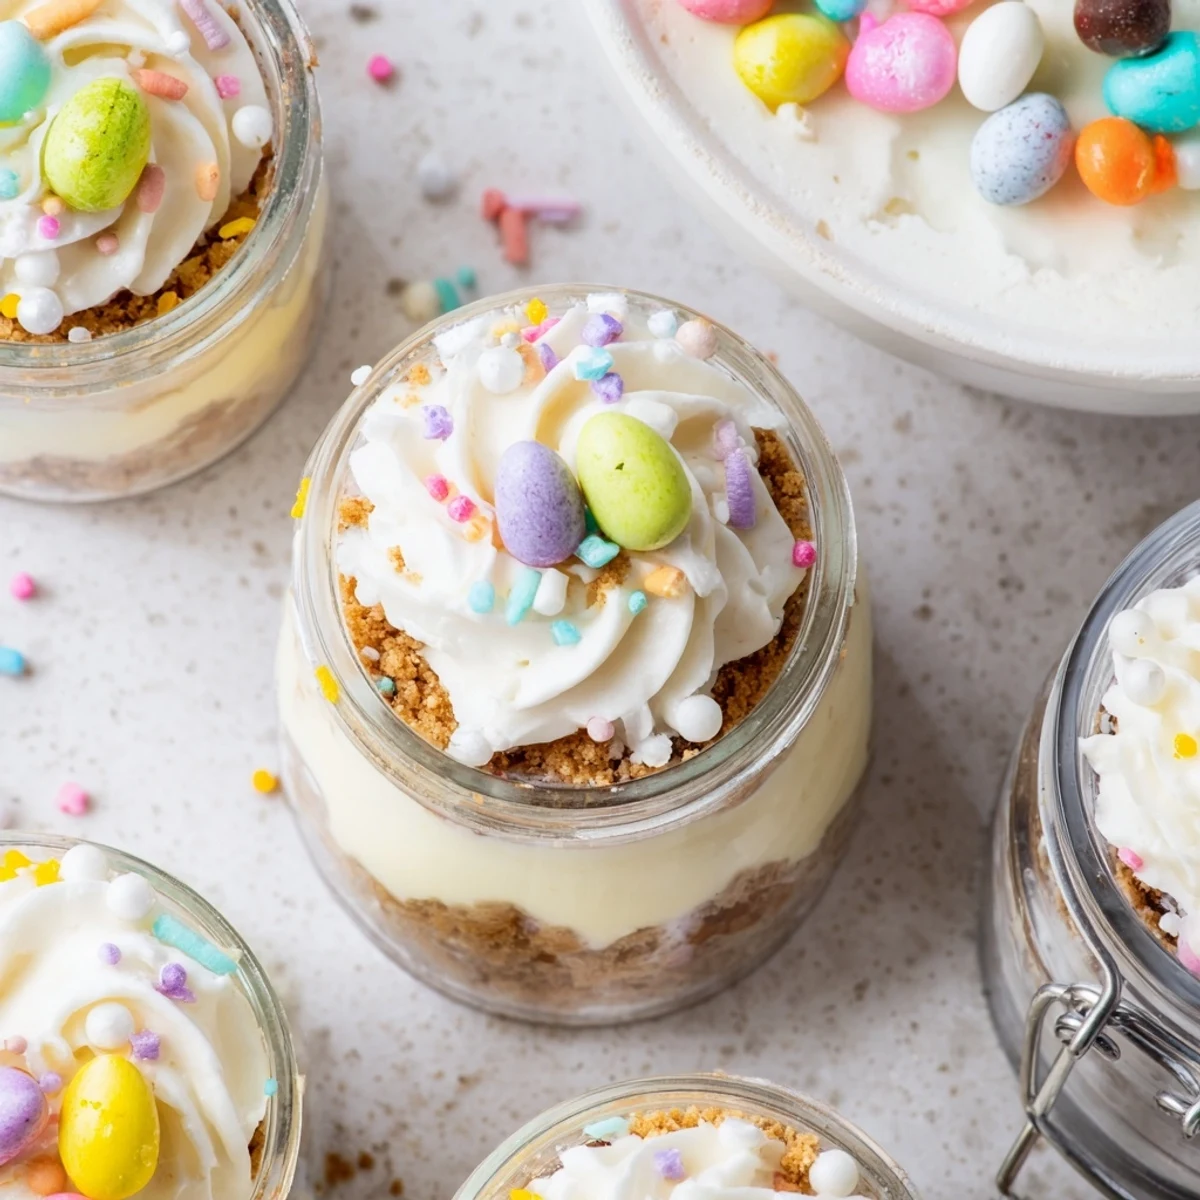
- Spoon some cheesecake filling over the crust in each jar then press 2 or 3 mini eggs right into the layer and cover with more filling so they disappear completely.
- Let them set and finish with flair:
- Chill the jars for at least two hours until firm then swirl some whipped cream on top and decorate with extra eggs and those cheerful sprinkles.
 Save
Save My niece now requests these for every family gathering birthday or not. She calls them her special surprise jars and gets such a kick out of telling everyone else where the eggs are hidden like she is in on some grand conspiracy. Watching someone discover that first chocolate peeking through their spoonful is honestly the best part of making them.
Making Ahead Like a Pro
You can assemble everything except the final whipped cream topping and sprinkles up to 24 hours in advance. Just keep those jars covered tightly in the refrigerator so the cheesecake does not absorb any fridge smells. The crust might soften slightly overnight but it still tastes delicious.
Easy Flavor Twists
Swap chocolate cookies for the crust to make this even more decadent or try using lemon curd swirled through the cheesecake layer for something bright and fresh. Sometimes I skip the chocolate eggs entirely and use fresh berries instead which makes these feel lighter for spring brunch.
Serving Straight from the Fridge
Cold cheesecake tastes best so pull these out just 10 minutes before you plan to serve them. The texture will be perfectly creamy and the chocolate eggs will have that satisfying snap when you bite into them.
- Set out all your toppings in little bowls so people can customize their own jars
- Small spoons work better than large ones for getting every bite
- Have extra mini eggs nearby because guests always want seconds
 Save
Save There is something so happy about individual desserts that make everyone feel like a kid again. These jars have become my go to for bringing a little celebration to the table no matter the occasion.
Recipe FAQs
- → Can I make these Easter jars ahead of time?
-
Yes, prepare these jars up to 24 hours in advance and keep refrigerated. The cheesecake sets beautifully during chilling time, making them perfect for planning ahead. Add final whipped cream and sprinkles just before serving.
- → What size jars work best for these layered desserts?
-
Use 6-8 ounce glass jars for the ideal proportions. This size allows distinct layers of crust, cheesecake, and hidden eggs to show through. Small mason jars, ramekins, or clear dessert cups all work wonderfully.
- → Can I substitute the mini chocolate eggs?
-
Absolutely swap mini eggs for any Easter candy you prefer. Try chocolate bunnies, peanut butter cups, or even jelly beans for variety. Fresh berries also make a delicious alternative for a lighter option.
- → How do I achieve stiff peaks when whipping the cream?
-
Chill your mixing bowl and beaters in the freezer for 10 minutes beforehand. Use cold heavy cream and whip on medium-high speed until the cream stands up firmly when the beaters are lifted. Don't overwhip or it may become grainy.
- → Can I make the crust chocolate instead?
-
Chocolate cookies or Oreos make an excellent crust variation. Simply swap digestive biscuits for your favorite chocolate cookies, crush and combine with melted butter the same way. The chocolate crust pairs perfectly with the creamy cheesecake filling.
- → What's the best way to layer the jars?
-
Spoon crust first and press firmly. Add half the cheesecake filling, arrange 2-3 eggs, then cover with remaining filling. Use the back of a spoon to smooth layers against the glass for a beautiful presentation.