 Save
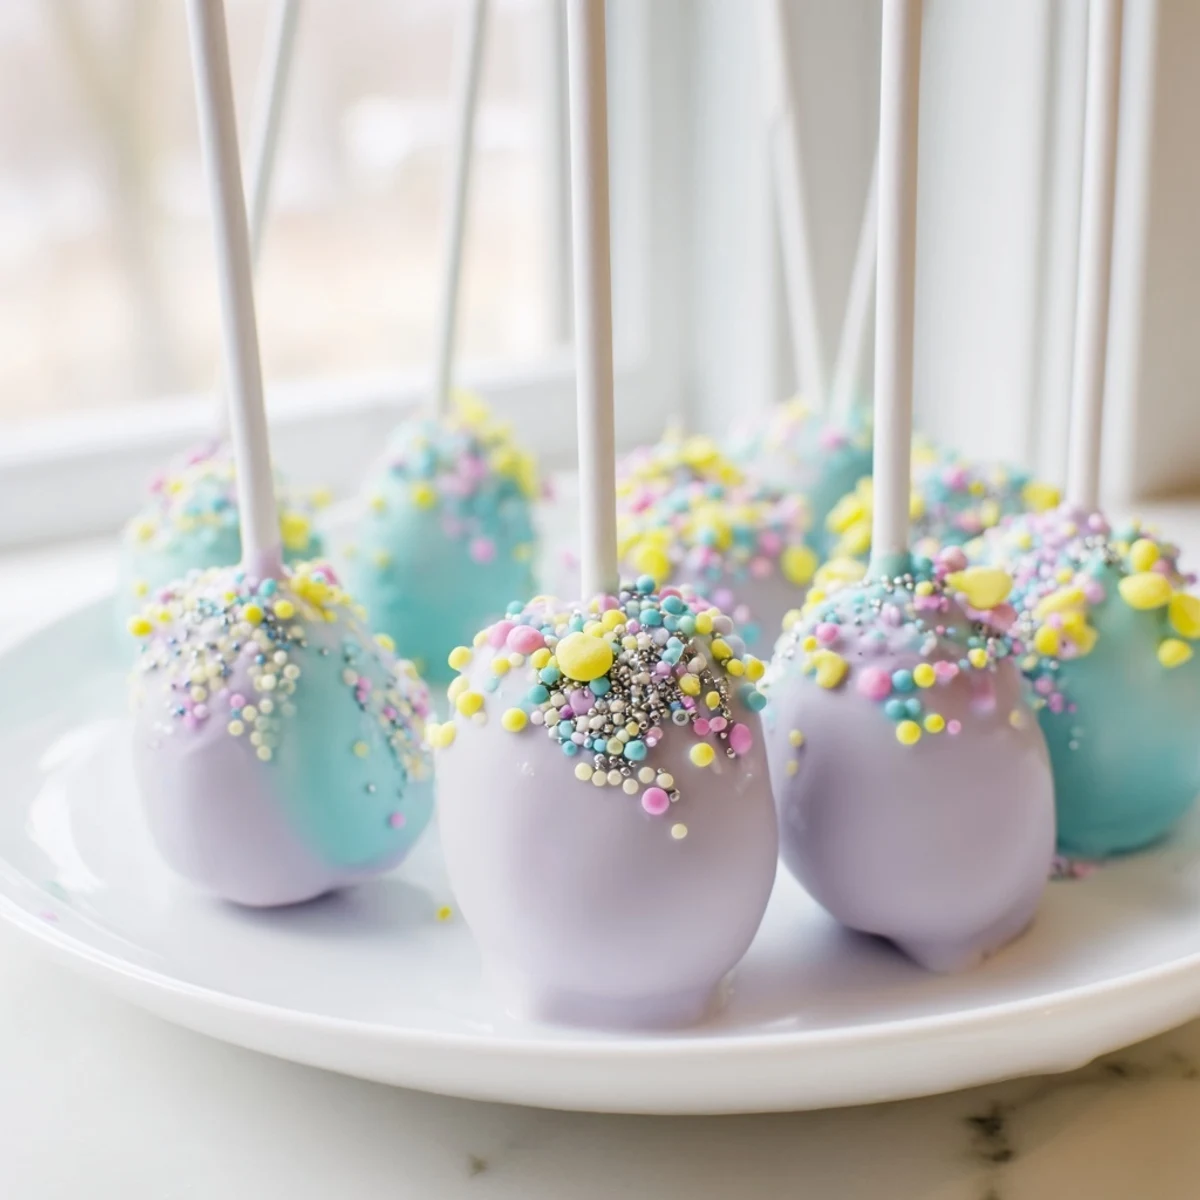
Save These charming egg-shaped cake pops offer a festive treat with a moist crumb and creamy frosting. Shaped by hand, chilled, and coated in pastel-colored chocolate, they are decorated with sprinkles for a springtime celebration. The process includes baking a buttery cake, preparing smooth frosting, combining both into shapeable balls, and dipping each pop into colorful candy melts. Perfect for holiday gatherings, these vibrant treats bring a cheerful touch to any dessert table.
The first time I attempted cake pops, I ended up with chocolate smeared across my forehead and a counter that looked like a pastel explosion had gone off. My kitchen was tiny, the apartment was cramped, and I had somehow convinced myself that making fifty egg-shaped treats for an Easter brunch was a perfectly reasonable Saturday afternoon project. The cake was slightly overbaked, the chocolate coating developed strange streaks, and the sticks kept falling out at the most inconvenient angles. Somehow, these imperfect little orbs became the most requested dessert I have ever made.
Last spring, my niece decided she wanted to help with the decorating phase, which turned into both of us sitting on the kitchen floor with sprinkles stuck to our elbows and frosting in our hair. She meticulously placed each sugar pearl while I tried to keep the chocolate from seizing. We ended up with the most lopsided, joyful collection of Easter eggs, and nobody could stop eating them. Sometimes the messy projects become the sweetest memories.
Ingredients
- All-purpose flour: The foundation of your cake base, providing just enough structure to hold everything together when we crumble it later
- Unsalted butter: Room temperature butter is nonnegotiable here, as it needs to incorporate air for a light cake that crumbles beautifully
- Granulated sugar: Sweetens the cake while creating that tender crumb we need for perfect cake pop texture
- Large eggs: Bind everything together and add necessary richness to the cake structure
- Whole milk: Adds moisture and tenderness, preventing the cake from becoming too dry once chilled
- Baking powder: Gives the cake just enough lift without making it too fluffy to hold its shape later
- Salt: A pinch balances sweetness and enhances all the vanilla flavors
- Vanilla extract: Pure vanilla makes everything taste better, so do not skimp here
- Powdered sugar: Creates a smooth, buttery frosting that binds the crumbled cake into workable dough
- Candy melts: These coat your pops in that signature glossy shell, so choose colors that make you happy
- Vegetable oil: Thins the candy melts to the perfect dipping consistency without seizing
- Lollipop sticks: The backbone of your cake pops, so treat them gently during insertion
Instructions
- Preheat your oven and prepare the pan:
- Get your oven to 350°F (175°C) and grease an 8-inch round pan well, then dust with flour to prevent sticking later
- Cream the butter and sugar:
- Beat the butter and sugar together until the mixture turns pale and fluffy, which takes about three minutes of serious mixing
- Add the eggs and vanilla:
- Beat in the eggs one at a time, giving each a moment to incorporate before adding the next, then stir in your vanilla
- Whisk the dry ingredients:
- In a separate bowl, combine the flour, baking powder, and salt so they are evenly distributed
- Combine everything:
- Alternate adding the flour mixture and milk to your butter mixture, starting and ending with the dry ingredients, mixing only until combined
- Bake the cake:
- Pour batter into your prepared pan and bake for 25 to 30 minutes until a toothpick comes out clean, then let cool completely
- Make the frosting:
- Beat the butter until creamy, then add powdered sugar, milk, vanilla, and salt until smooth and fluffy
- Crumble and mix:
- Break the cooled cake into small crumbs and mix in frosting a spoonful at a time until it holds together when squeezed
- Shape into eggs:
- Roll about a tablespoon of mixture into oval shapes and place on parchment paper, then freeze for 15 minutes
- Melt the coating:
- Microwave candy melts with oil in thirty second intervals, stirring between each, until completely smooth
- Insert the sticks:
- Dip each stick tip into melted candy, push halfway into each cake egg, then chill for another 10 minutes
- Dip and decorate:
- Dip each cake pop into the melted coating, tap off excess gently, and immediately add sprinkles before it sets
- Set upright:
- Stick the finished pops into a foam block or tall glass to harden completely before serving
 Save
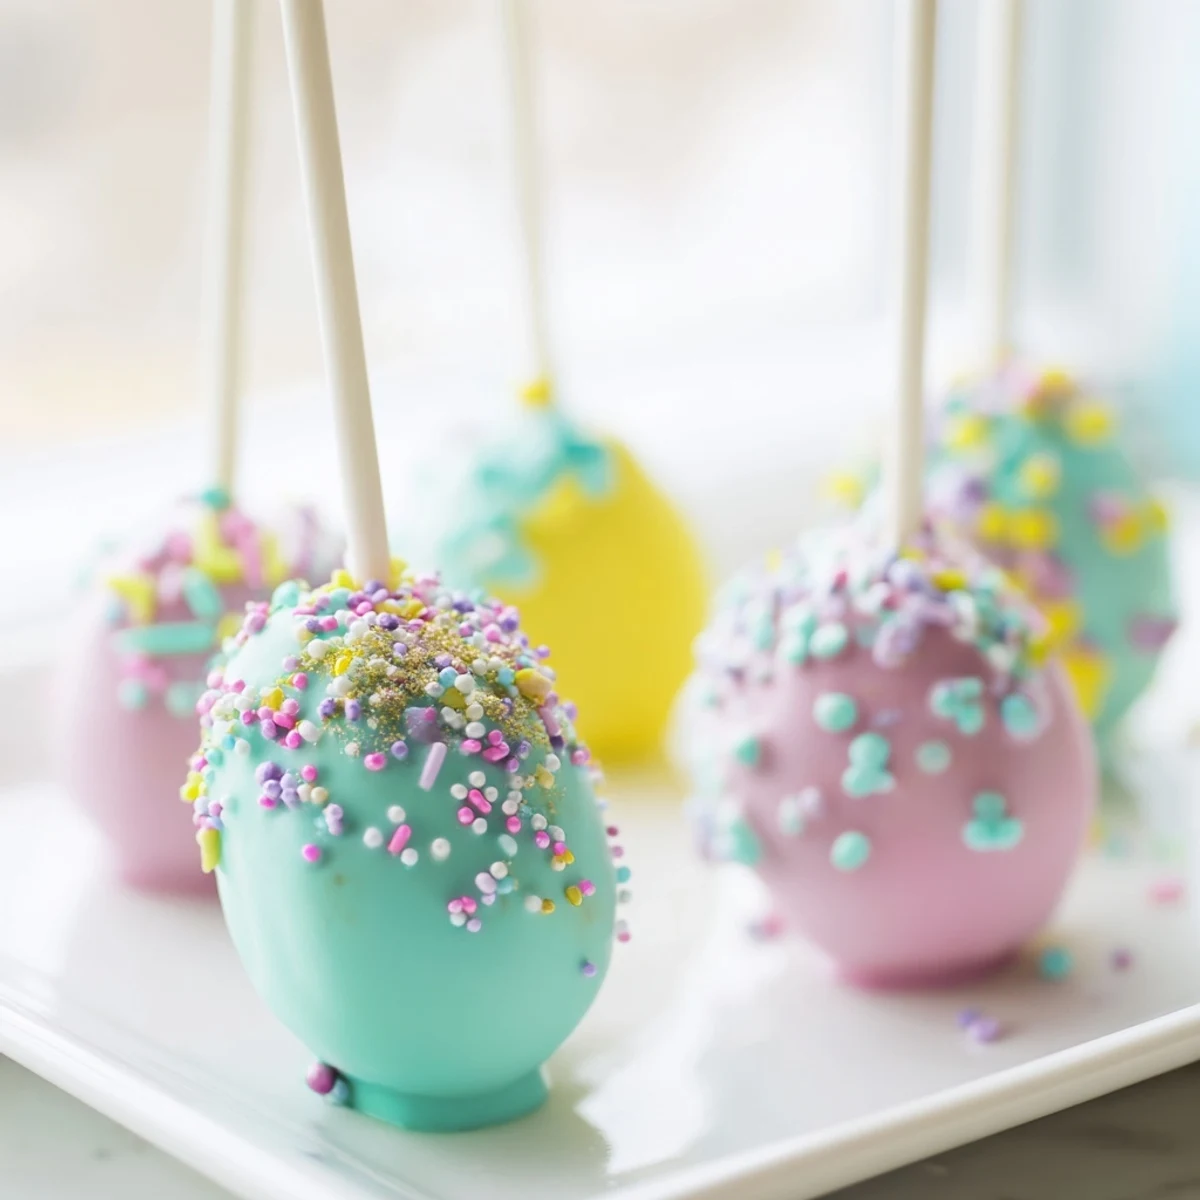
Save These became a neighborhood tradition after I brought them to a potluck and watched three grown adults argue over the last pastel pink one. Now every spring brings requests for different colors and decorations, and I have learned to double the recipe because they disappear faster than I can dip them. Something about bite-sized desserts makes people feel like they are getting away with something.
Getting the Shape Right
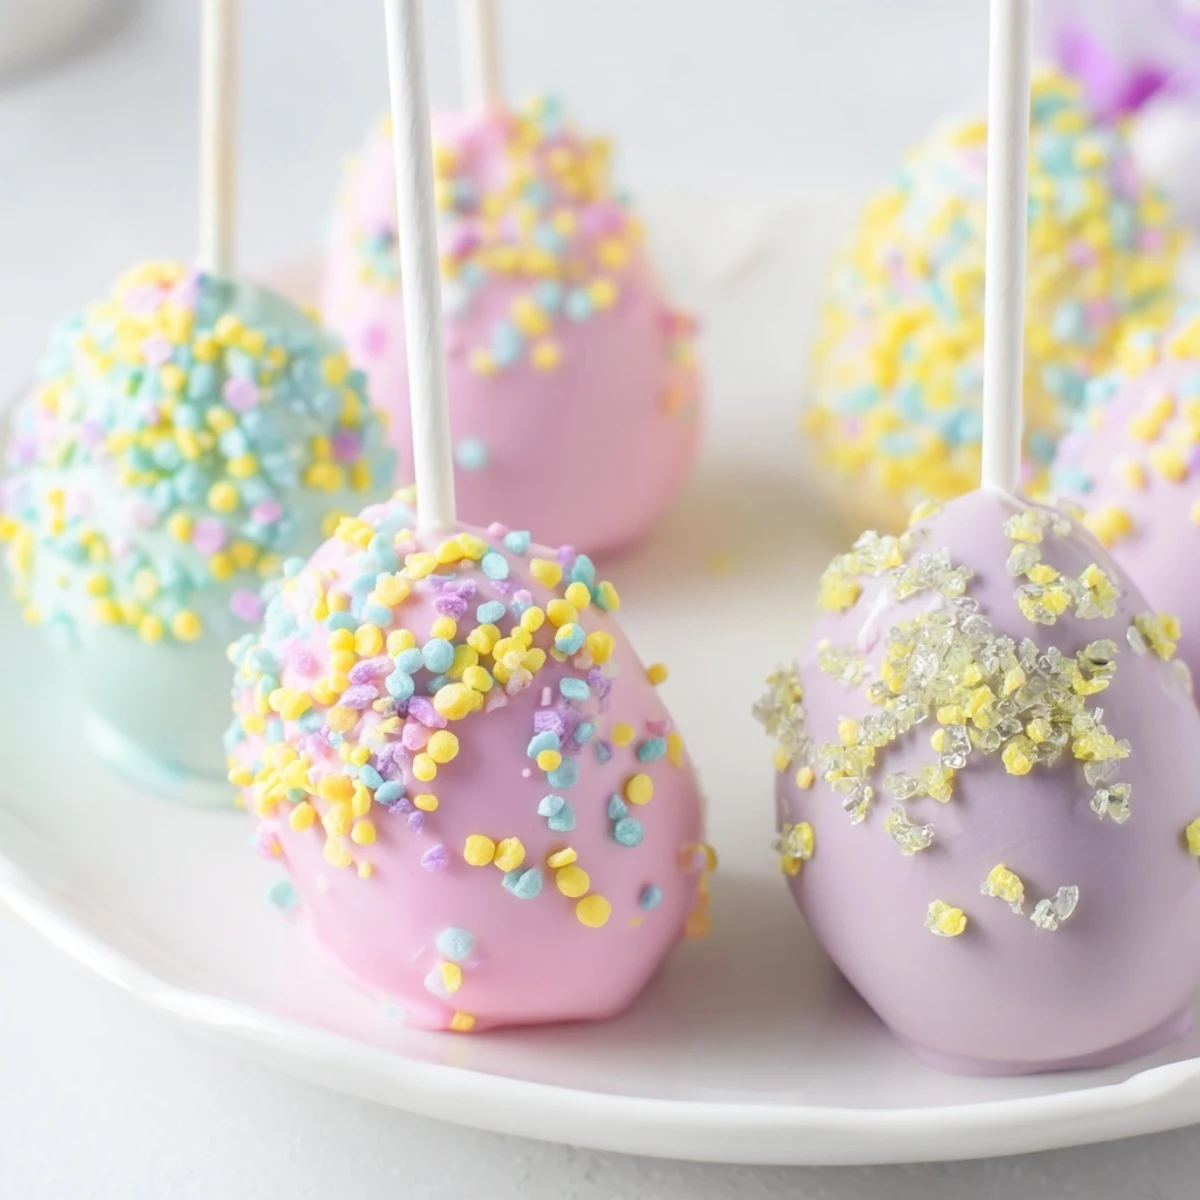
The oval egg shape takes a little practice, and your first few might look more like oddly shaped rocks than festive Easter eggs. Warm the mixture slightly in your hands by rolling it gently between your palms before shaping, which helps create smoother edges. Keep a small bowl of water nearby to prevent the mixture from sticking to your hands, and work quickly since the mixture gets softer as it warms up.
Chocolate Coating Secrets
Candy melts can be temperamental, and I have certainly had my share of seized, clumpy disasters. The vegetable oil is not optional, it is the difference between a smooth glossy finish and a thick, streaky mess. Work in small batches and keep your chocolate warm but not hot, stirring frequently to maintain that perfect dipping consistency. If the coating gets too thick, zap it for ten seconds and stir again.
Storage and Making Ahead
Cake pops actually keep quite well, which means you can spread out the work over a couple of days instead of losing your entire Saturday. Store them in a single layer in an airtight container at room temperature, separated by parchment paper so they do not stick together. They will stay fresh for up to three days, though in my house they rarely make it past the first twenty four hours.
- Make the cake and frosting one day, then shape and dip the next
- Keep undecorated pops in the freezer for up to a week before coating
- Package them in clear treat bags tied with ribbon for easy gifting
 Save
Save These little Easter egg cake pops have a way of making even the most casual gathering feel special, and the joy they bring is absolutely worth the chocolate-covered chaos.
Recipe FAQs
- → What kind of cake works best for these pops?
-
A buttery, moist cake like vanilla or chocolate provides a sturdy base that holds well when mixed with frosting.
- → How do I achieve the bright coating on the pops?
-
Use pastel-colored candy melts combined with a bit of vegetable oil to create a smooth, shiny coating for dipping.
- → Can I prepare these ahead of time?
-
Yes, after shaping and coating, store the pops in an airtight container at room temperature for up to three days.
- → How do I shape the cake mixture properly?
-
Crumble cooled cake and mix with frosting until it holds together but isn’t too sticky. Then roll into oval, egg-like balls by hand.
- → What decorations work well on these treats?
-
Sprinkles, colored sugars, and edible glitter add festive flair once the coating is still wet for adherence.