 Save
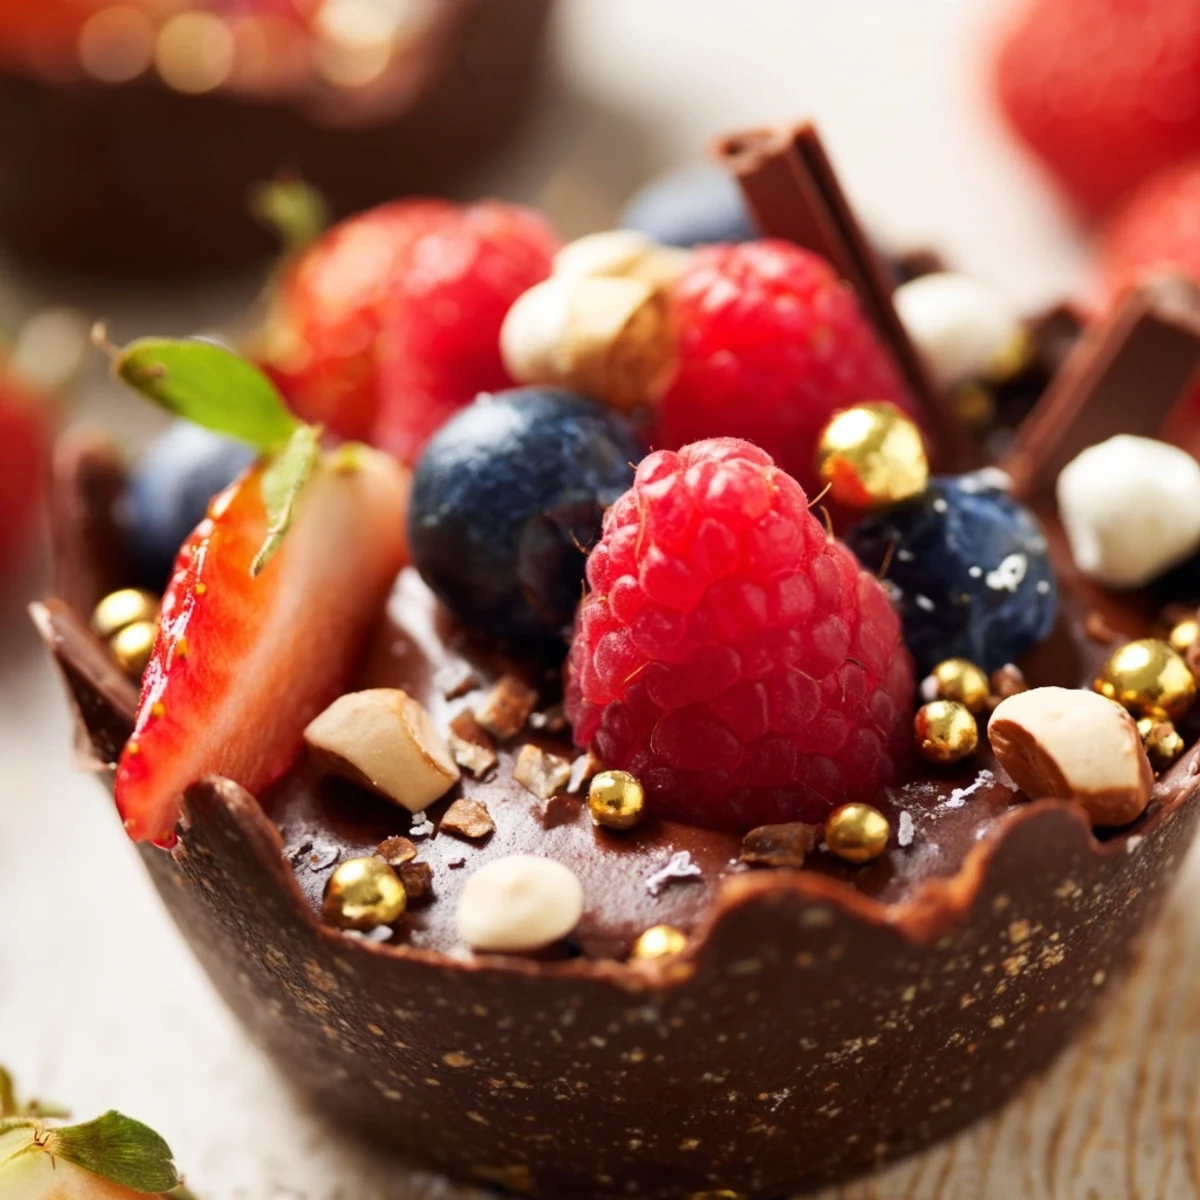
Save These decadent chocolate grazing cups feature handmade dark chocolate cups filled with silky chocolate mousse, fresh mixed berries, crunchy nuts, and elegant garnishes. The combination of smooth and crunchy textures creates an indulgent dessert experience. Ready in about an hour with simple preparation techniques, these elegant cups are perfect for entertaining, dessert tables, or celebrating special moments with a touch of luxury.
The first time I made chocolate cups, I stood in my kitchen holding a silicone liner, convinced this would end in melted disaster. Instead, I watched them emerge from the refrigerator as perfect little vessels, glossy and impossibly delicate. My dinner guests actually gasped when I brought them to the table, which felt ridiculous but secretly thrilled me.
I made these for my sisters birthday last spring, and she insisted on taking photos before anyone could touch them. The gold leaf caught the afternoon light streaming through the window, making the whole dessert table look impossibly fancy. She still talks about how elegant they felt, like something from a high-end restaurant menu.
Ingredients
- Dark chocolate: Go for at least 60% cocoa because the bitterness balances the sweet mousse beautifully, and I learned the hard way that cheap chocolate seizes when you try to melt it
- Heavy cream: Must be cold straight from the refrigerator or it will not whip properly no matter how long you stand there whisking
- Fresh berries: Use whatever looks best at the market but avoid anything mushy or overripe since they need to hold their shape on top
- Chopped nuts: Toast them lightly in a dry pan first because that extra warmth makes their flavor pop against the cool chocolate
Instructions
- Craft the chocolate shells:
- Melt your chocolate in 30 second bursts, stirring between each one until completely smooth. Coat your cupcake liners with a pastry brush, making sure to cover every inch evenly, then chill until completely firm before attempting to remove them.
- Whip the mousse base:
- Beat your cold cream with powdered sugar and vanilla until soft peaks form, which should take about 3 to 4 minutes. Melt your remaining chocolate and let it cool slightly before folding a spoonful of cream into it, then gently incorporate that mixture back into the rest of your whipped cream.
- Assemble everything beautifully:
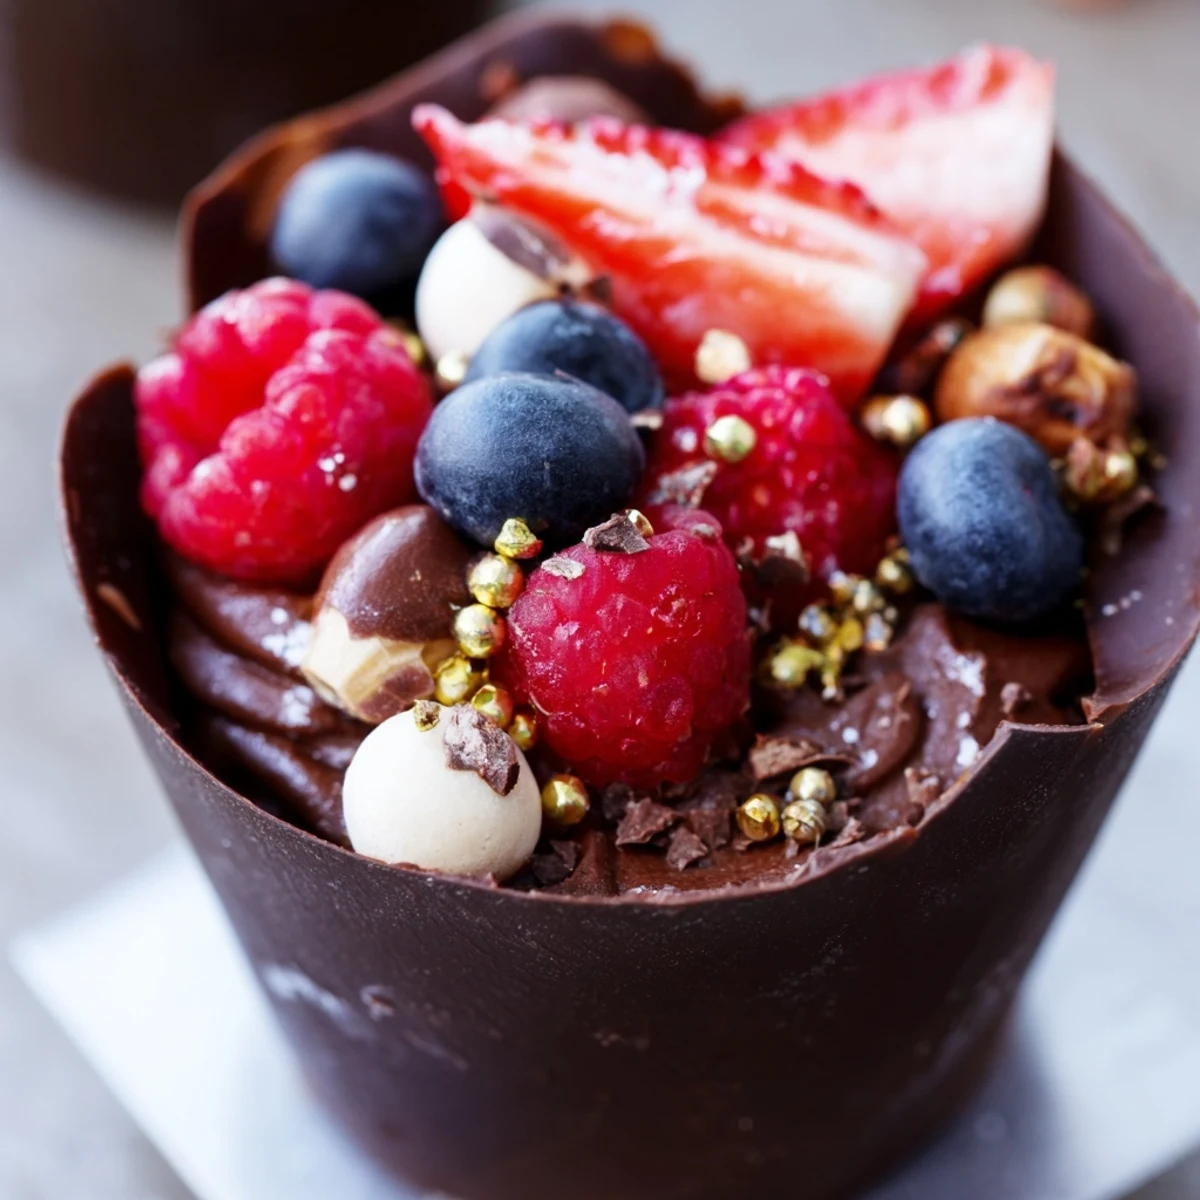
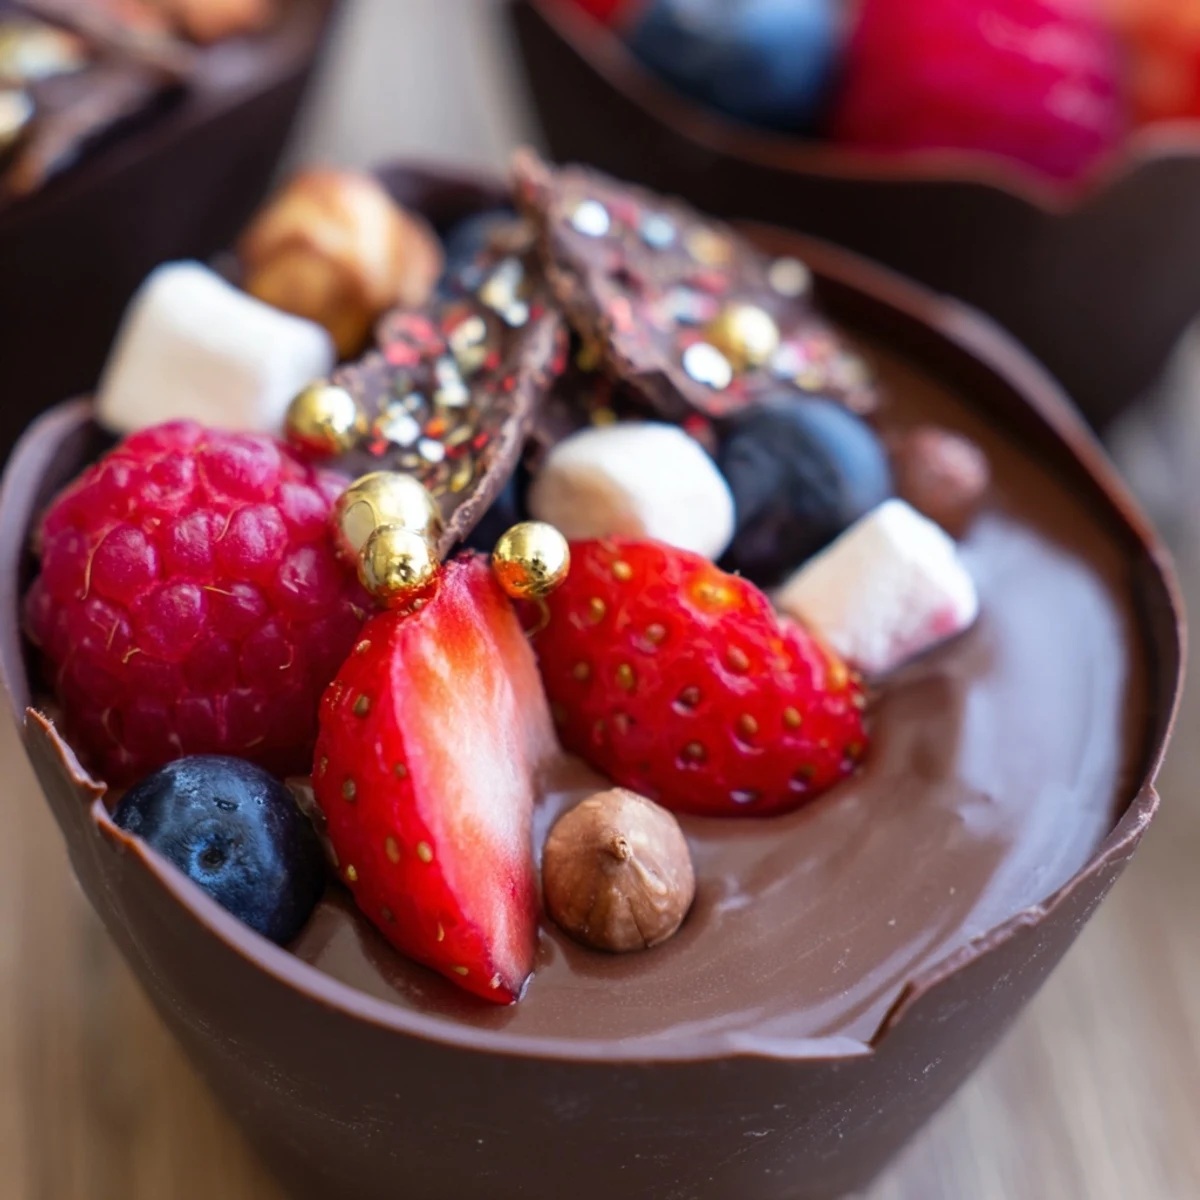
- Pipe the mousse into your chocolate cups until they are about two thirds full, then arrange your berries, nuts, marshmallows and chocolate curls on top however feels prettiest to you. Chill for at least 20 minutes so the flavors settle and the mousse firms up slightly.
 Save
Save My nephew helped me assemble these last Christmas, and his concentration face while placing each berry was absolutely precious. He took such pride in arranging every marshmallow just so, then insisted on serving everyone himself. Those are the moments that make cooking worth it, watching someone find joy in creating something beautiful with their hands.
Making Ahead Like A Pro
I have learned through trial and error that the chocolate cups can be made two days ahead if stored in an airtight container at room temperature. The mousse holds up beautifully overnight in the refrigerator, but do not assemble them until the day you plan to serve because the moisture from the cream will eventually soften those perfect chocolate shells. Fifteen minutes before guests arrive, simply pipe in the mousse and add your toppings.
Playing With Flavors
Sometimes I fold orange zest into the mousse instead of vanilla, and that bright citrus note cuts through the richness in the most surprising way. A splash of coffee liqueur works wonders too, especially when serving these after a heavy meal. The beauty of this recipe is how easily it adapts to whatever mood or occasion you are planning for.
Serving Suggestions
These cups feel most special when plated individually on small dessert plates with a tiny fork alongside. A dusting of cocoa powder right before serving makes them look even more professional and adds one more layer of chocolate intensity.
- Pair with a glass of moscato or port wine to complement the dark chocolate
- Keep extra berries on hand for guests who want a lighter sweetness
- Have a spare chocolate cup ready because someone will definitely ask for seconds
 Save
Save There is something deeply satisfying about serving a dessert that makes people feel special without requiring you to spend hours in the kitchen. These cups have become my go to for moments when I want to show love through food but still have time to actually enjoy the company I am feeding.
Recipe FAQs
- → Can I make chocolate cups ahead of time?
-
Yes, prepare the chocolate cups up to 2 days in advance. Store in an airtight container at room temperature in a cool, dry place. Avoid refrigeration as it may cause blooming or condensation.
- → What chocolate percentage works best?
-
Dark chocolate with at least 60% cocoa content provides the best structure for cups and rich flavor for mousse. Higher percentages create sturdier cups, while 60-70% offers balanced sweetness.
- → How do I prevent chocolate cups from cracking?
-
Ensure chocolate is properly tempered by melting gently and avoiding water contact. Apply thick, even layers to liners and chill completely before removing. Work in a cool room temperature around 68°F.
- → Can I substitute the heavy cream?
-
Coconut cream works for dairy-free versions but creates a denser mousse. Greek yogurt blended with cottage cheese offers a lighter alternative, though texture differs from traditional whipped cream.
- → What other toppings can I use?
-
Try crushed pretzels, toasted coconut flakes, caramelized nuts, cookie crumbles, fresh mint, citrus zest, shaved white chocolate, or seasonal fruits like pomegranate seeds for variety.
- → How long does mousse hold its shape?
-
Properly whipped chocolate mousse holds structure for 24-48 hours when refrigerated. For best results, assemble cups 4-6 hours before serving to maintain optimal texture and presentation.