 Save
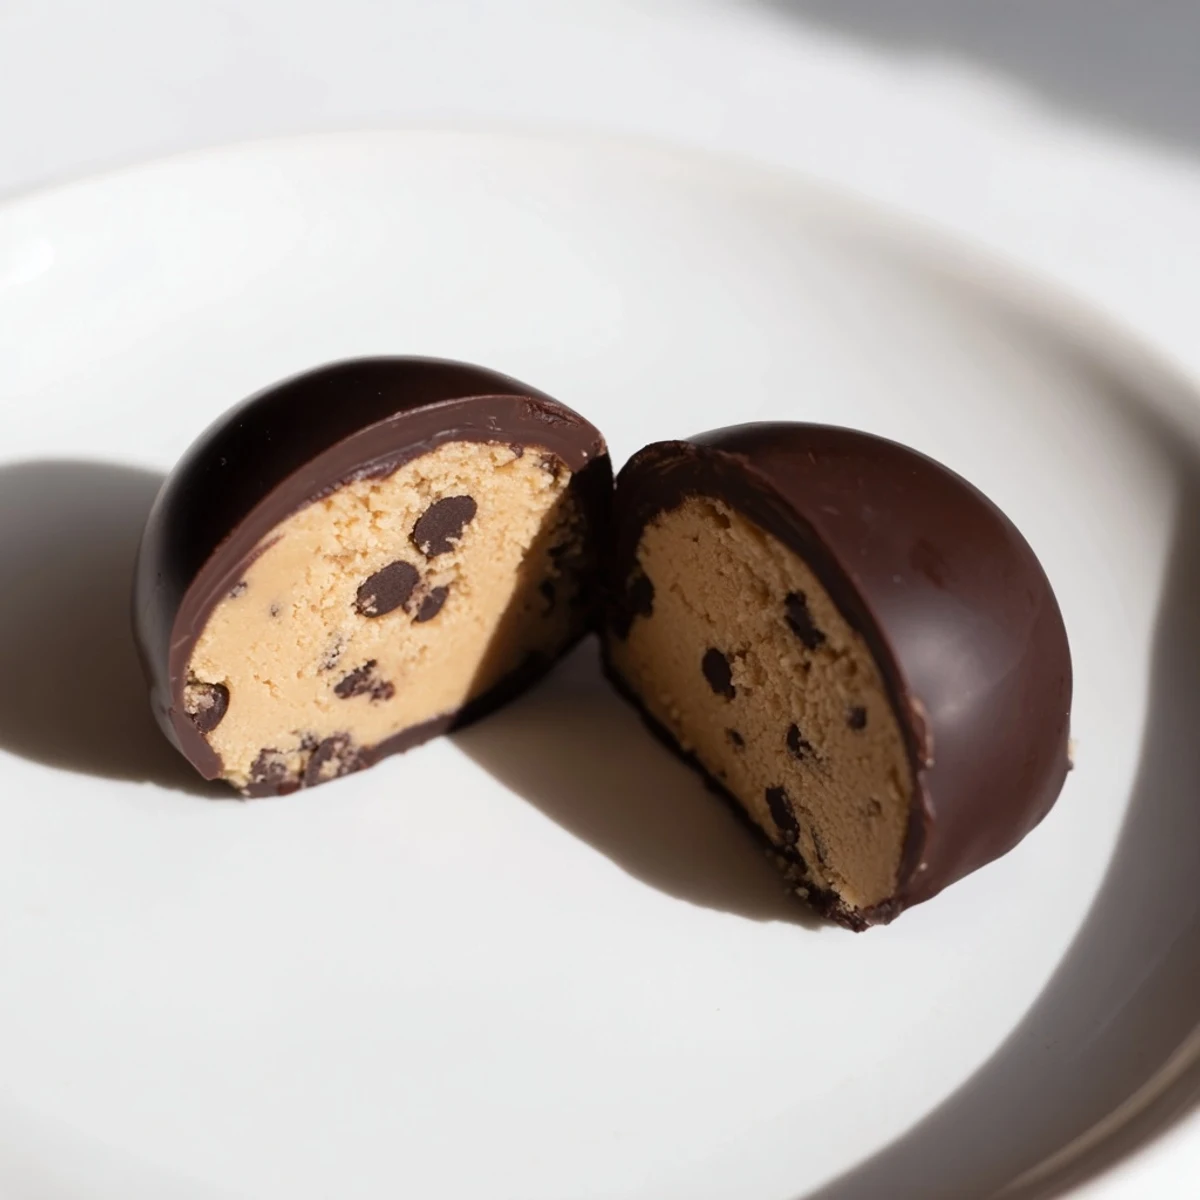
Save These rich truffles combine egg-free cookie dough with a smooth chocolate shell. Start by creaming butter and sugars, then mix in heat-treated flour and vanilla. Chill the dough balls until firm before dipping them in melted semisweet chocolate. Allow them to set in the fridge for a perfect sweet finish.
There's something magical about biting into a truffle and discovering it's actually edible cookie dough inside—the moment when someone's eyes light up is worth every minute of rolling and dipping. I stumbled onto these during a late-night kitchen experiment, trying to recreate the appeal of eating raw cookie dough without the worry of raw eggs. What started as me sneaking spoonfuls of heat-treated dough became an obsession, and these truffles are the refined version of that guilty pleasure.
I made these for my sister's book club last fall, and they disappeared faster than any baked cookies ever could—people were genuinely confused that there was no egg in the dough, convinced I'd somehow hidden raw cookie dough in chocolate. The fact that heat-treated flour was the secret made it feel less like I was cutting corners and more like I'd figured something out.
Ingredients
- Unsalted butter, softened: The foundation of tender dough; letting it soften to room temperature means it creams properly with sugar instead of staying dense.
- Packed light brown sugar: Brown sugar brings moisture and a subtle molasses depth that makes these taste closer to actual cookie dough than regular granulated sugar alone.
- Granulated sugar: This adds brightness and helps create that light, fluffy texture when creamed with the butter.
- Milk: A small amount keeps the dough tender and adds just enough moisture to prevent it from tasting dry.
- Vanilla extract: Always use real vanilla here—it's such a small amount that quality matters, and it makes the entire flavor feel complete.
- All-purpose flour, heat-treated: Baking the flour for 5 minutes kills any bacteria, making raw dough safe to eat; this is non-negotiable if you're serving these to anyone vulnerable.
- Salt: This tiny pinch heightens all the other flavors without making anything taste salty.
- Mini chocolate chips: Mini chips distribute more evenly than full-sized ones, so you get chocolate in every bite without heavy pockets.
- Semisweet or dark chocolate for coating: Choose based on how sweet you like things; darker chocolate balances the sweetness of the dough beautifully.
- Coconut oil or vegetable oil (optional): Just a teaspoon makes the chocolate smoother and easier to work with, preventing that thick, clumpy coating.
Instructions
- Heat-treat your flour first:
- Spread flour on a baking sheet and bake at 350°F for exactly 5 minutes, then let it cool completely before using. This step takes minutes but is essential for food safety when serving raw dough.
- Cream butter and sugars together:
- In a mixing bowl, beat the softened butter with both sugars until the mixture is noticeably lighter in color and fluffy, about 2–3 minutes. You'll see a visible change from dense to airy, which means the butter is properly incorporating air.
- Add milk and vanilla:
- Mix these in just until combined; don't overmix or the dough will become greasy. The mixture should look smooth and cohesive.
- Fold in cooled flour and salt:
- Add the completely cooled, heat-treated flour and salt together, stirring until no dry flour streaks remain. The dough will thicken noticeably as you stir.
- Mix in chocolate chips:
- Fold the mini chocolate chips into the dough by hand if needed; this ensures even distribution without overworking the dough. You'll see little flecks of chocolate throughout.
- Roll dough into balls:
- Using a tablespoon or small scoop, portion out dough and roll each piece between your palms into a smooth ball, placing them on a parchment-lined sheet as you go. If the dough is too warm, refrigerate it for 5 minutes first.
- Chill the balls until firm:
- Freeze for 20–30 minutes until the dough balls are hard enough that they won't collapse when dipped. You want them cold enough to hold their shape but not so frozen they crack.
- Melt your chocolate:
- Use a microwave (stirring every 30 seconds) or a double boiler to melt the chocolate with a teaspoon of coconut oil until completely smooth. Overheated chocolate seizes and becomes grainy, so low and slow is safer.
- Dip each ball in chocolate:
- Using a fork or dipping tool, submerge each cold dough ball into the melted chocolate, let excess drip back into the bowl, and place the coated truffle on parchment. Working quickly keeps the chocolate warm and easy to coat with.
- Set the chocolate coating:
- Refrigerate the coated truffles for about 15 minutes until the chocolate firms up completely. If you want extra flair, drizzle with more melted chocolate or sprinkle mini chips onto the wet coating before it sets.
 Save
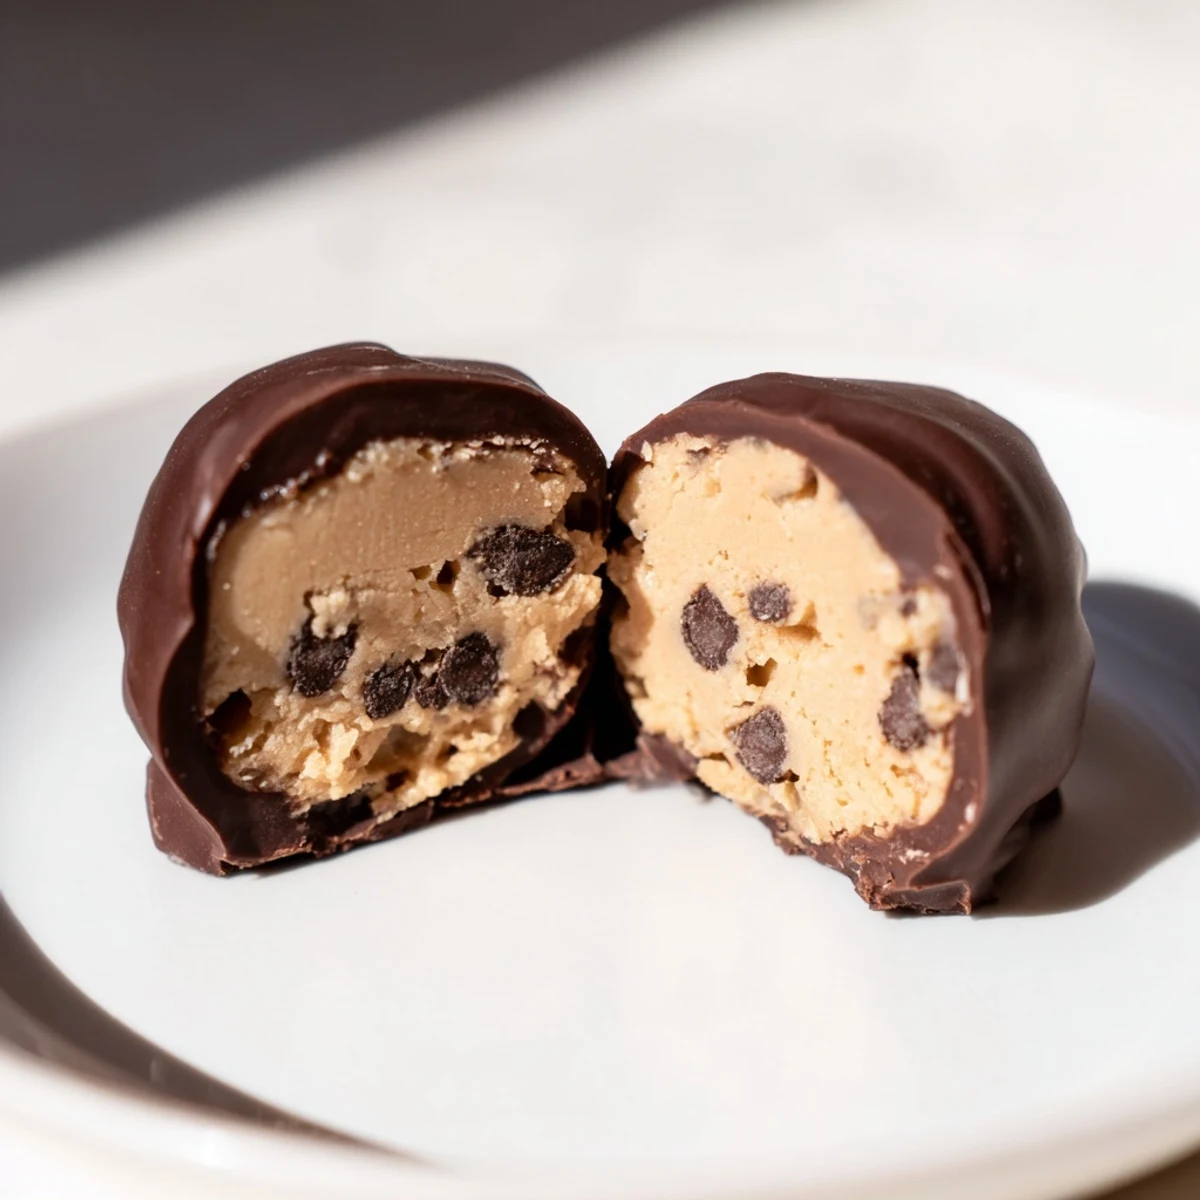
Save I learned the truffle appeal goes beyond taste; it's about turning something indulgent (cookie dough!) into something you can share without hesitation. A friend once told me she felt guilty enjoying raw cookie dough, but eating these felt like permission—and I realized that's partly why they're so special.
Why These Truffles Beat Regular Cookies
Cookies require timing, temperature management, and the discipline not to open the oven door constantly. These require none of that. You're also getting the exact experience you actually crave when you're tempted by raw cookie dough—the tender texture, the melting chocolate, the little bursts of chips—but in a form that's elegant enough to serve to guests or pack as gifts. There's no guilt, no concern, just pure enjoyment.
Storage and Make-Ahead Magic
These truffles keep beautifully in an airtight container in the fridge for a full week, which means you can make them on a quiet Sunday and have elegant desserts ready whenever you need them. They also freeze well for up to a month, so if inspiration strikes in January but you don't need them until March, they'll wait patiently for you.
Flavor Variations and Personal Touches
Once you nail the base recipe, you can play endlessly. Brown butter instead of regular butter adds a toasted depth; a pinch of sea salt sprinkled on top before the chocolate sets brings sophistication; chopped toasted nuts mixed into the dough add a pleasant crunch that keeps people guessing. Milk or white chocolate coating feels lighter and sweeter if that's your mood, and a tiny bit of espresso powder in the dough makes it taste mysteriously more cookie-like without being obviously coffee-flavored.
- Try a sprinkle of fleur de sel on top of wet chocolate for an unexpected contrast that people will ask about.
- A quarter teaspoon of almond extract added to the dough rounds out the vanilla beautifully if you enjoy that flavor.
- Swirl two different melted chocolates together before dipping for a marbled, special-occasion look.
 Save
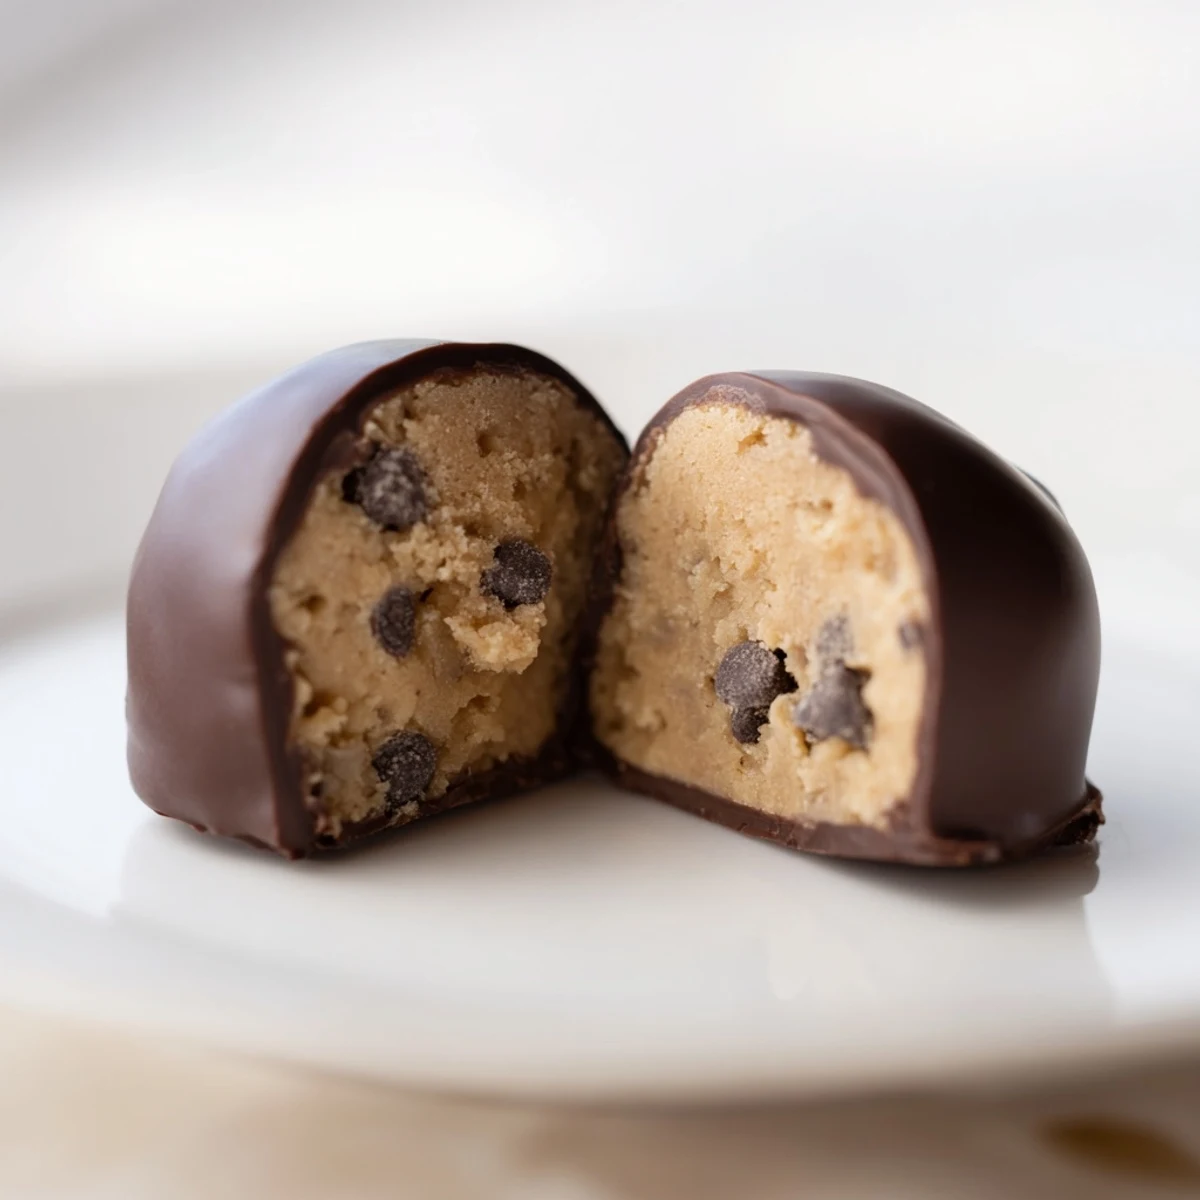
Save These truffles remind me that the best desserts are the ones that feel both indulgent and easy, the ones people ask you to make again. There's real joy in seeing someone bite into one and realize it's exactly what they didn't know they wanted.
Recipe FAQs
- → Why heat-treat the flour?
-
Heat-treating flour kills potential bacteria, ensuring the dough is safe to eat without baking.
- → Can I use different chocolate for coating?
-
Yes, you can substitute milk or white chocolate for the semisweet coating based on your sweetness preference.
- → How should I store these treats?
-
Keep them in an airtight container in the refrigerator for up to one week to maintain freshness.
- → Do I need an electric mixer?
-
While an electric mixer creates a fluffy texture, you can use a whisk and mix by hand with some extra effort.
- → What if the dough is too sticky to roll?
-
Chill the dough for a longer period; cold dough is much easier to handle and roll into smooth balls.