 Save
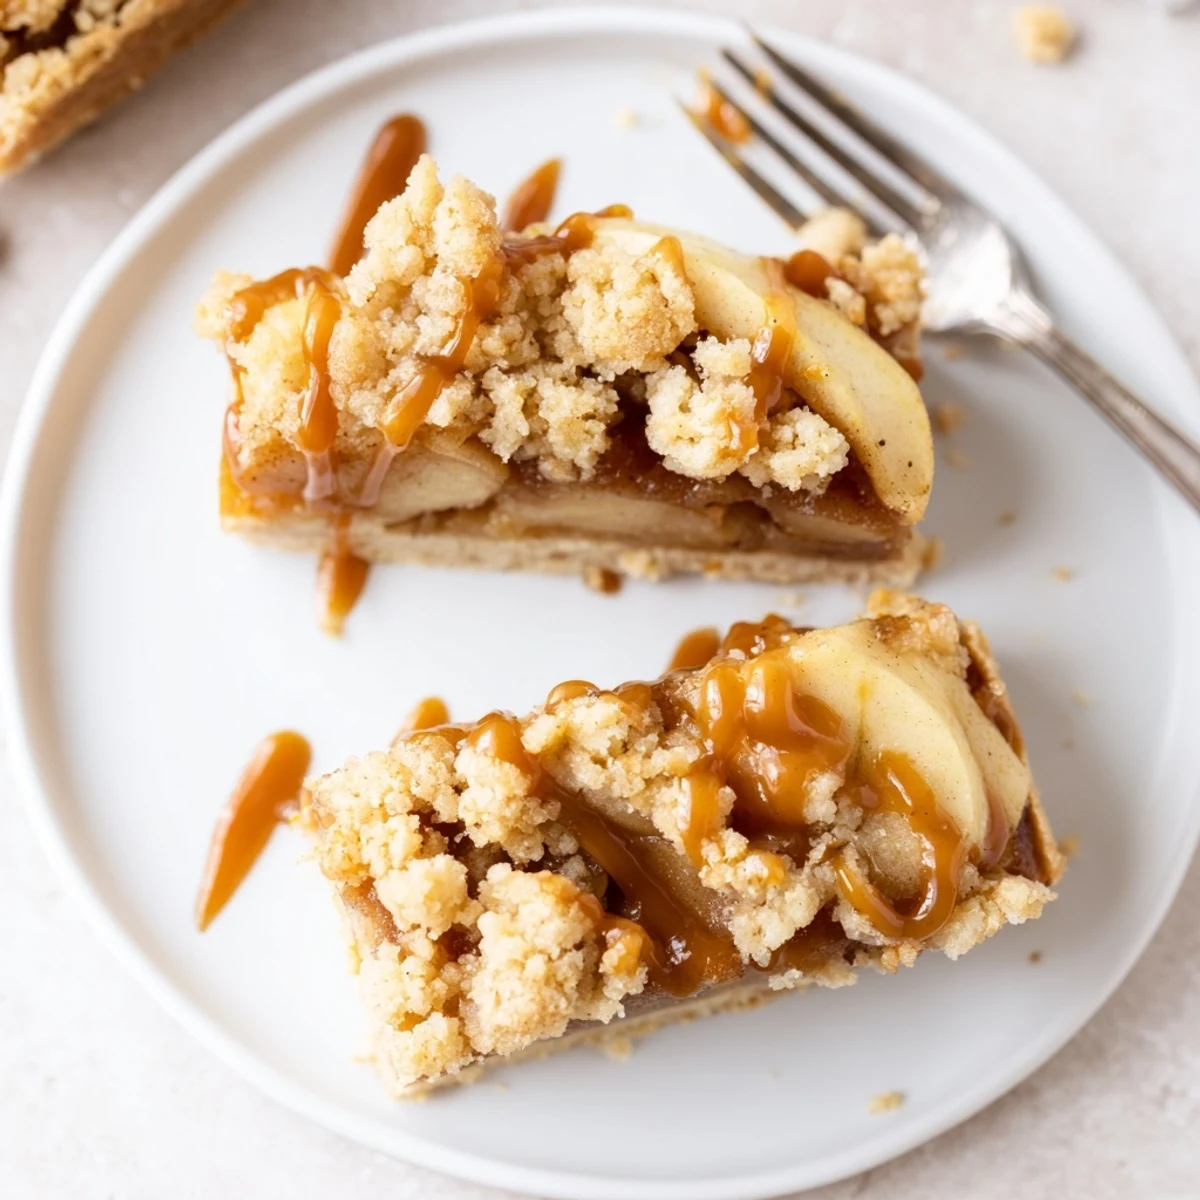
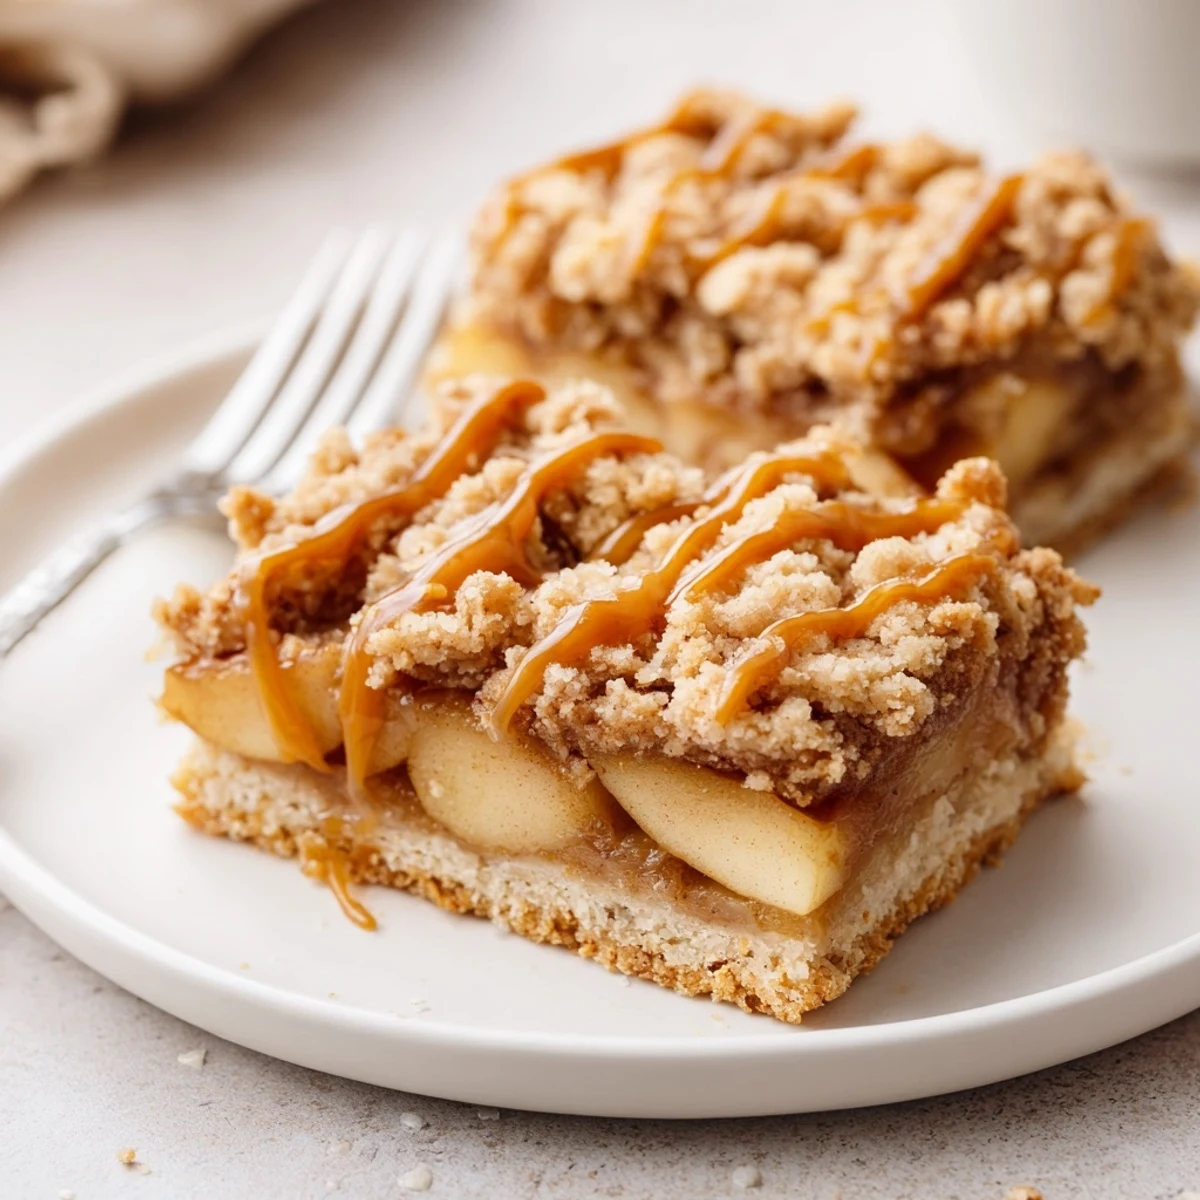
Save These caramel apple crumb bars feature three irresistible layers starting with a tender, vanilla-scented shortbread crust. Fresh apple slices are tossed with cinnamon sugar and lemon juice, then nestled onto the baked crust and generously drizzled with rich caramel sauce. A buttery crumb topping crowns each bar, baking to golden perfection. The result combines the cozy flavors of apple pie with the convenience of handheld bars.
The pastry dough pulls double duty as both crust and crumb topping, simplifying preparation while maximizing that homemade buttery flavor. A mix of tart and sweet apples creates the perfect balance, while the caramel adds indulgent richness in every bite.
The first time I made these bars, my kitchen smelled like the best apple orchard in late September. I had picked up a bag of mixed apples from a roadside stand, and something about the combination of tart Granny Smiths and sweet Honeycrisps begged to be baked with caramel. Now whenever fall rolls around, these are the first thing my friends ask for.
Last October, I brought a batch to a potluck and watched them disappear in fifteen minutes flat. My friends husband took one bite and immediately asked for the recipe, which is basically the highest compliment you can get in our circle. Now I double the recipe whenever there is a gathering, because serving twelve is never enough.
Ingredients
- All purpose flour: The backbone of both crust and crumb, giving structure without becoming tough
- Cold unsalted butter: Keeping it cold is what creates those tender, melt in your mouth layers
- Granulated sugar: Sweetens just enough to let the apple flavor shine through
- Salt: A half teaspoon might seem small, but it wakes up all the other flavors
- Vanilla extract: Adds that cozy bakery warmth that makes everything taste homemade
- Mixed apples: Using both tart and sweet varieties gives you depth of flavor you cannot get from just one type
- Lemon juice: Keeps the apples from browning and adds brightness that cuts through the caramel
- Ground cinnamon: The classic fall spice that pairs perfectly with both apples and caramel
- Caramel sauce: Homemade is lovely, but a good quality store bought version works beautifully here
Instructions
- Get your oven ready:
- Preheat to 350°F (175°C) and line a 9x9 inch pan with parchment, letting the edges hang over like little handles for easy lifting later
- Make the crumb mixture:
- Whisk flour, sugar, and salt in a large bowl, then work in cold butter with your fingers or a pastry cutter until you have coarse, pebble sized crumbs, then stir in the vanilla
- Prep your layers:
- Set aside about 1 1/2 cups of the mixture for the topping, then press the rest firmly and evenly into the bottom of your pan
- Par bake the crust:
- Bake for 12 minutes until just set and barely starting to turn golden around the edges
- Season the apples:
- Toss your sliced apples with lemon juice, then coat them with sugar, flour, and cinnamon until every piece is covered
- Build the filling:
- Arrange the seasoned apples over the hot crust and drizzle that caramel sauce all over the top like you are drawing abstract art
- Add the topping:
- Sprinkle your reserved crumb mixture evenly across the apples, leaving some gaps so you can see the fruit peeking through
- Bake until golden:
- Return to the oven for 28 to 32 minutes until the topping is light golden brown and you can see the apples bubbling underneath
- The hardest part:
- Let them cool completely in the pan, then use those parchment handles to lift the whole thing out before cutting into bars
 Save
Save My mom called me mid bite the first time I tested this recipe, and I honestly could not even form words to describe how good they were. That is when I knew these were not just another bar recipe to file away and forget.
Choosing The Right Apples
I have learned the hard way that all apples are not created equal when it comes to baking. A mix of Granny Smith, Honeycrisp, or Braeburn will give you that perfect balance of tart and sweet, plus they hold their shape instead of turning into applesauce in the oven.
Making Your Own Caramel
Store bought caramel is absolutely fine here, but if you have twenty extra minutes, homemade caramel sauce takes these bars to another level. Just melt sugar with butter and cream, and your whole house will smell like a gourmet caramel shop.
Storage And Serving
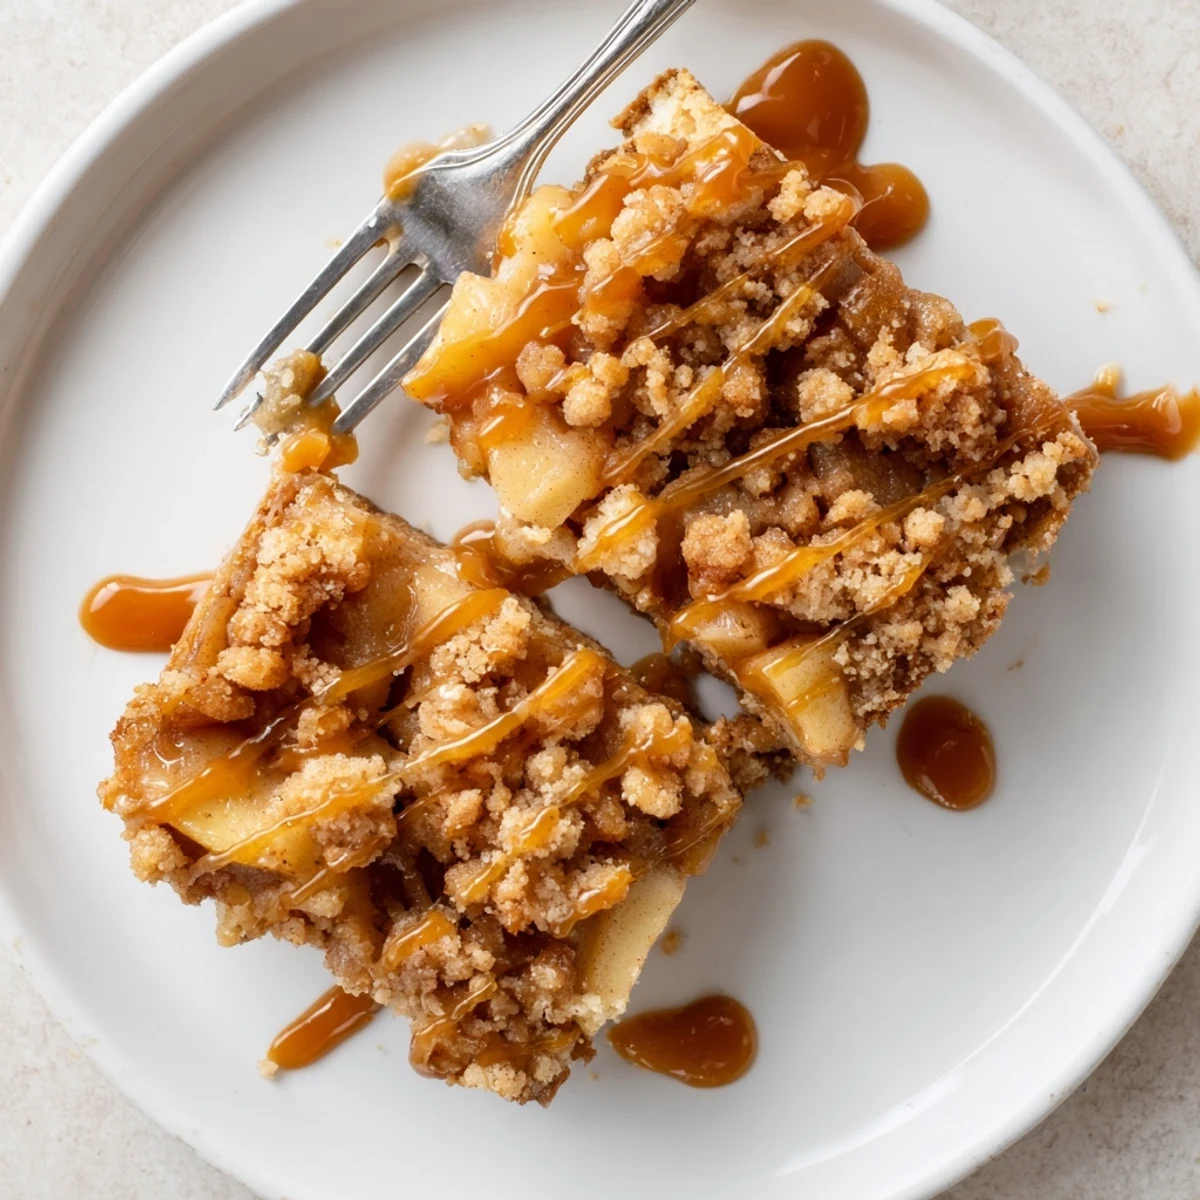
These bars keep beautifully for three days at room temperature, though I have never actually had them last that long in my house. For serving, a little extra warm caramel drizzled over the top never hurt anyone.
- These travel well if you are heading to a party or potluck
- They are perfect with morning coffee or afternoon tea
- A scoop of vanilla ice cream turns them into a proper dessert
 Save
Save Hope these bars bring as much cozy joy to your kitchen as they have to mine. Happy baking.
Recipe FAQs
- → What type of apples work best for these bars?
-
A mix of tart and sweet apples like Granny Smith, Honeycrisp, or Braeburn provides the best flavor balance. The tartness cuts through the rich caramel and buttery crust while sweet apples add natural sweetness.
- → Can I use homemade caramel sauce?
-
Absolutely. Homemade caramel sauce adds wonderful depth of flavor. Just ensure it has cooled slightly before drizzling so it doesn't melt into the apple layer too much. Store-bought works perfectly for convenience.
- → How should I store these bars?
-
Keep in an airtight container at room temperature for up to 3 days. For longer storage, refrigerate for up to a week, though the crust may soften slightly. Bring to room temperature before serving for the best texture.
- → Why is my crust crumbly and hard to press?
-
The dough should resemble wet sand and hold together when squeezed. If it's too dry, add cold butter one tablespoon at a time. If too sticky, chill for 10 minutes. Press firmly using the back of a measuring cup for even thickness.
- → Can I freeze these caramel apple bars?
-
Yes, freeze individual bars wrapped in plastic then foil for up to 3 months. Thaw overnight in the refrigerator. The texture remains excellent, making these perfect for holiday prep or unexpected guests.
- → Why must I partially bake the crust first?
-
Blind baking the crust for 12 minutes creates a solid foundation that prevents the moist apple filling and caramel from making the bottom soggy. This step ensures each bar has distinct, defined layers rather than a mushy texture.