 Save
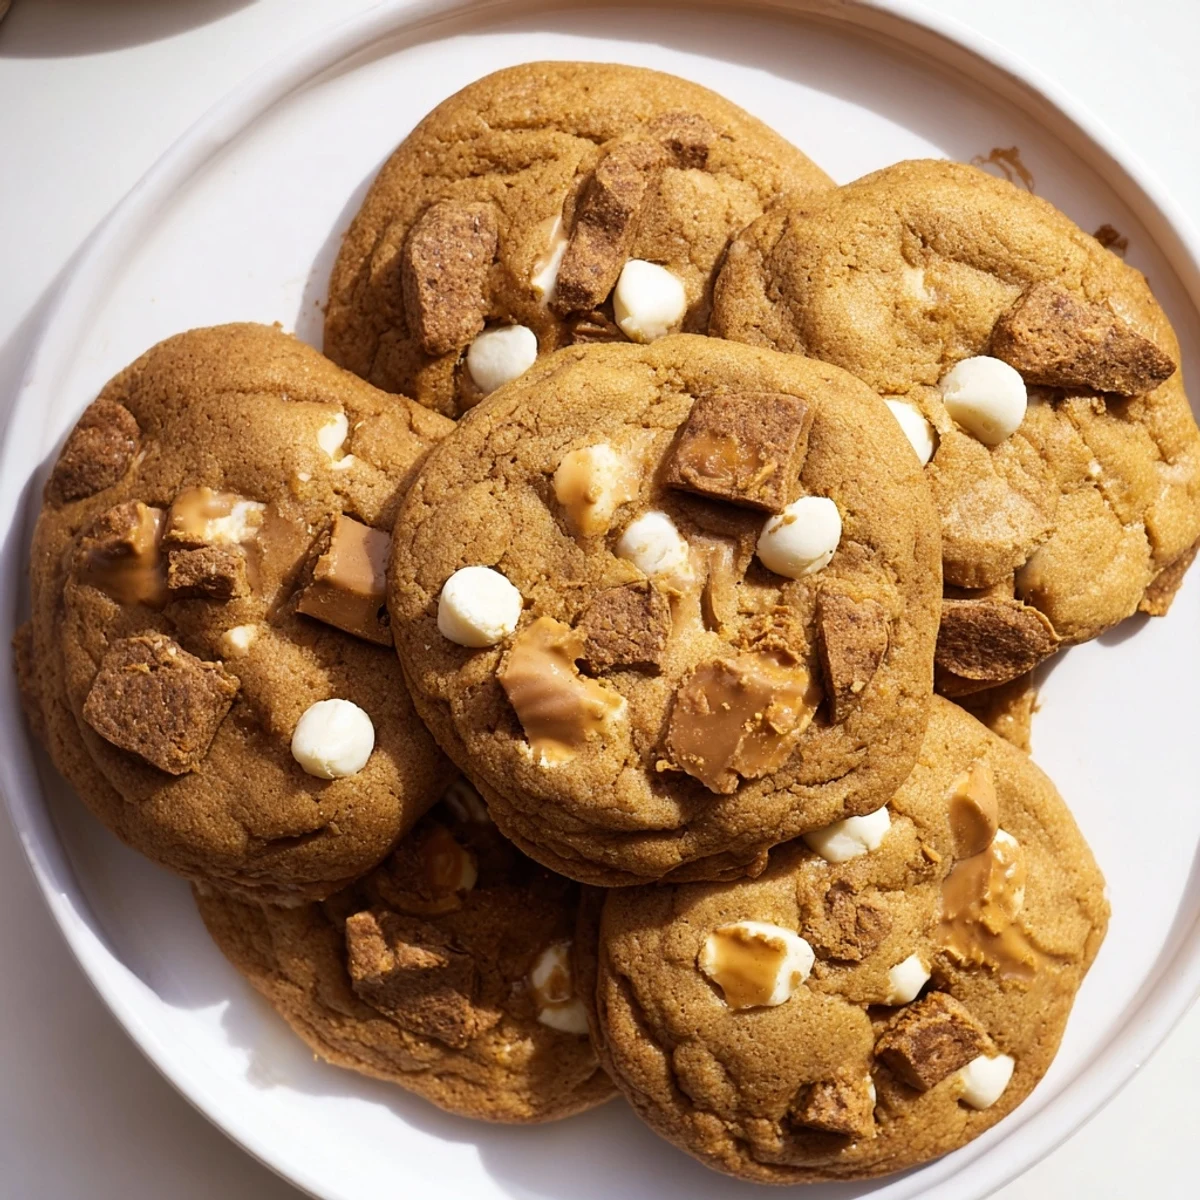
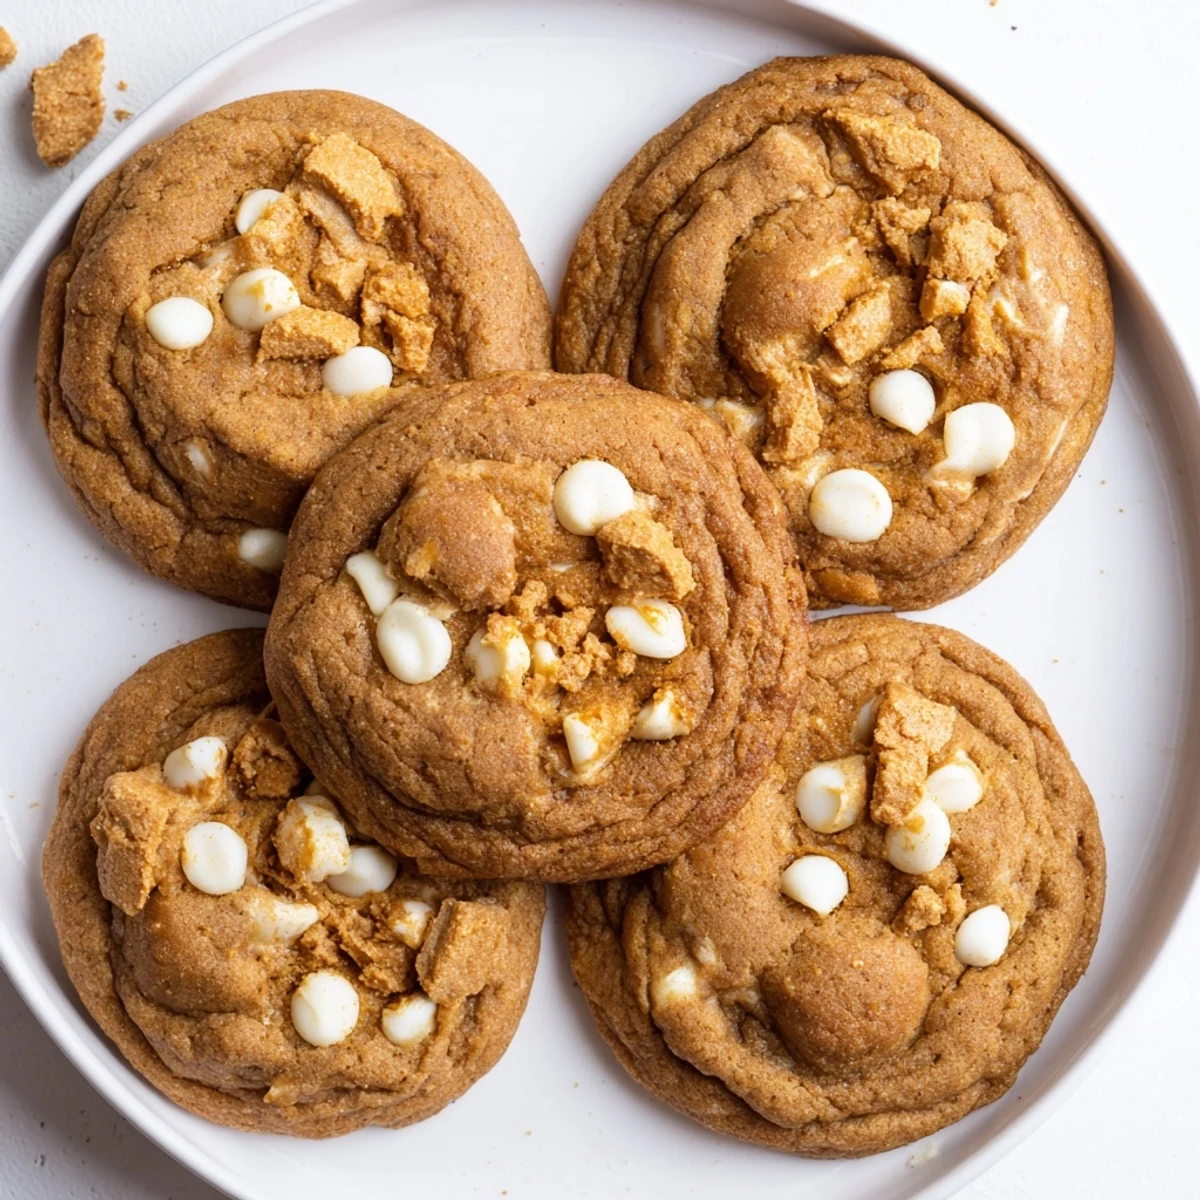
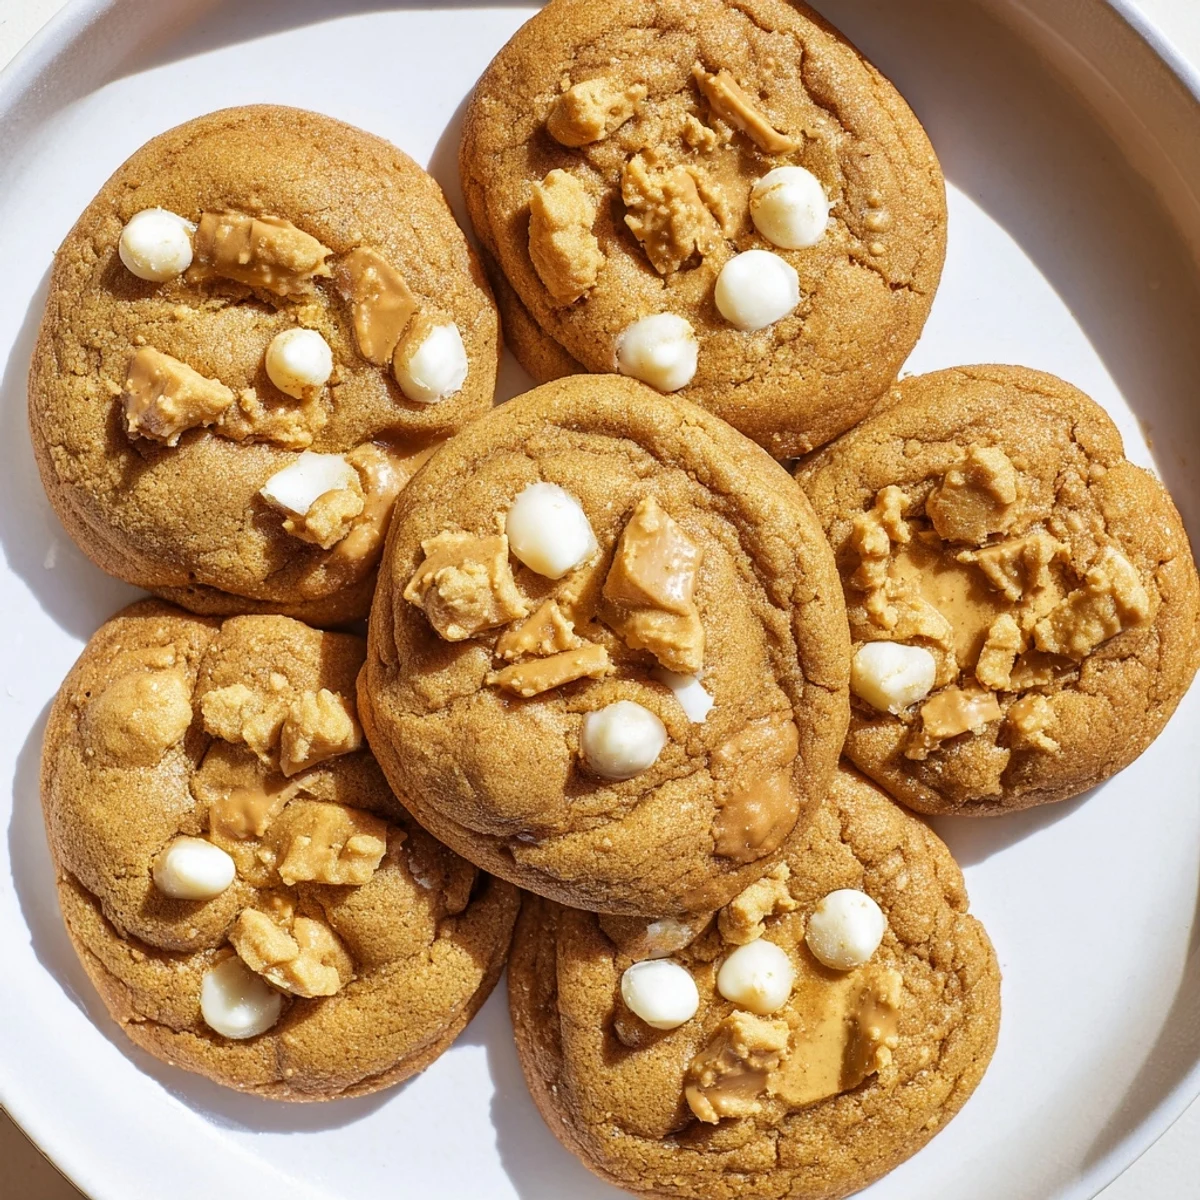
Save These indulgent stuffed cookies feature a warm, melty exterior with a molten Biscoff butter center that flows when you bite into them. The cookie dough combines buttery sweetness with white chocolate chips and crushed Biscoff cookies for added texture and flavor. Each cookie takes just 32 minutes from start to finish, including prep time, and yields 12 generous treats.
The secret to achieving that perfect lava effect is freezing the Biscoff spread balls before wrapping them in dough. This prevents the filling from melting too quickly during baking, ensuring you get that satisfying gooey center every time. Serve them warm for the ultimate experience, or add a scoop of vanilla ice cream for extra decadence.
The smell of Biscoff spread always takes me back to impatient airport breakfasts, but stirring it into cookie dough transformed that nostalgic flavor into something entirely new. My sister called me mid-bite during her first taste of these cookies, demanding the recipe immediately. There is something absolutely magical about breaking open a warm cookie to find that molten center waiting for you.
I brought a batch to a friend's game night last winter, and honestly, the cookies disappeared faster than the snacks. Someone accidentally discovered that warming them for ten seconds in the microwave brings back that freshly baked lava effect. Now it is the only request I get whenever we make plans.
Ingredients
- 1/2 cup Biscoff spread: Freezing this into solid balls first prevents it from leaking during baking and creates that perfect lava center
- 1/2 cup unsalted butter, softened: Room temperature butter creams properly with the sugars, creating those crispy edges we love
- 1/2 cup light brown sugar: The molasses in brown sugar adds moisture and deep caramel notes
- 1/4 cup granulated sugar: White sugar helps create those beautiful crackly tops and crisp edges
- 1 large egg: Bind everything together while adding structure and richness
- 1 teaspoon vanilla extract: Pure vanilla enhances all the other flavors without competing
- 1 1/2 cups all-purpose flour: Provides the structure needed to hold that molten center inside
- 1/2 teaspoon baking soda: Gives the cookies just enough lift without spreading too thin
- 1/4 teaspoon salt: Balances the sweetness and makes all flavors pop
- 3/4 cup white chocolate chips: Creamy and mellow, letting the Biscoff shine as the star
- 1/2 cup crushed Biscoff cookies: Adds pockets of spiced crunch throughout every bite
Instructions
- Prep the filling:
- Scoop 12 heaping teaspoons of Biscoff spread onto a parchment-lined baking sheet and freeze until completely solid, about 30 minutes
- Preheat and prepare:
- Heat your oven to 350°F and line another baking sheet with parchment paper while the filling chills
- Cream the butter and sugars:
- Beat the softened butter with both sugars until pale and fluffy, which takes about 2-3 minutes
- Add wet ingredients:
- Mix in the egg and vanilla until fully incorporated, scraping down the bowl as needed
- Combine dry ingredients:
- Whisk the flour, baking soda, and salt in a separate bowl before adding to prevent overmixing
- Bring dough together:
- Gradually stir the dry mixture into the wet just until no flour streaks remain
- Fold in the mix-ins:
- Gently incorporate the white chocolate chips and crushed Biscoff cookies by hand
- Stuff the cookies:
- Scoop 2 tablespoons of dough, flatten in your palm, place a frozen Biscoff ball in the center, and seal completely
- Chill before baking:
- Place the stuffed dough balls on your prepared sheet and refrigerate for 15 minutes to prevent spreading
- Bake to perfection:
- Bake for 11-13 minutes until edges are golden but centers still look slightly underdone
- Cool briefly:
- Let them rest on the baking sheet for 5 minutes before moving to a wire rack
 Save
Save My roommate now demands these for every birthday celebration, claiming regular cake cannot compare. There is something incredibly satisfying about watching people's faces when they break into that first cookie and discover what is inside.
Make Ahead Magic
Scoop and stuff the dough balls, then freeze them on a baking sheet before transferring to a bag. Bake straight from frozen, adding just 1-2 minutes to the baking time. Fresh baked cookies in minutes whenever the craving strikes.
Getting The Perfect Seal
The most common mistake is not sealing the dough completely around the filling. Pinch and gently roll the dough between your palms until the Biscoff center is fully enclosed. Any gaps will cause the filling to leak during baking.
Serving Suggestions
These cookies are exceptional on their own, but a few simple elevations turn them into restaurant-quality desserts. Serve them warm with vanilla bean ice cream and a drizzle of salted caramel. Crumble one over butter pecan ice cream for an incredible sundae.
- Warm leftovers in the microwave for 10 seconds to restore that lava effect
- Sprinkle flaky sea salt on top right after baking for a sweet-salty contrast
- Store in an airtight container with a piece of bread to keep them soft
 Save
Save There is nothing quite like breaking into a warm cookie and discovering that molten Biscoff center waiting inside. Hope these bring as much joy to your kitchen as they have to mine.
Recipe FAQs
- → How do I get the perfect lava center?
-
Freeze your Biscoff spread balls for at least 30 minutes before stuffing them into the dough. This ensures the filling stays solid during baking and creates that molten lava effect when you bite into the warm cookies.
- → Can I use different chocolate chips?
-
Absolutely! While white chocolate chips complement the Biscoff flavor beautifully, you can substitute with dark chocolate, milk chocolate, or even leave them out entirely for a pure Biscoff experience.
- → How should I store these cookies?
-
Store in an airtight container at room temperature for up to 3 days. For the best lava effect, reheat in the microwave for 10-15 seconds before serving. You can also freeze the stuffed dough balls and bake fresh whenever you crave them.
- → Why do I need to chill the dough before baking?
-
Chilling for 15 minutes helps prevent the cookies from spreading too much in the oven. This ensures they maintain their shape and the Biscoff center stays contained while baking.
- → Can I make these ahead of time?
-
Yes! You can prepare the stuffed dough balls and freeze them for up to 3 months. When ready to bake, simply place the frozen dough balls on a baking sheet and add 1-2 extra minutes to the baking time.
- → What pairs well with these cookies?
-
These decadent treats are perfect on their own, but you can elevate them by serving with vanilla bean ice cream, a drizzle of caramel sauce, or a warm cup of coffee or milk for dipping.